In my last two posts, I shared the philosophy of wildtending–the idea that we can nurture and regenerate the lands around us as a spiritual practice. In this post, I wanted to share the start of a new garden–a refugia garden–that I’ve been working on since the early summer when I moved to PA. It will show some basic strategies for taking a damaged piece of land, full of garbage, debris, and common plants, to a garden, focused on biodiversity, rare and medicinal plants, and the development of a “seed arc” for spreading these plants back into our native ecosystem. I’ll be updating you a few times on this garden as it progresses into its first season.
As I am currently landless in my transition from Michigan to Pennsylvania, I’m using a small chunk of land on my parents’ property for this garden. I thought it was an appropriate site, given that my father is very committed to replanting our lands with trees (which I shared in an earlier post), and that my father has been cultivating extremely rare woodland medicinal species (ginseng and goldenseal). In fact, he was one of the people who inspired this whole series of posts and lines of thinking!
The first step to designing any new space is what permaculture designers call “site analysis and assessment.” That is, we take a look at the site as it currently exists and examines what challenges and potential the site has.
The Site and its Potential: Like any good permaculture designer, I found the most damaged piece of land (the spot that nobody cared about) on my parents’ property. Here’s a shot of the site in early June, before we got to work on it. This is primarily in full sun at the bottom of a hill (that keeps on going down past the site), so that’s important to l keep that in mind when deciding what to plant (full sun, access to nutrients). I’ll have a shady back area, behind the trellis I have planned, for some shady plants. The house is about 40 feet away and on an uphill slope, so I also plan on digging an off-contour swale and a trench to help move the water under the driveway and directly from the house downspout into the garden itself. Finally, given the abundant water as a resource, I also am planning a small wetter area using the downspout off of my parents’ house for a few water-based rare plants (calamus and horsetail).
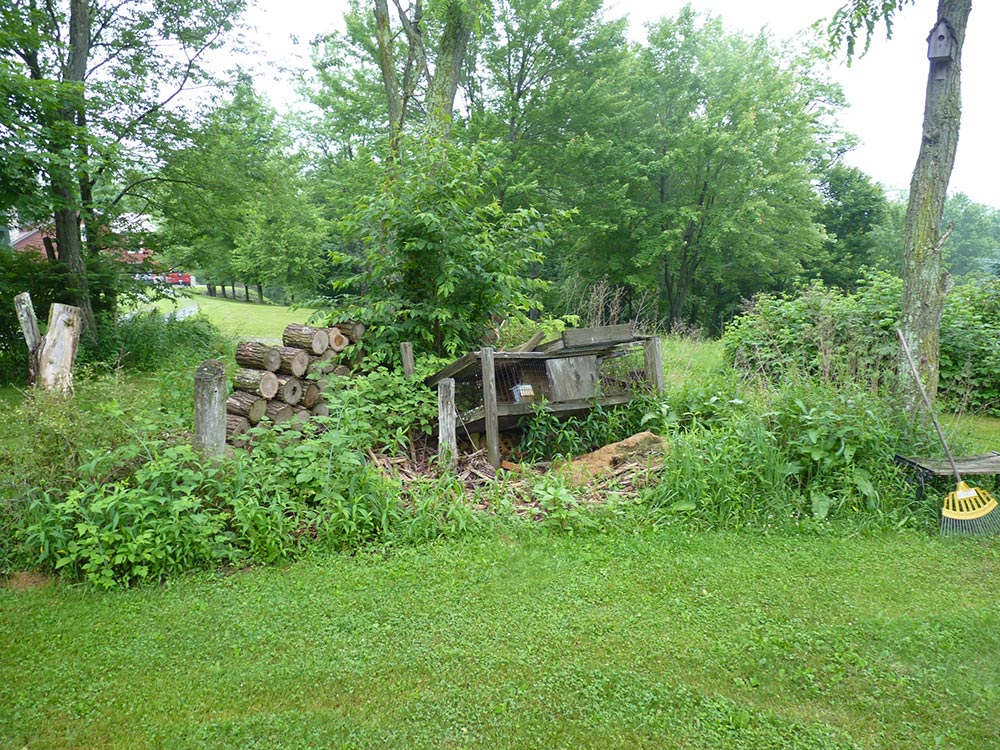
Challenges with the Site: The site was literally a garbage heap, where my father had been throwing in various brush and debris for at least 15 years. A very long time ago, this was where we once kept chickens and rabbits when I was growing up–now, it is nothing but an eyesore. There was old rusty wire throughout the area, old animal cages, a huge buried pile of bricks, stones, and much more. One of the key challenges of the site was the piles and piles of black locust bark that my father peeled there from the logs in his woodpile–the black locust bark resists rot and inhibits the growth of many other plants. A second challenge was the soil, which was pretty much straight clay with little to no organic matter (this was once a potato field, and an airport before that, and clear cut before that).
Initial Site Cleanup: The site had some common medicinal plant allies growing (which I harvested as we were preparing the site: lots of yellow dock and poke, some black raspberry, blackberry root, and some goldenrod). Once we started clearing out the space,we also found a boatload of bricks and more bark…and more bark…and more bark. The locust bark took a long time to remove! We raked it out piece by piece!
In this photo, we are removing a small black cherry tree–the bark of which we use as medicine. In permaculture design, we work to produce no waste and see waste as a resource. As we were clearing, none of what we found in this space will go to waste. The locust bark we can’t use was relegated to a small compost pile on the edge of the forest where there are black raspberries that can grow in the locust bark successfully. We’ll use the bricks either for edging the garden or for a small outdoor kitchen/pizza oven. Most of the other material we pulled out from the garden ended up back on the garden site to keep the cycle of nutrients flowing, in the compost pile for next season, or as medicine. Literally, everything that could be used or saved, was used or saved.
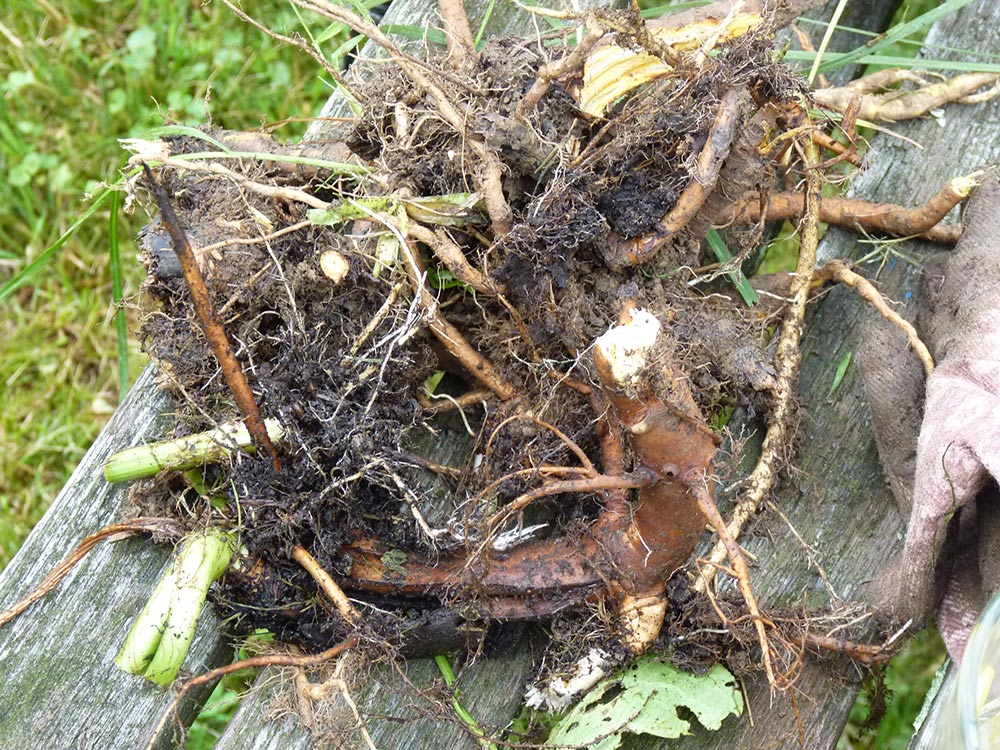
After about 4 hours of work in mid May–and the site was starting to take shape.
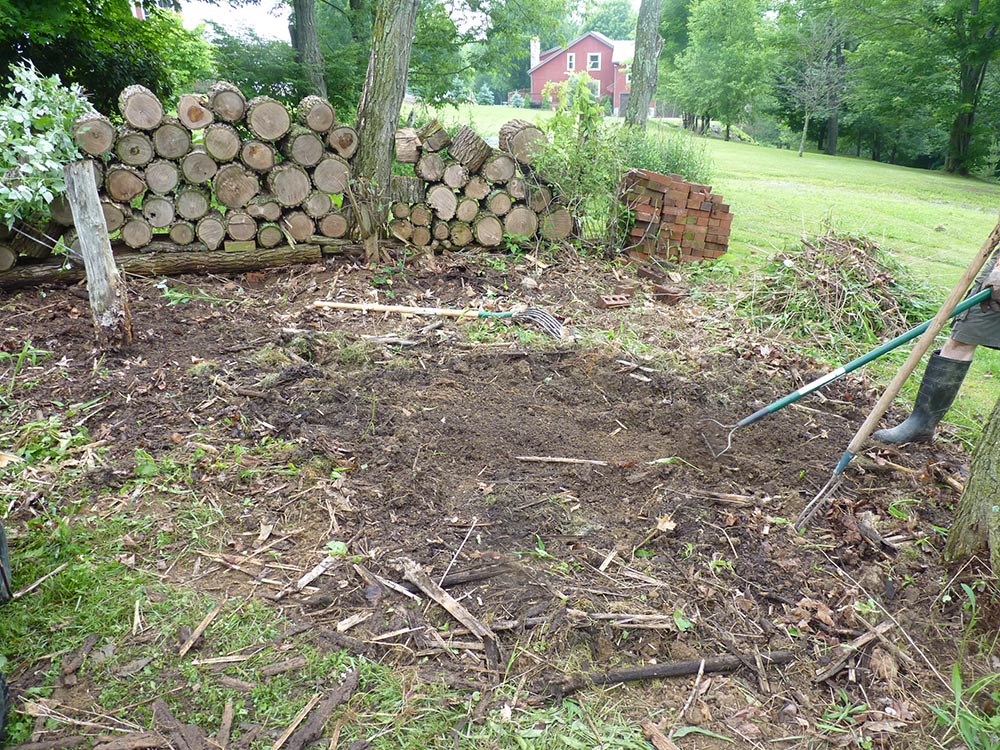
At the end of the day, we piled all of the non-seeded organic matter back onto the site to start to a sheet mulch. The last thing we wanted to do is remove any nutrients from the soil–and that’s what we would do if we simply removed it all (especially on poor soils like this one, most nutrients are in the plants themselves).
I’ll note that this initial prep work was done before I did my PDC, now I’ve learned a new sheet mulch technique and would have used all of the seeded material as well as the non-seeded material instead and kept everything except the locust bark. Even so, we did pretty well. We also raked up the grass clippings in the area around the bed and added them as well. Mom and dad started throwing in their fresh compost for added nutrients.

On another work day in June, my father procured a great pile of manure locally, and we added all of that on top of the site to help build the soil fertility. My parents’ land used to be a potato farm, and the soil is mostly clay, rocky, with little to no organic matter. A simple soil jar test confirmed this (as did just looking at the light brown color of the soil).

The site was starting to shape up by July. Dad said he’d be moving his woodpile, and sure enough, he did when I came back later in the summer to continue to work on the garden after my PDC. He also decided to cut down two of the locust trees for firewood bordering the site, which he had been planning to do even before my garden went in. At this point, I started shaping the pathways and added some free woodchips we got from the township (they give them away for free).
I had learned a lot about pathway management in my homestead in Michigan–namely, square gardens aren’t fun to maintain, because nature doesn’t work in square forms. Also, 4′ garden beds may be standard for many gardens, but they are way too big for me to comfortably work in (I think that someone who was 6′ tall with long arms came up with that as a standard garden bed measurement!) In terms of the paths themselves, I wanted a more natural shape that embraced the sun and encouraged it in, and also was reminiscent of ancient mounds upon the earth–so I used an arc and a line. This gave me easy access to all of the beds without uncomfortable reaching and made a few paths to sit and to walk (I also considered a spiral here). But really, this pathway choice was all about maximizing growing space using “keyhole” designs.

You’ll notice a few small patches of green in the garden. There was a really lovely black raspberry that I decided to keep in the garden–its a bit rare in this particular area, and one of my favorites. I have also not found any stinging nettles in the wild, at all, in this area, so I put a few of those in after getting them at the Mother Earth News fair from a local grower. You’ll also see my father’s giant brush “burn” pile behind the garden–I convinced him that burning it and releasing that carbon into the air is not a good idea and so, we are going to let it rot down for another year or two, let the blackberries stay on the north side of it and then turn it into a hugelkultur bed with a sheet mulch. Hooray!
As fall approached and the leaves began to drop, I used a basic sheet mulching technique to extend the garden outward. It was the technique I described in this post years ago and involved beginning by garden forking the ground to address soil compaction (this spot has been run over with the mower for years and is super compacted). Then I added a layer of cardboard and newspaper to suppress grass, wet it down, and then added thin layers of compost and maple leaves. Maple leaves break down really quickly (as compared to say, oak) and they don’t mat as badly. Worms will quickly make their way into these piles and by spring, they will be ready to plant in. Even a month later, the piles had sunk by 2/3 in volume.
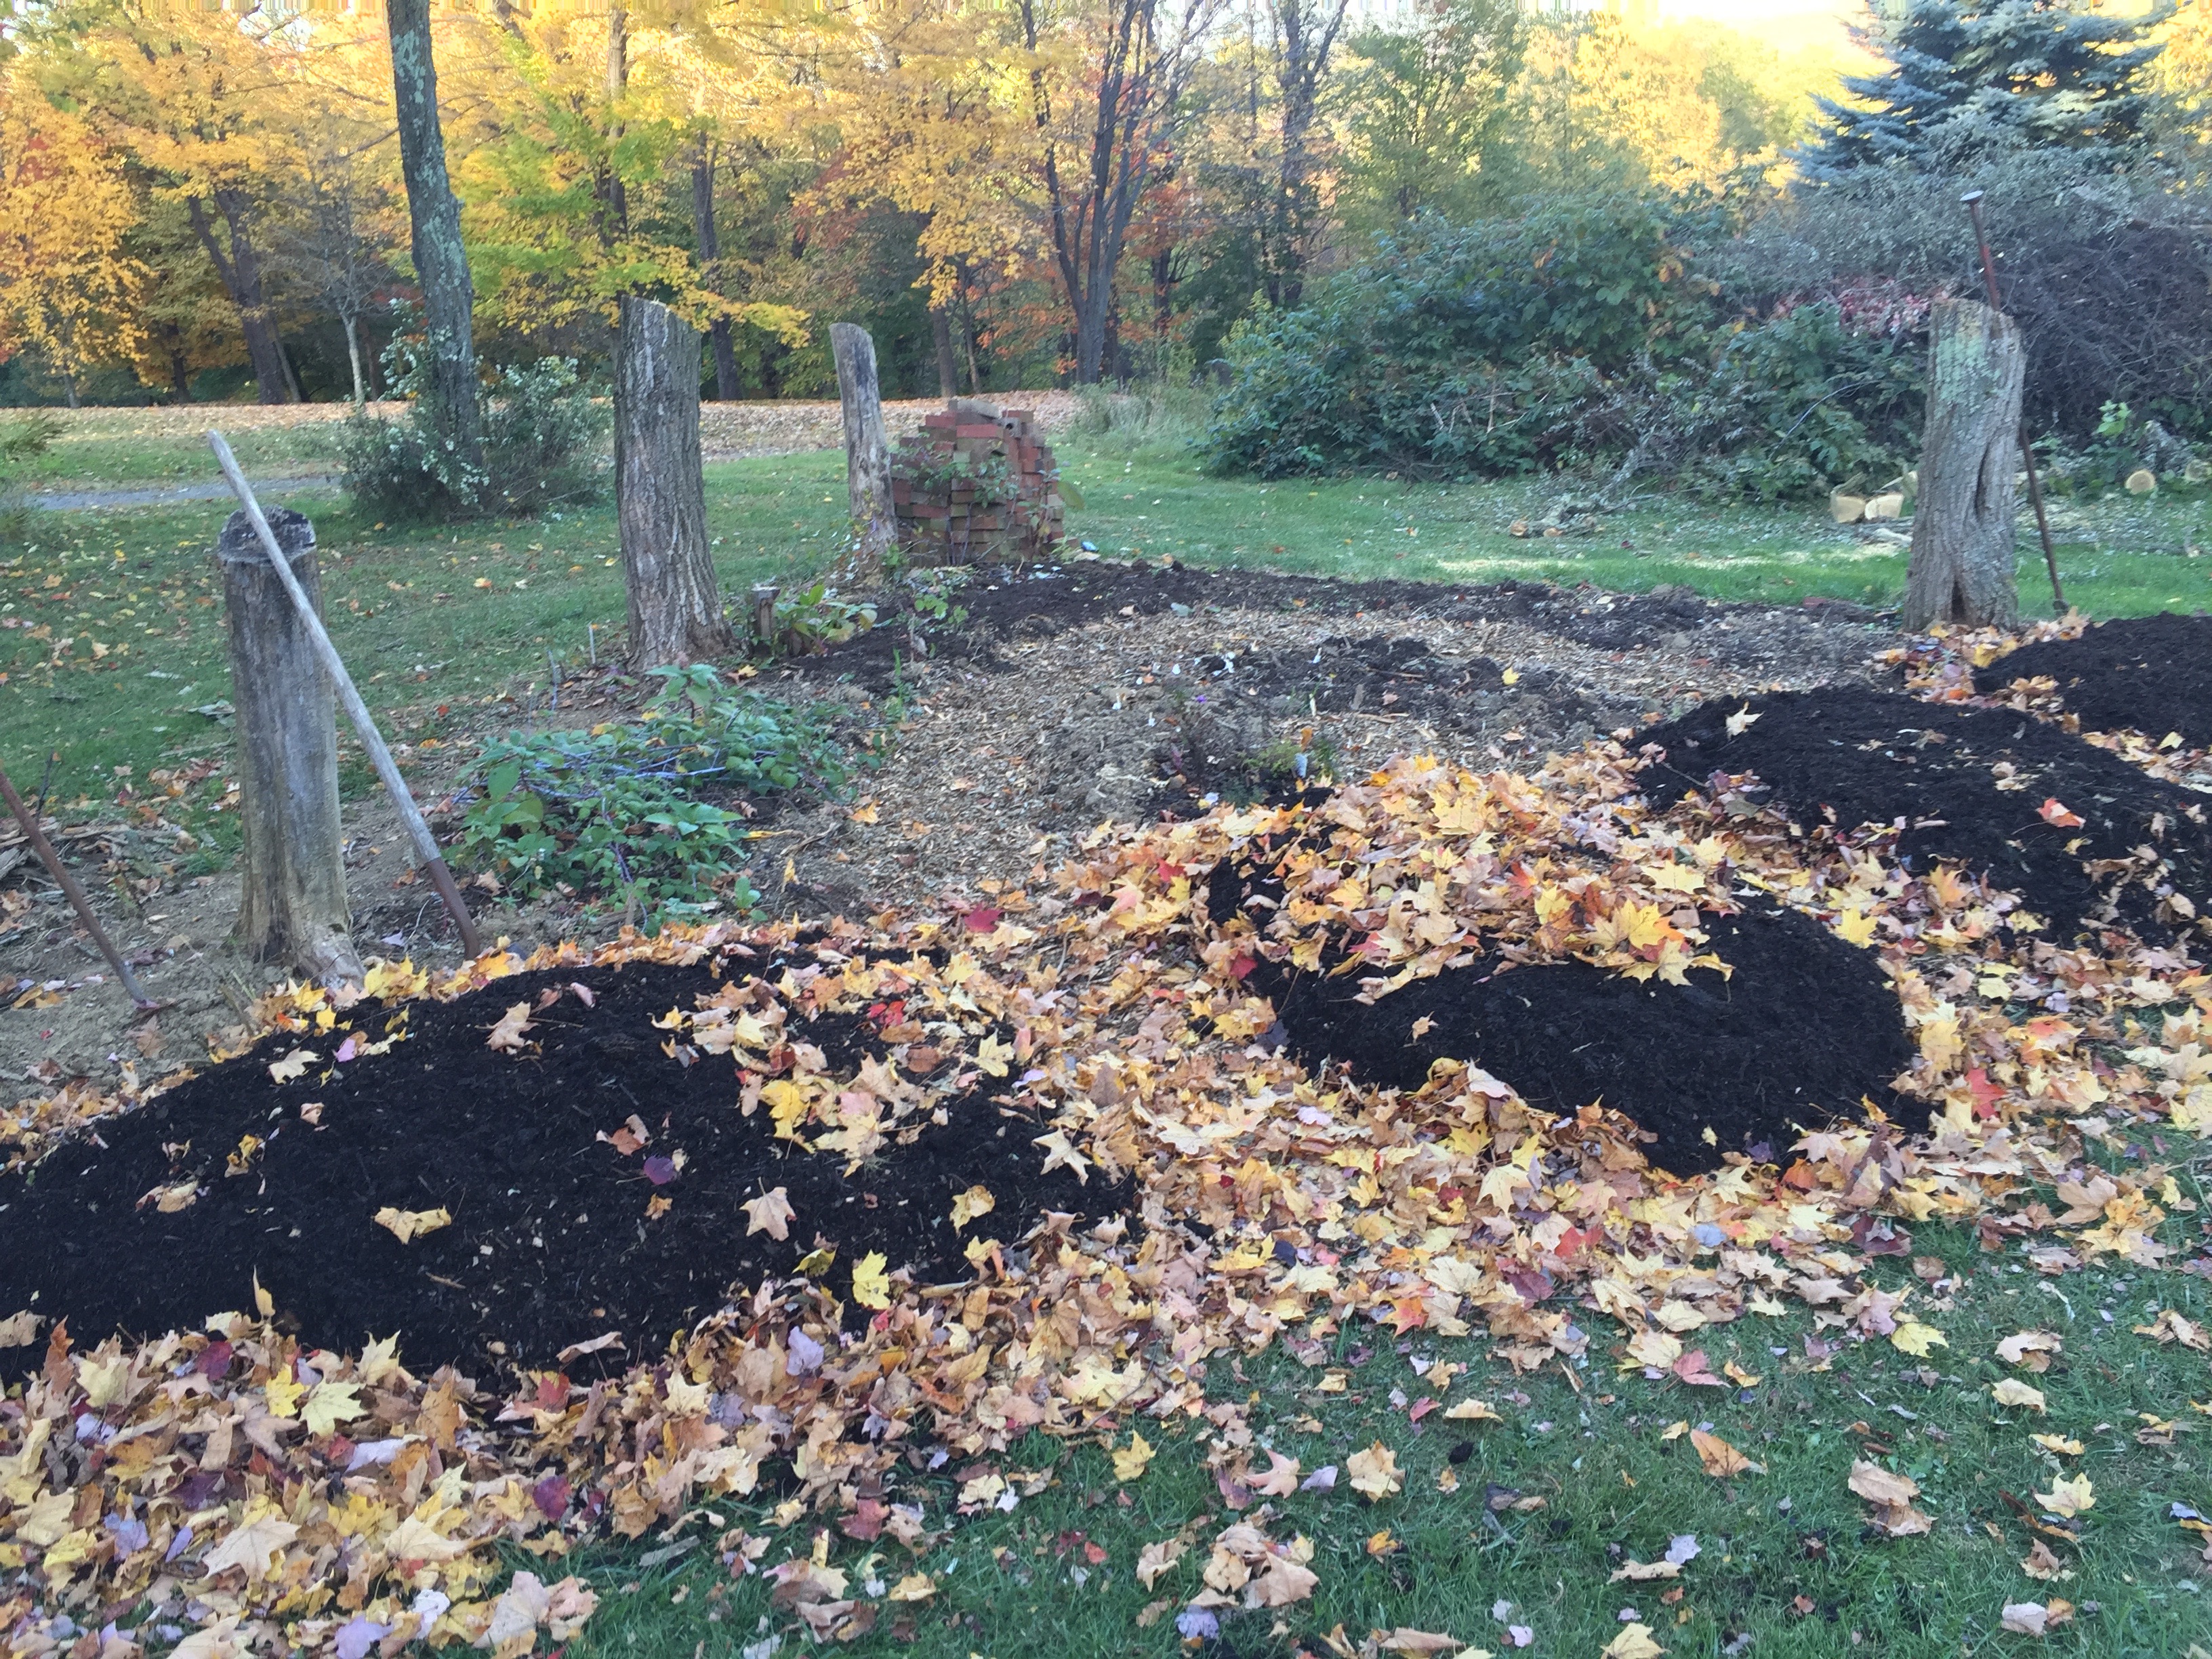
That takes me up to where I’m at today with the preparation work–the ground is now frozen (finally, after our delayed start to winter) and I am now looking at the seeds and planning for the next phase of the refugia garden.
Refugia Garden Seeds & Garden Design
So the other piece of this is the plants themselves–at this point in early January, I have my seeds ordered and am setting about a planting schedule. I’ve also done a design of the garden, considering primarily the height of the plant and its role in the ecosystem. There’s a lot I wanted to fit into this small garden–here’s my first rudimentary design! Note that the south of the map is south-facing, and this garden is in full sun (except for the back part, which will be trellised and provide some shade.

Next up comes some seed starting–most of the seeds I will start in March or April for an early June planting. Some of the seeds I already started – the ones that require cold stratification I put in big pots outside for the winter months. In March and April, depending on how long the seeds need to germinate and get started, I’ll plant them by the moon (a technique taught to me by my dear friend Linda); where you start seeds on the new or full moon. I’ll also use some of the seed starting magical work I described in this post.
So there you have it–the first start to my small, yet diverse, refugia garden!

Looks great! All the prep and the plan. I will look forward to seeing how it goes!
Thanks! 🙂
I have had the pleasure of seeing this site in the late spring. It is located in a beautiful area full of magical spirits and love. Looking forward to the transformation my dear!
Thank you, Linda!
Hi Dana,
Do humming birds visit your garden? They love columbine blossoms. I have a bath on my deck and soak in the hot water with humming birds sipping nectar from the potted columbines. I will now go look up Mother wort.
Max on Denman
Max, yes, I’ve seen many hummingbirds! The butterfly bush is particularly good for them, as well as monarda (bee balm) in the later season. Motherwort is a fantastic plant to get to know, especially for adult women! 🙂
Reblogged this on Enter the Grove.
Thank you for the reblog!