In last week’s post, we began exploring the build of an earth oven. An Earth Oven is a simple structure, made of clay, sand, straw, stone, and fire brick, that you can use to cook foods in a traditional way. Last week’s post walked you through the first set of steps for building your oven. In this post, we’ll finish the build, troubleshoot, and talk about how to bake in your oven. When we last left off, the oven was drying after building the dome. What is left to do is to add a layer of insulation and a finish plaster, and then offer the oven protection from the elements (an upcoming post cause I don’t have that last part done yet!)
Insulating Your Oven!

Once your oven is fairly dry, you will need to add an additional layer of insulation to the oven. Insulation is critical for the success of your oven, as this determines how quickly the oven heats up and how long it holds heat. If you want to bake 10 pizzas in a row in the oven, an insulated oven may be able to do it, while an oven with less insulation wouldn’t hold the high temperature long enough and you would have to repeatedly build fires. There are a few things that work and, as I discovered, some things that don’t work, for insulation.
One of the tried and true methods for insulation is to mix your cob with as much straw as possible so that it just barely is holding together. Straw itself has a lot of holes that trap air, so a layer of mostly straw will trap air, creating insulation. You want STRAW here and not hay (straw has many long and thin shafts with air in the middle; hay is basically dried grass). If you get creative, you can also add lots of glass little bottles to your oven to get even more insulation. I had read online somewhere that sawdust also makes a good insulation layer–this did not hold true in my experience. I added a layer of sawdust-cob mix and it had very little insulating properties, so I had to add a second insulation layer. So let’s add that layer!
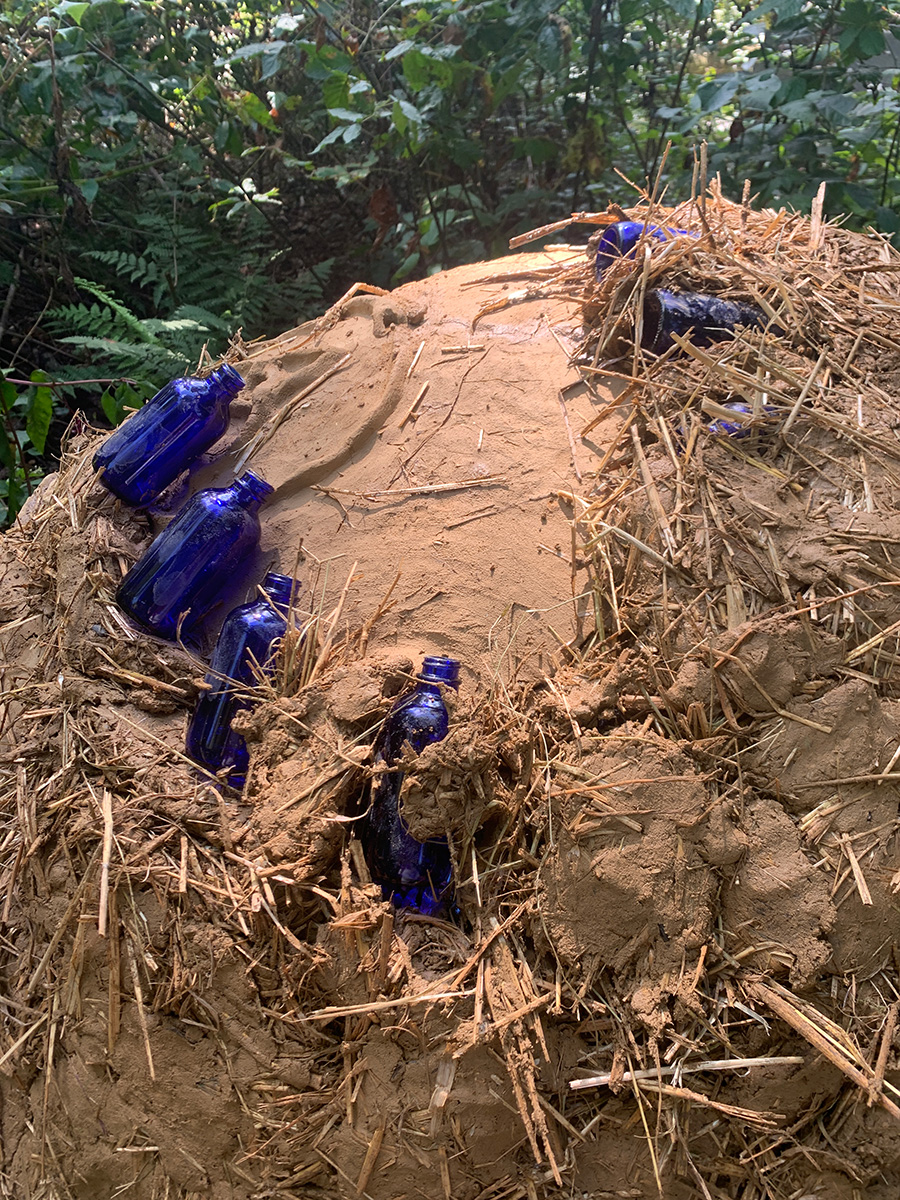 To do this, you will mix up your cob, keeping it a little wetter than normal. Take clean straw and, if you can, use scissors to cut it up if it’s really long (anything over about 12″ in length you can cut down a bit). This makes it easier to cut it. Then you mix it in and get ready to add it all over your entire oven.
My big mistake here is that I thought sawdust would be insulating enough, so my friends and I put on a layer of sawdust (and artwork) that we ended up having to cover up. Ah well!
For extra insulation, I also added some small bottles; these created bigger pockets of air for extra insulation. You don’t have to do this. I had a bunch of bottles that I was having difficulty cleaning after they had tinctures in them for a long time, so I decided to put them to use in my earth oven. You can see that in-progress shot above–the straw insulation with the extra bottles.
Finish Plaster and Decoration
At this point, you have a fully functional, very well insulated, earth oven. Now you can turn your attention to the decoration of your earth oven, the finish plaster, and figuring out how to put a good “hat” or roof on your oven. The reason you need to think about plaster and a roof is to protect it from the elements. This is an oven made of mud, and thus, exposure to the elements for any amount of time will damage it. Until you get your finishes on, you can put a tarp over it!
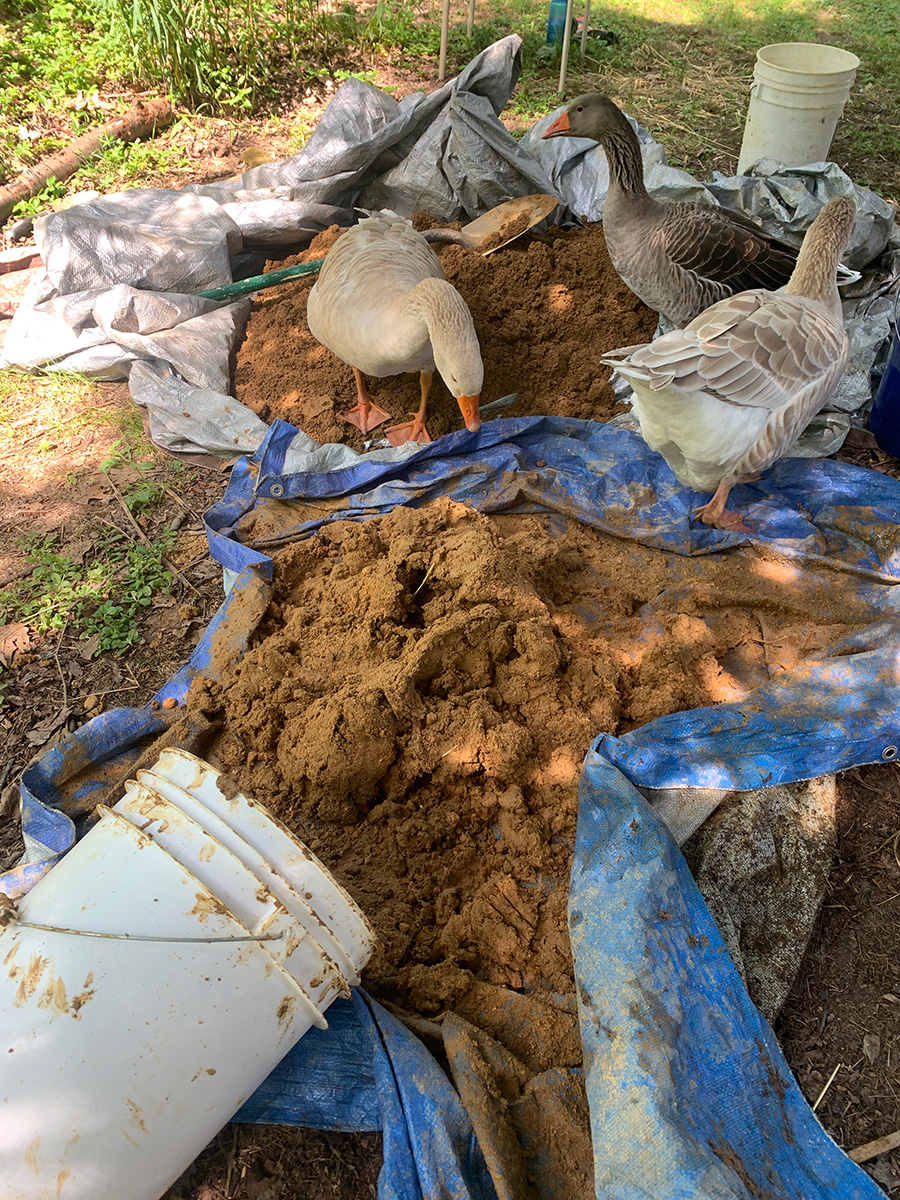
You have a lot of options for finish plasters and thinking about how to protect your oven. Lime plasters are one option–here is a good introduction to lime plaster. If you do lime plaster, you will have a nice breathable finish that is also very protective of rain and snow.
I made a cob-based finish plaster using a higher ratio of sand to prevent cracking. You will want to mix your plaster in advance and then do a test piece on your plaster to see if it’s cracking or not. If it cracks, adjust your ratios (particularly see if you need more sand). You will also want to include a short fiber that is very strong. A lot of people use cattail fluff for this; but, I had an abundance of milkweed pods on the property (and I was already using the seeds for seed balls), so I decided to use the milkweed fluff and that worked great.
Plaster can be applied in a thin layer. What I did was to briefly wet down the outer layer (so that the plaster sticks) and then use a trowel and my hands to spread the plaster, about 1″ thick and smooth it out nicely. Here are a few steps:
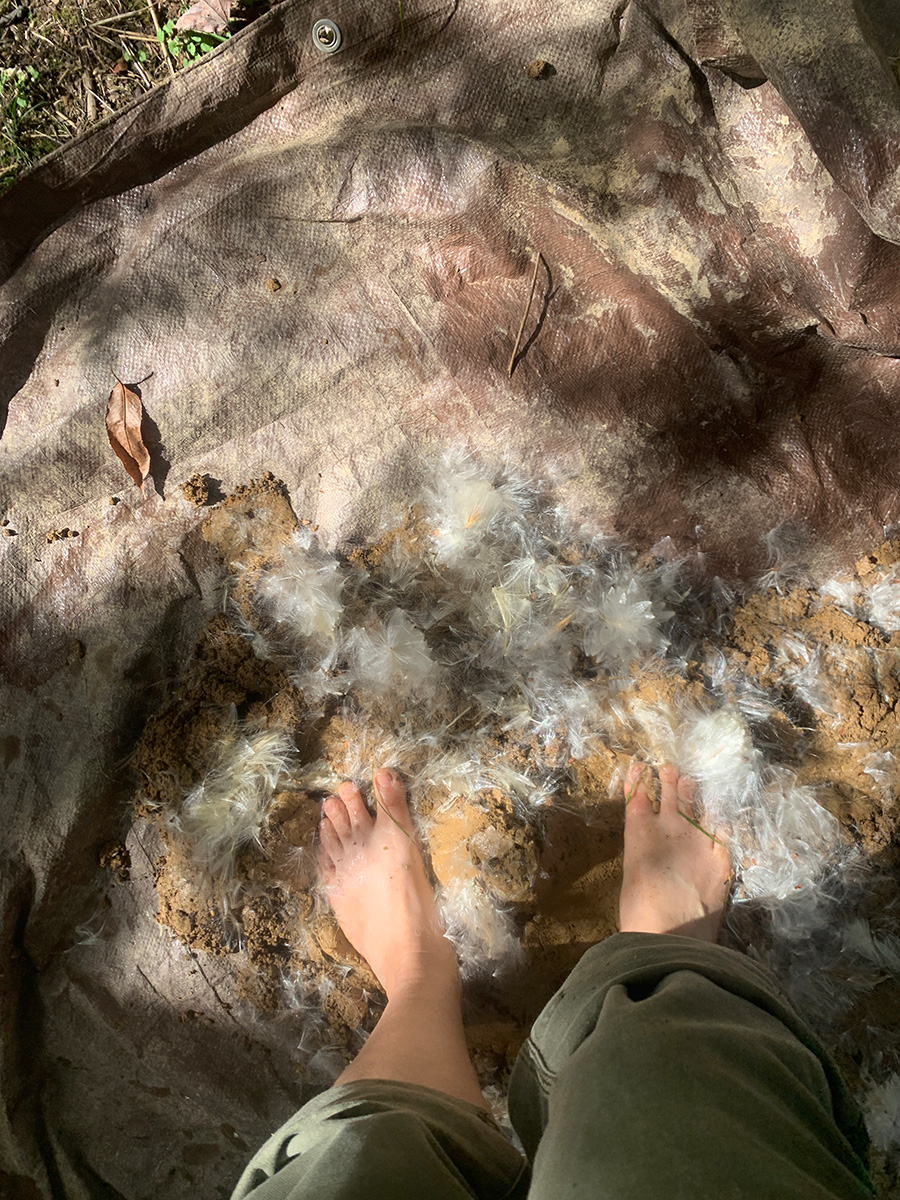
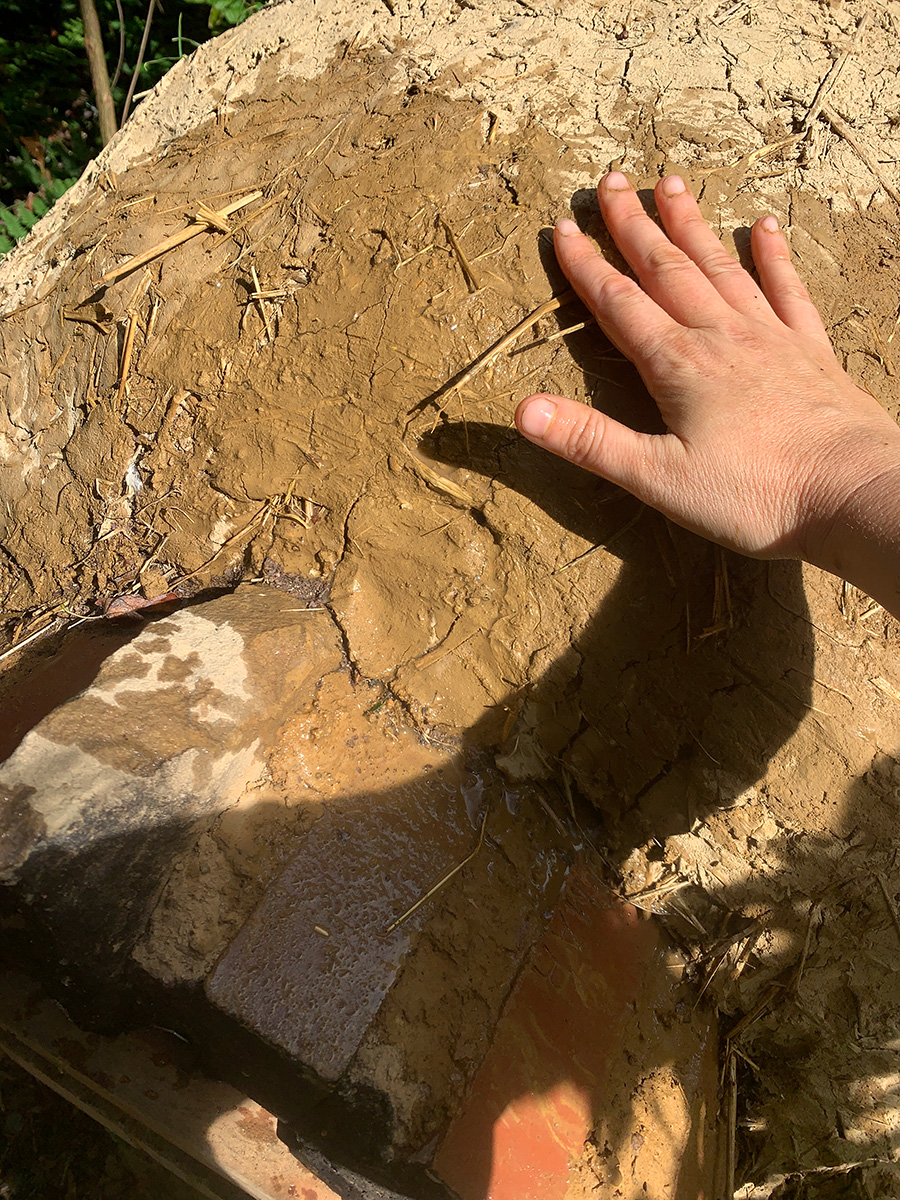

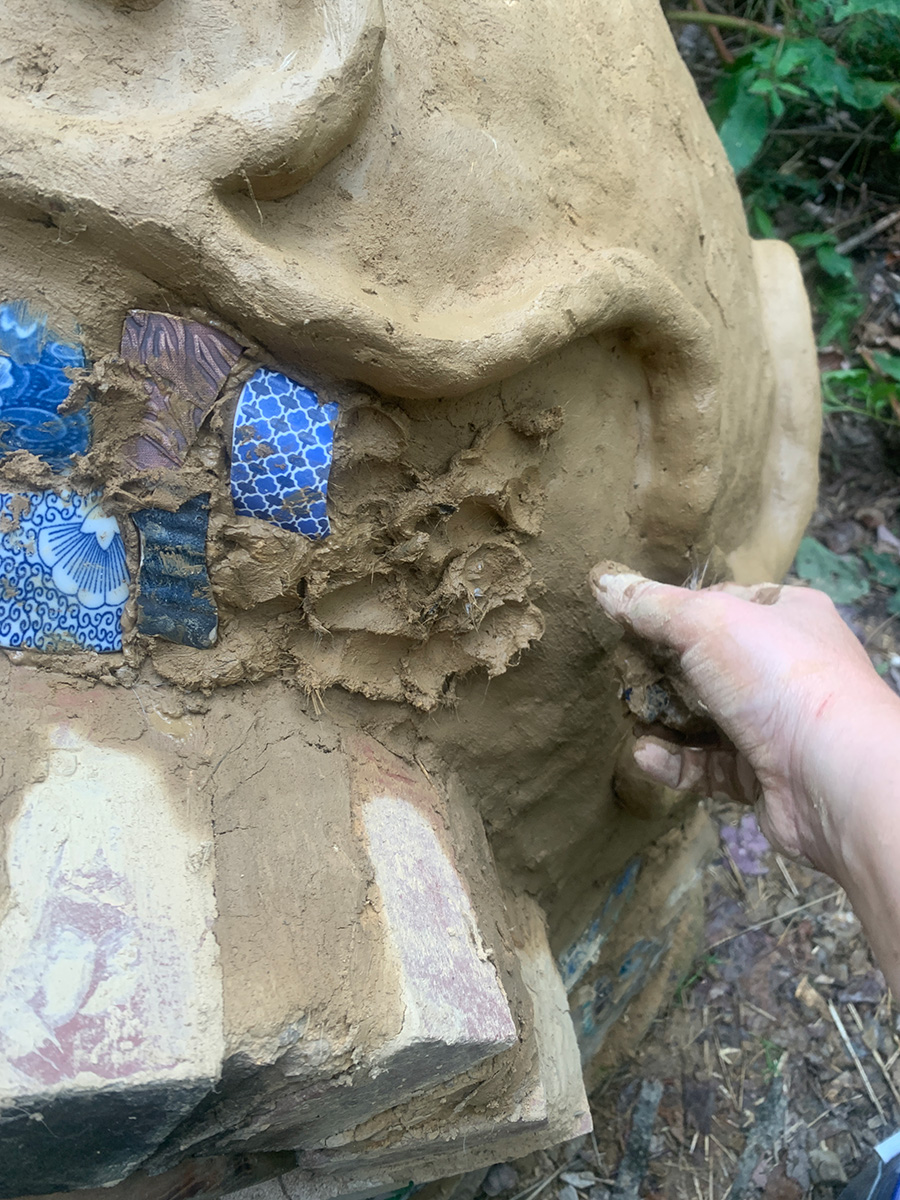
Because I also wanted some artwork and decoration on my cob, I used the cob plaster to shape some nice spirals. I saved up broken plates, cups, and bowls that had broken during regular use, and then I used a hammer to smash them up and give me smaller pieces. I embedded these in the cob plaster and used a small sponge to wipe away excess. When the plaster dried, I went back in and wiped it away again to clean up the mosaic pieces.
I’ll show a few detailed photos of the mosaic:
In this first photo, you can see how I shaped the finish plaster and added the spirals. The finish plaster below this is still wet; if it wasn’t, I would have wetted it and also scored it with a stick or a butter knife to give the new plaster a bit to hold onto (just like you would do in pottery). I added cob glue/grout to the inner area and kept adding a few pieces at a time. I did this with extra cob so that things would hold firmly.
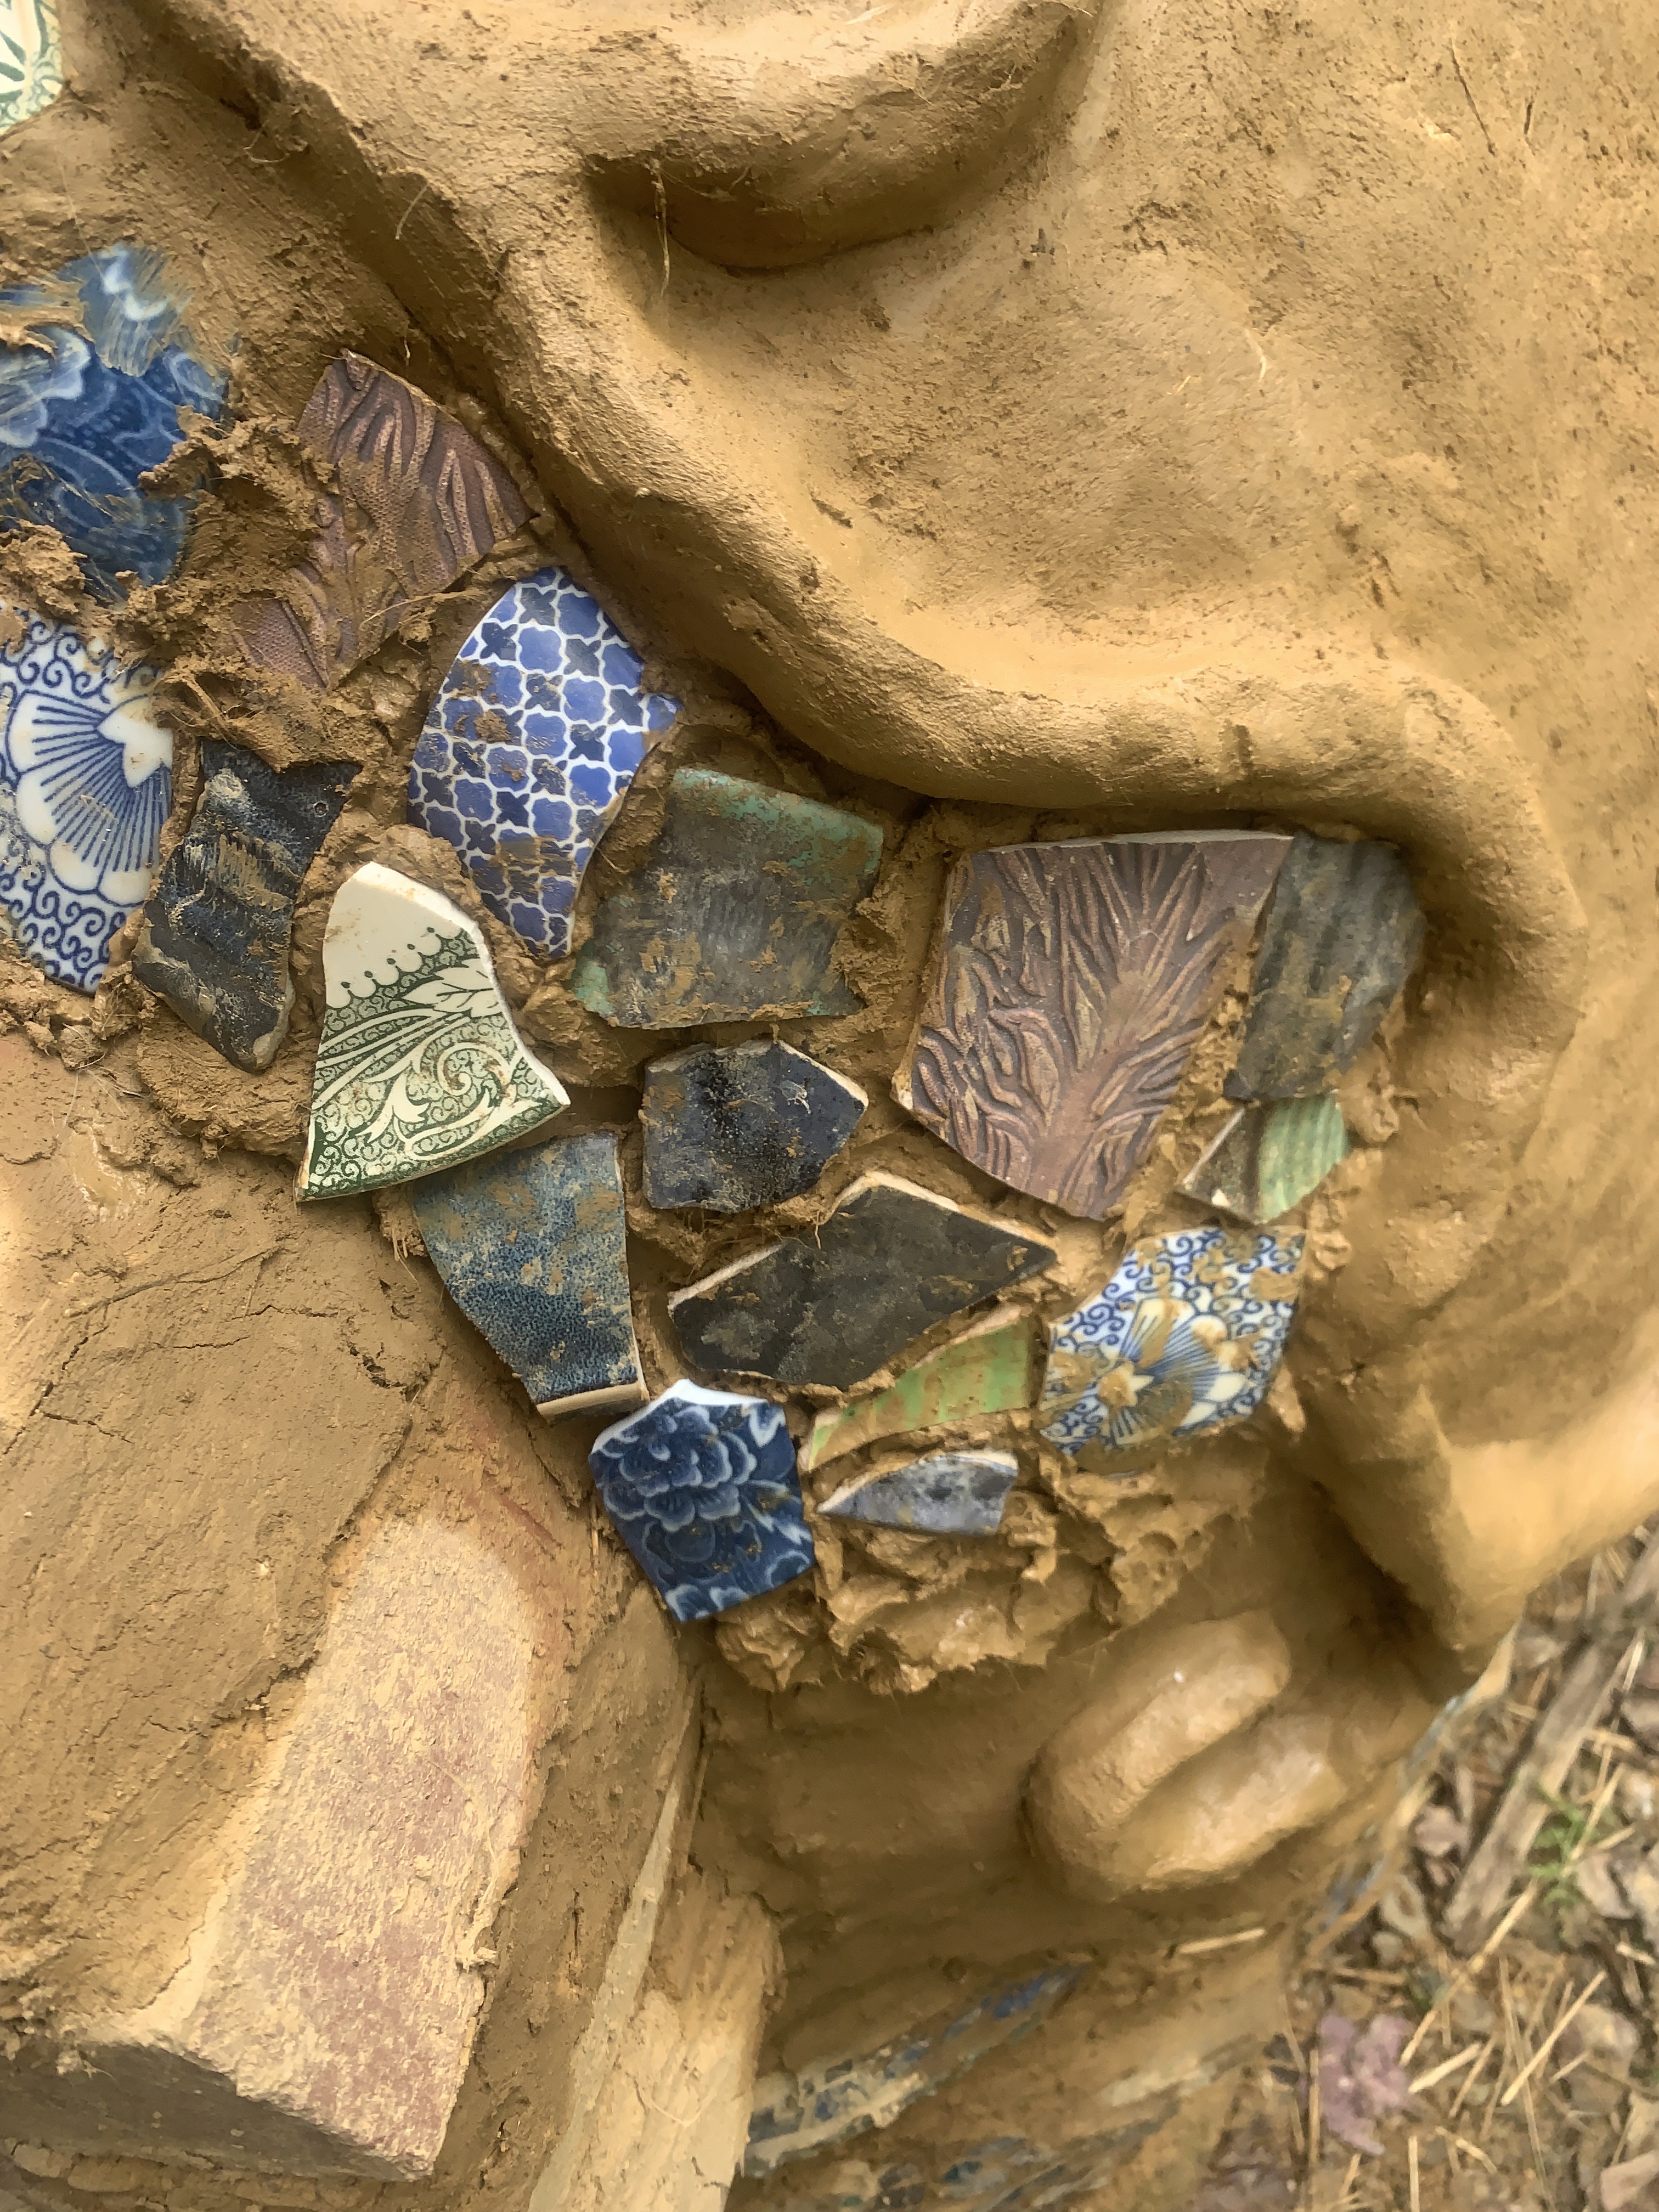 Here you can see it as the mosaic progresses.
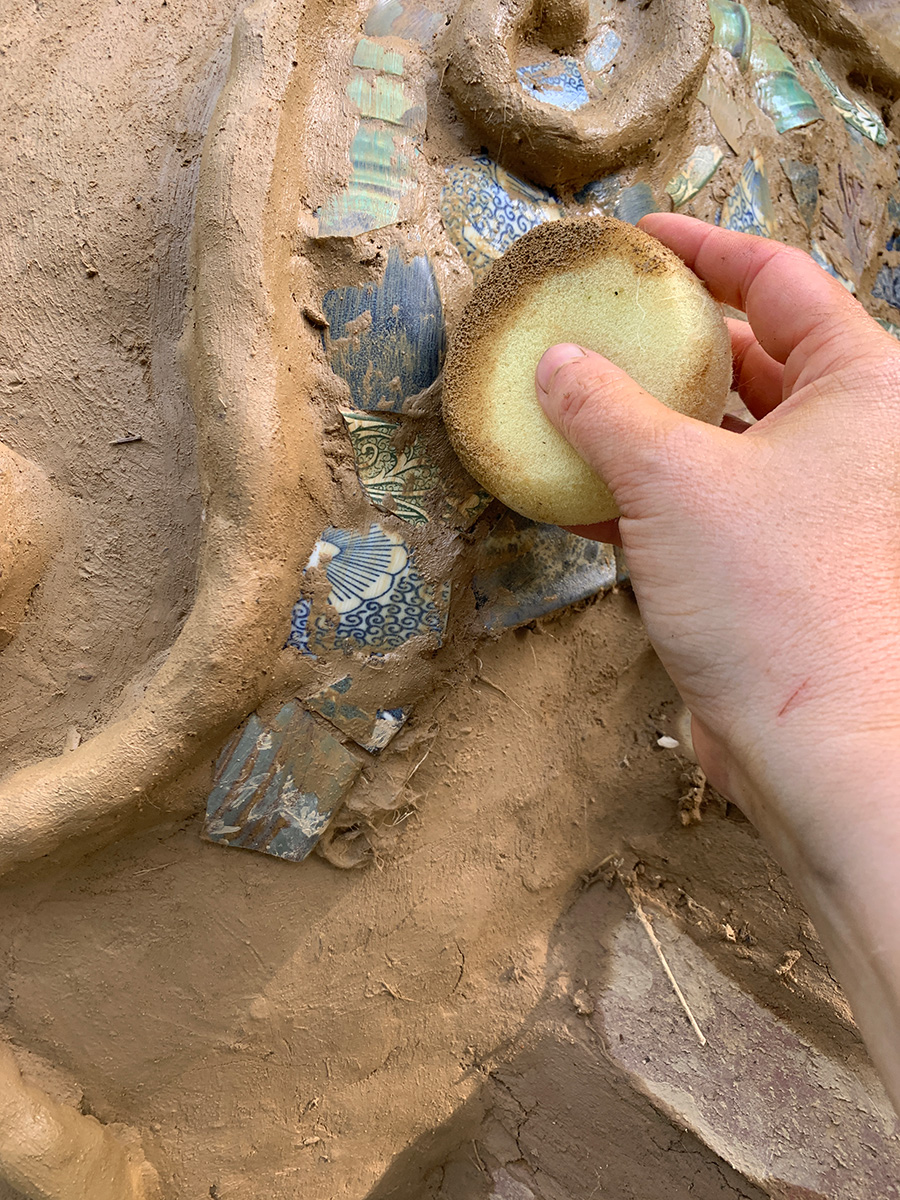 Now I’m going in and taking a wet sponge and sponging off most of the excess cob. If there are areas that need more cob, I add it. The idea is a smooth presentation.
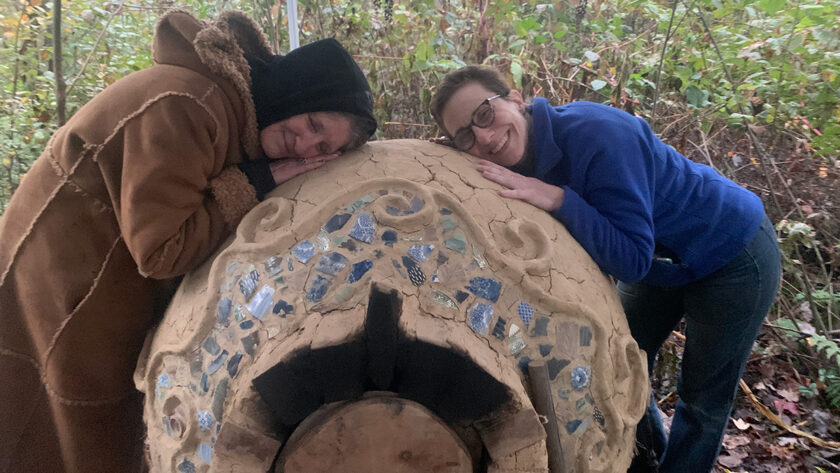
Here’s what the finished mosaic and oven looks like!

Despite my best efforts, I still had a little cracking on my earth plaster, but I’m ok with that. I needed to do a second test, and I didn’t, primarily because it was starting to get cold and I was running out of time to complete the build!
Sheltering your Earth oven
The final step for your earth oven is to create a shelter for it. You either need a shelter or a finish plaster( lime plaster). In temperate ecosystems with lots of rain and snow, a shelter is your best bet. I am working on that final step in June, so I’ll share more about it once my friends and I finish that part. It has taken some time because I’ve been harvesting lumber from the property–as trees fall down or are blown down by storms, I am gathering them up to use for my shelter. This takes more time, but it’s also in reverence and respect for this land that had been logged before I came.
Final Thoughts and Troubleshooting
My oven has a crack! Nearly all earth ovens will develop a crack somewhere. That’s ok, and honestly, the crack can tell you a lot about the oven–as you learn about your oven, you will learn to read the crack to understand the temperature, etc. This isn’t usually anything to worry about as long as you have built a strong structure.
My oven takes a while to heat! Yes, it does. This is not like turning on your fossil-fuel-driven oven. Earth ovens take time and are absolutely ‘slow food’. Because of this, you have to spend time tending the fire before you can cook. To get pizzas, I start my oven about 4-4.5 hours before I want to bake. If it’s below 40, I start it 5 hours before I want to bake. This means every 30 min, I am going to tend my fire. That’s part of the experience. If you aren’t achieving baking temperatures, you probably need a longer fire.
My oven doesn’t seem hot enough. Get yourself an oven thermometer (the stand-up kind) and see what your internal temperature is.
I will be sharing more details about baking in the earth oven and some cool recipes to try in my 3rd post in this series! Stay tuned. In the meantime, I hope that this series has inspired you to get your hands in the mud and maybe build something or help someone build something. Blessings!


[…] Building an Earth Oven, Part II: Insulation, Finish Plaster, and Cob Mosaic […]
Dear Dana, Thank you so much for part 2 of your cob oven plans. The detail and the care with which you write about it is inspirational. I am an OBOD Ovate and resonate with all that you say … I have your book and love what you say about ‘The Lawn’ (I don’t have one; all my garden has non-grass plants and veg in it.) Thank you for inspiring us! Blessings, Andria
Hi Andria, you are most welcome! I’m so glad that the posts resonated with you :).