A delightful nine or so months ago, I posted about attempts at the first batch of dandelion wine. In today’s post, I’ll talk about what has happened since that first post and the process that we went through to finish off our wine.

I have talked at length about different preservation techniques on this blog. There is such magic in growing, foraging, harvesting, and preserving one’s own food and drink. When you pop the cork on your own homebrewed wine, or you unseal a jar of fresh black raspberry sauce, it is like nothing else you have ever experienced. Food bought at the grocery store begins, more and more, to look like soggy cardboard and tasteless drivel masquerading as something edible. This is not to mention the pesticides, GMOs, and other additives foods, even fresh foods like lettuce, now have all through them. And the fossil fuels required to get them to the store, to harvest them, to package them…the list goes on and on. Real food, that we grow and preserve ourselves, comes as a labor of love and a connection to the sacred landscape. As I continue further into this journey, I can taste, smell, and experience the difference with each mouthful.
This 5-gallon batch of dandelion wine has certainly been a labor of love. Truthfully, when I decided I wanted to brew a batch of dandelion wine last year, I had no idea what I was in for! After making our wine in late May, we waited three full months for the primary fermentation to cease (this is when the wine stopped having crazy amounts of bubbles). At this stage, we were supposed to rack it (meaning transfer it from the primary fermentation vessel, with all the raisins and yeast that settled to the bottom) to a secondary fermentation vessel and then wait two months so it will “clear” and then bottle it. Well…erm…we waited a little longer than 2 months after the initial “racking” into secondary fermentation. We waited more like 5 more months. We got so busy with the apple harvest, and then the winter holiday season, that we just finally got around to bottling the stuff. But it was very much worth the wait!
I’m going to walk you through step by step our process of bottling the wine. At this stage, the wine has been allowed to do its initial fermentation (in a glass carboy) and then we “racked” it, or transferred the liquid (but not the yeast sediment at the bottom nor the raisins in the liquid) into a 2nd glass carboy where it fermented and “cleared” (meaning the yeast sediment dropped to the bottom). We were left with a 5 gallon batch of yellow wine with a fine layer of yeast sediment on the bottom.
Here we start by doing a lot of sanitizing of our bottles and our bottling bucket. This allows us to be sure there aren’t any bad bacteria in the bottle or bucket that could screw up our wine. Potassium metabisulphite is used as a sanitizing agent–you mix some up in water, spray it, add more water, and swish it around. You let it sit for 10 minutes then rinse really well.


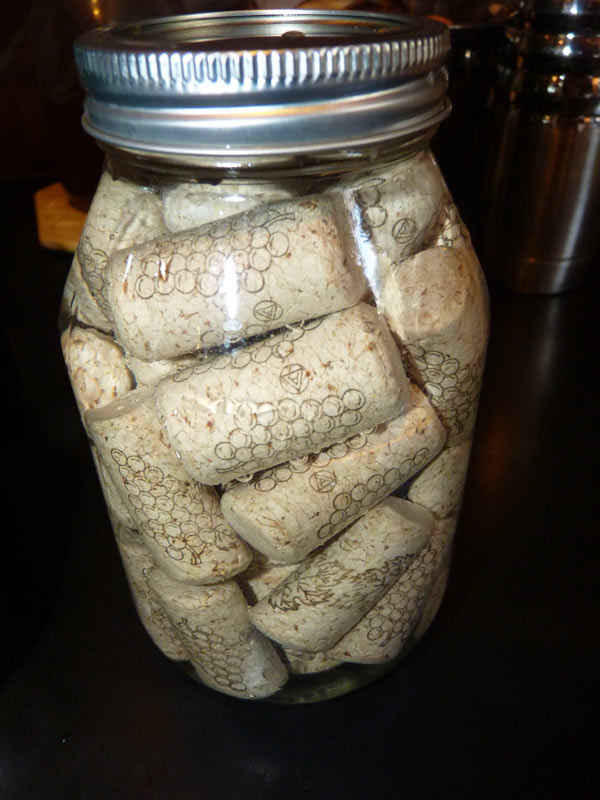
While the sanitizing is ongoing, we also soaked our corks (they require a 20 minute soak) to get pliable. They did not want to be covered in water in a bowl, so I stuck them all in a jar and that worked well.

Once our equipment was prepped, the real fun began. We had to transfer the wine into the bottling bucket and avoid the layer of yeast that landed on the bottom of the wine. Gravity and some equipment from the brewing store does most of the job for us.

Once the wine is transferred (which takes about 15 min), we had to make sure that we got the last good drops. Here, my brew mentor and dear friend, Paul, is siphoning out the last of the wine and trying not to stir up the yeast on the bottom of the glass carboy.

Before we bottled the wine, we decided we better have a taste. The wine was not bitter at all–it was sweet and quite strong! I don’t drink much at all, so it was an experience for me!

To bottle the wine, the bottling bucket has this neat little wand that you simply place into the bottle and push up slightly so that the wine will flow into the bottle. Then you pull it out and it is ready to cork. So simple! I realize how important good equipment is to this whole process!

After that, you cork the wine using the nifty corker (I borrowed the bucket and corker from friends since I am new to brewing).

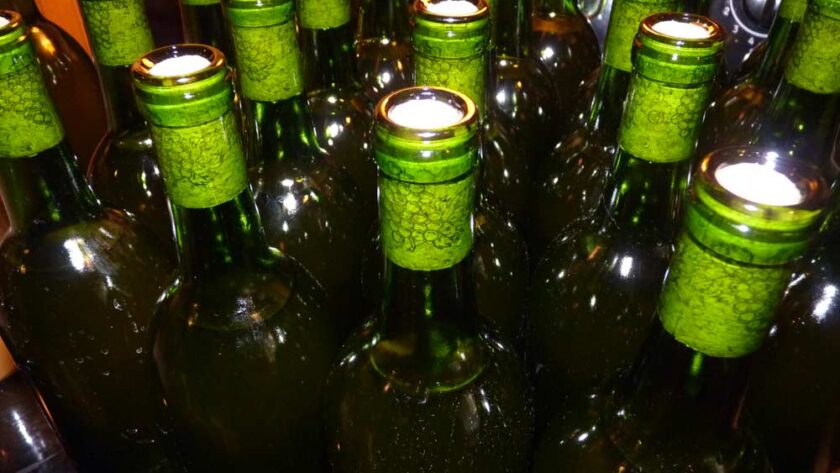
After that, there is nothing else to do but let it age in the bottles another 6 months to a year and create a nifty label (which I haven’t yet done).

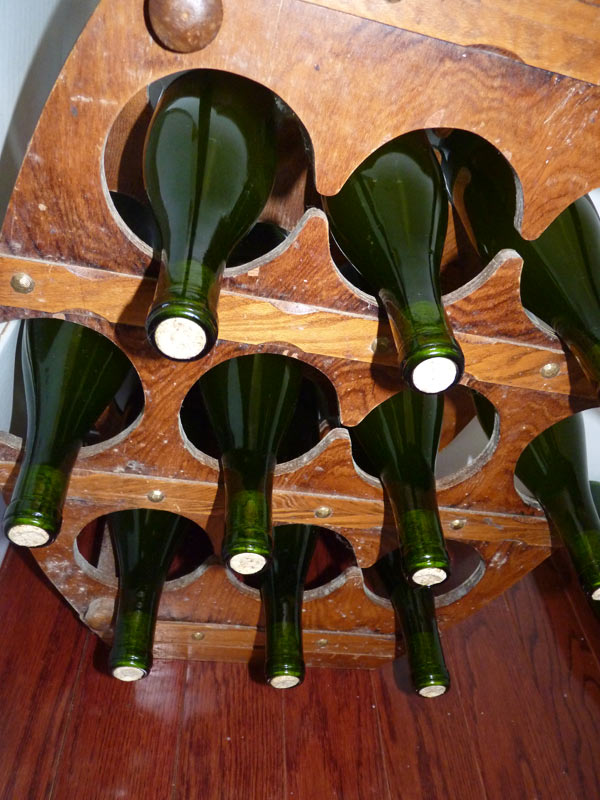
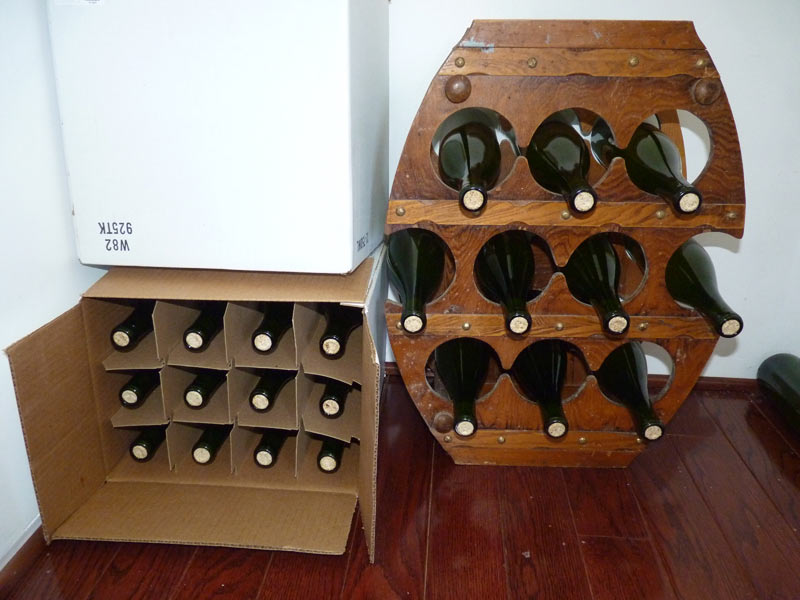
We stored the wine on its side in a dark, cold closet. If the wine doesn’t sit on its side, the corks may dry out.

Winemaking was an epic adventure. It did require some initial investment for equipment, but now that I have the equipment, any additional batches of wine are going to be cheap to produce! I also am happy to say I’m following in the footsteps of my ancestors–my grandmother on my father’s side loved making dandelion wine, and made it in gallon batches with a giant balloon on the top to regulate fermentation. I’m told by my parents that her wine was quite strong and quite tasty. I think I’ll drink some of my wine in honor of my grandmother this Samhuinn. And from the sound of it, my wine is going to be just as strong as hers was!


Really enjoyed reading and seeing all the fun and work involved in making dandelion wine. Makes me appreciate all the effort that goes into a bottle of wine and time!
Yes, its so much fun-even if it is a bit of work. Most good things in like are!
I am new at wine making after being a Florist for 35 years.I am excited to do flower wines.My grandmother made great dandelion wine.I Rember her using a new felt hat to strain when she did her racking.Long long time ago.Can you share your recipe as I am trying to confirm just the flower part / no green parts.of dandelion.How much do you need for 5 gallons.Wow this is lots of picking.Loved your article. Thanks so much.Laurie Email.laterres@telus .net
quick question is it a requirement to rack the wine or does it just make it clearer
I’ve only done it by racking, so I don’t know if you can skip that step. I don’t think you can!