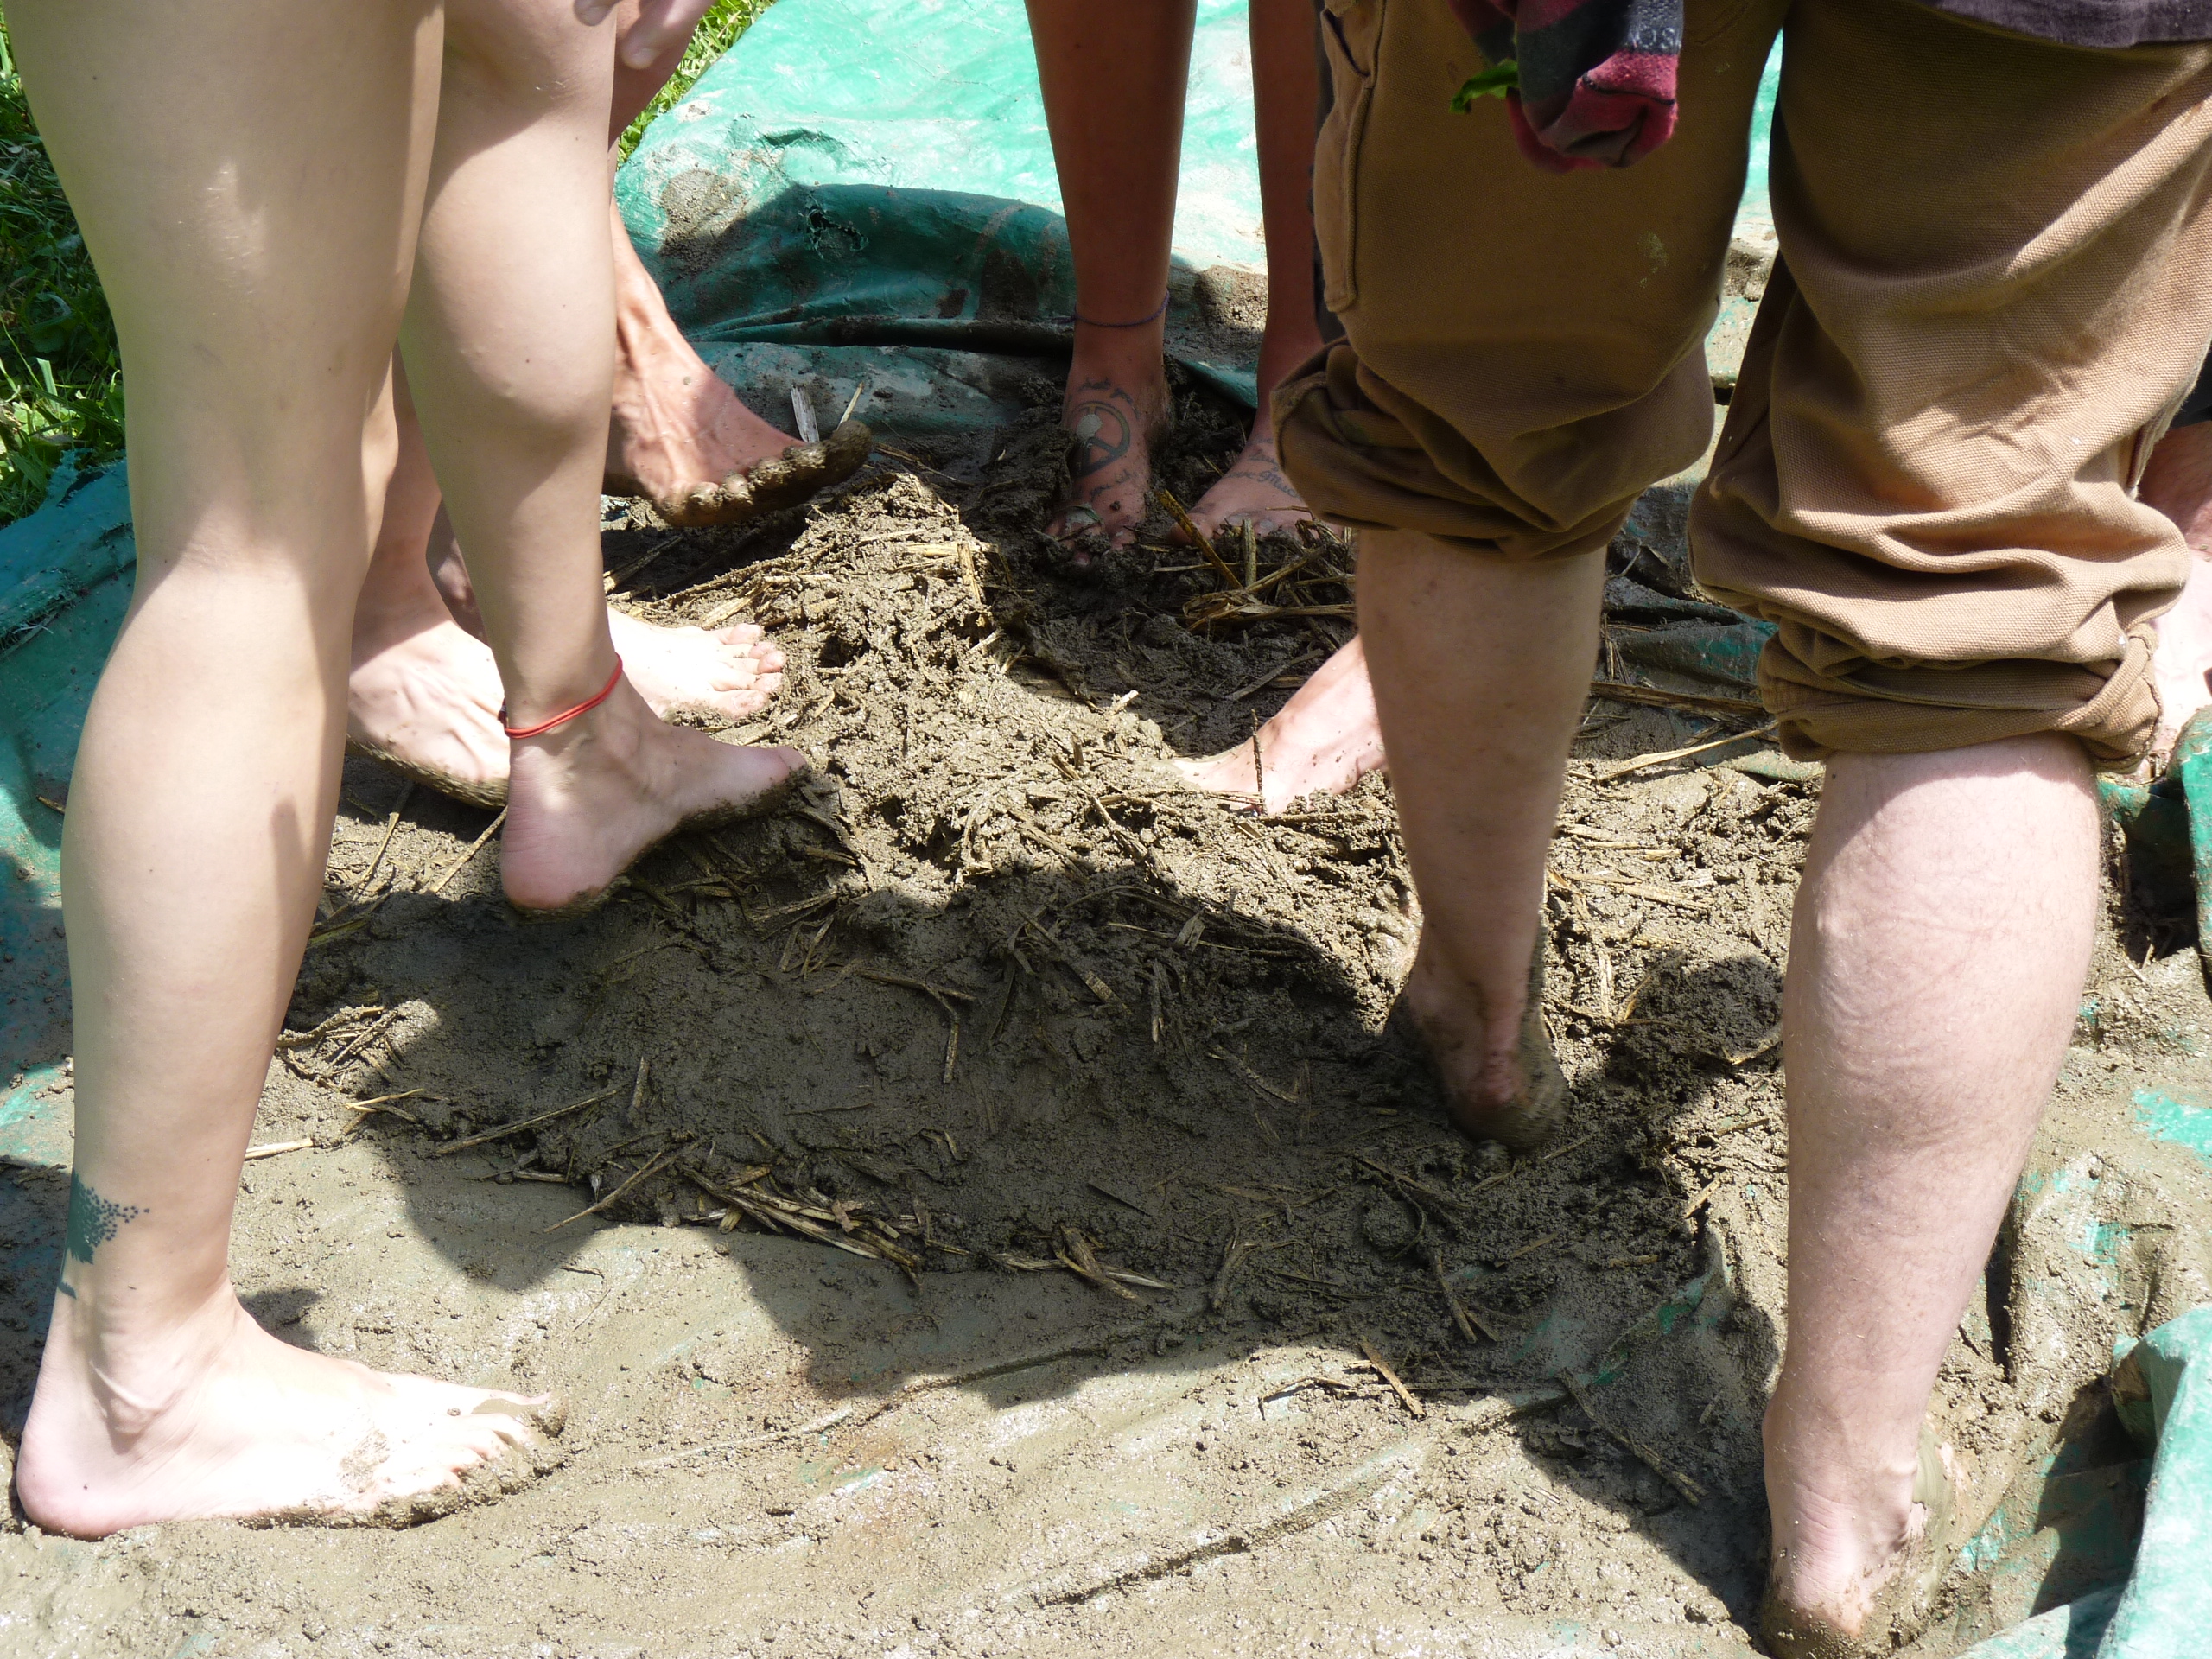
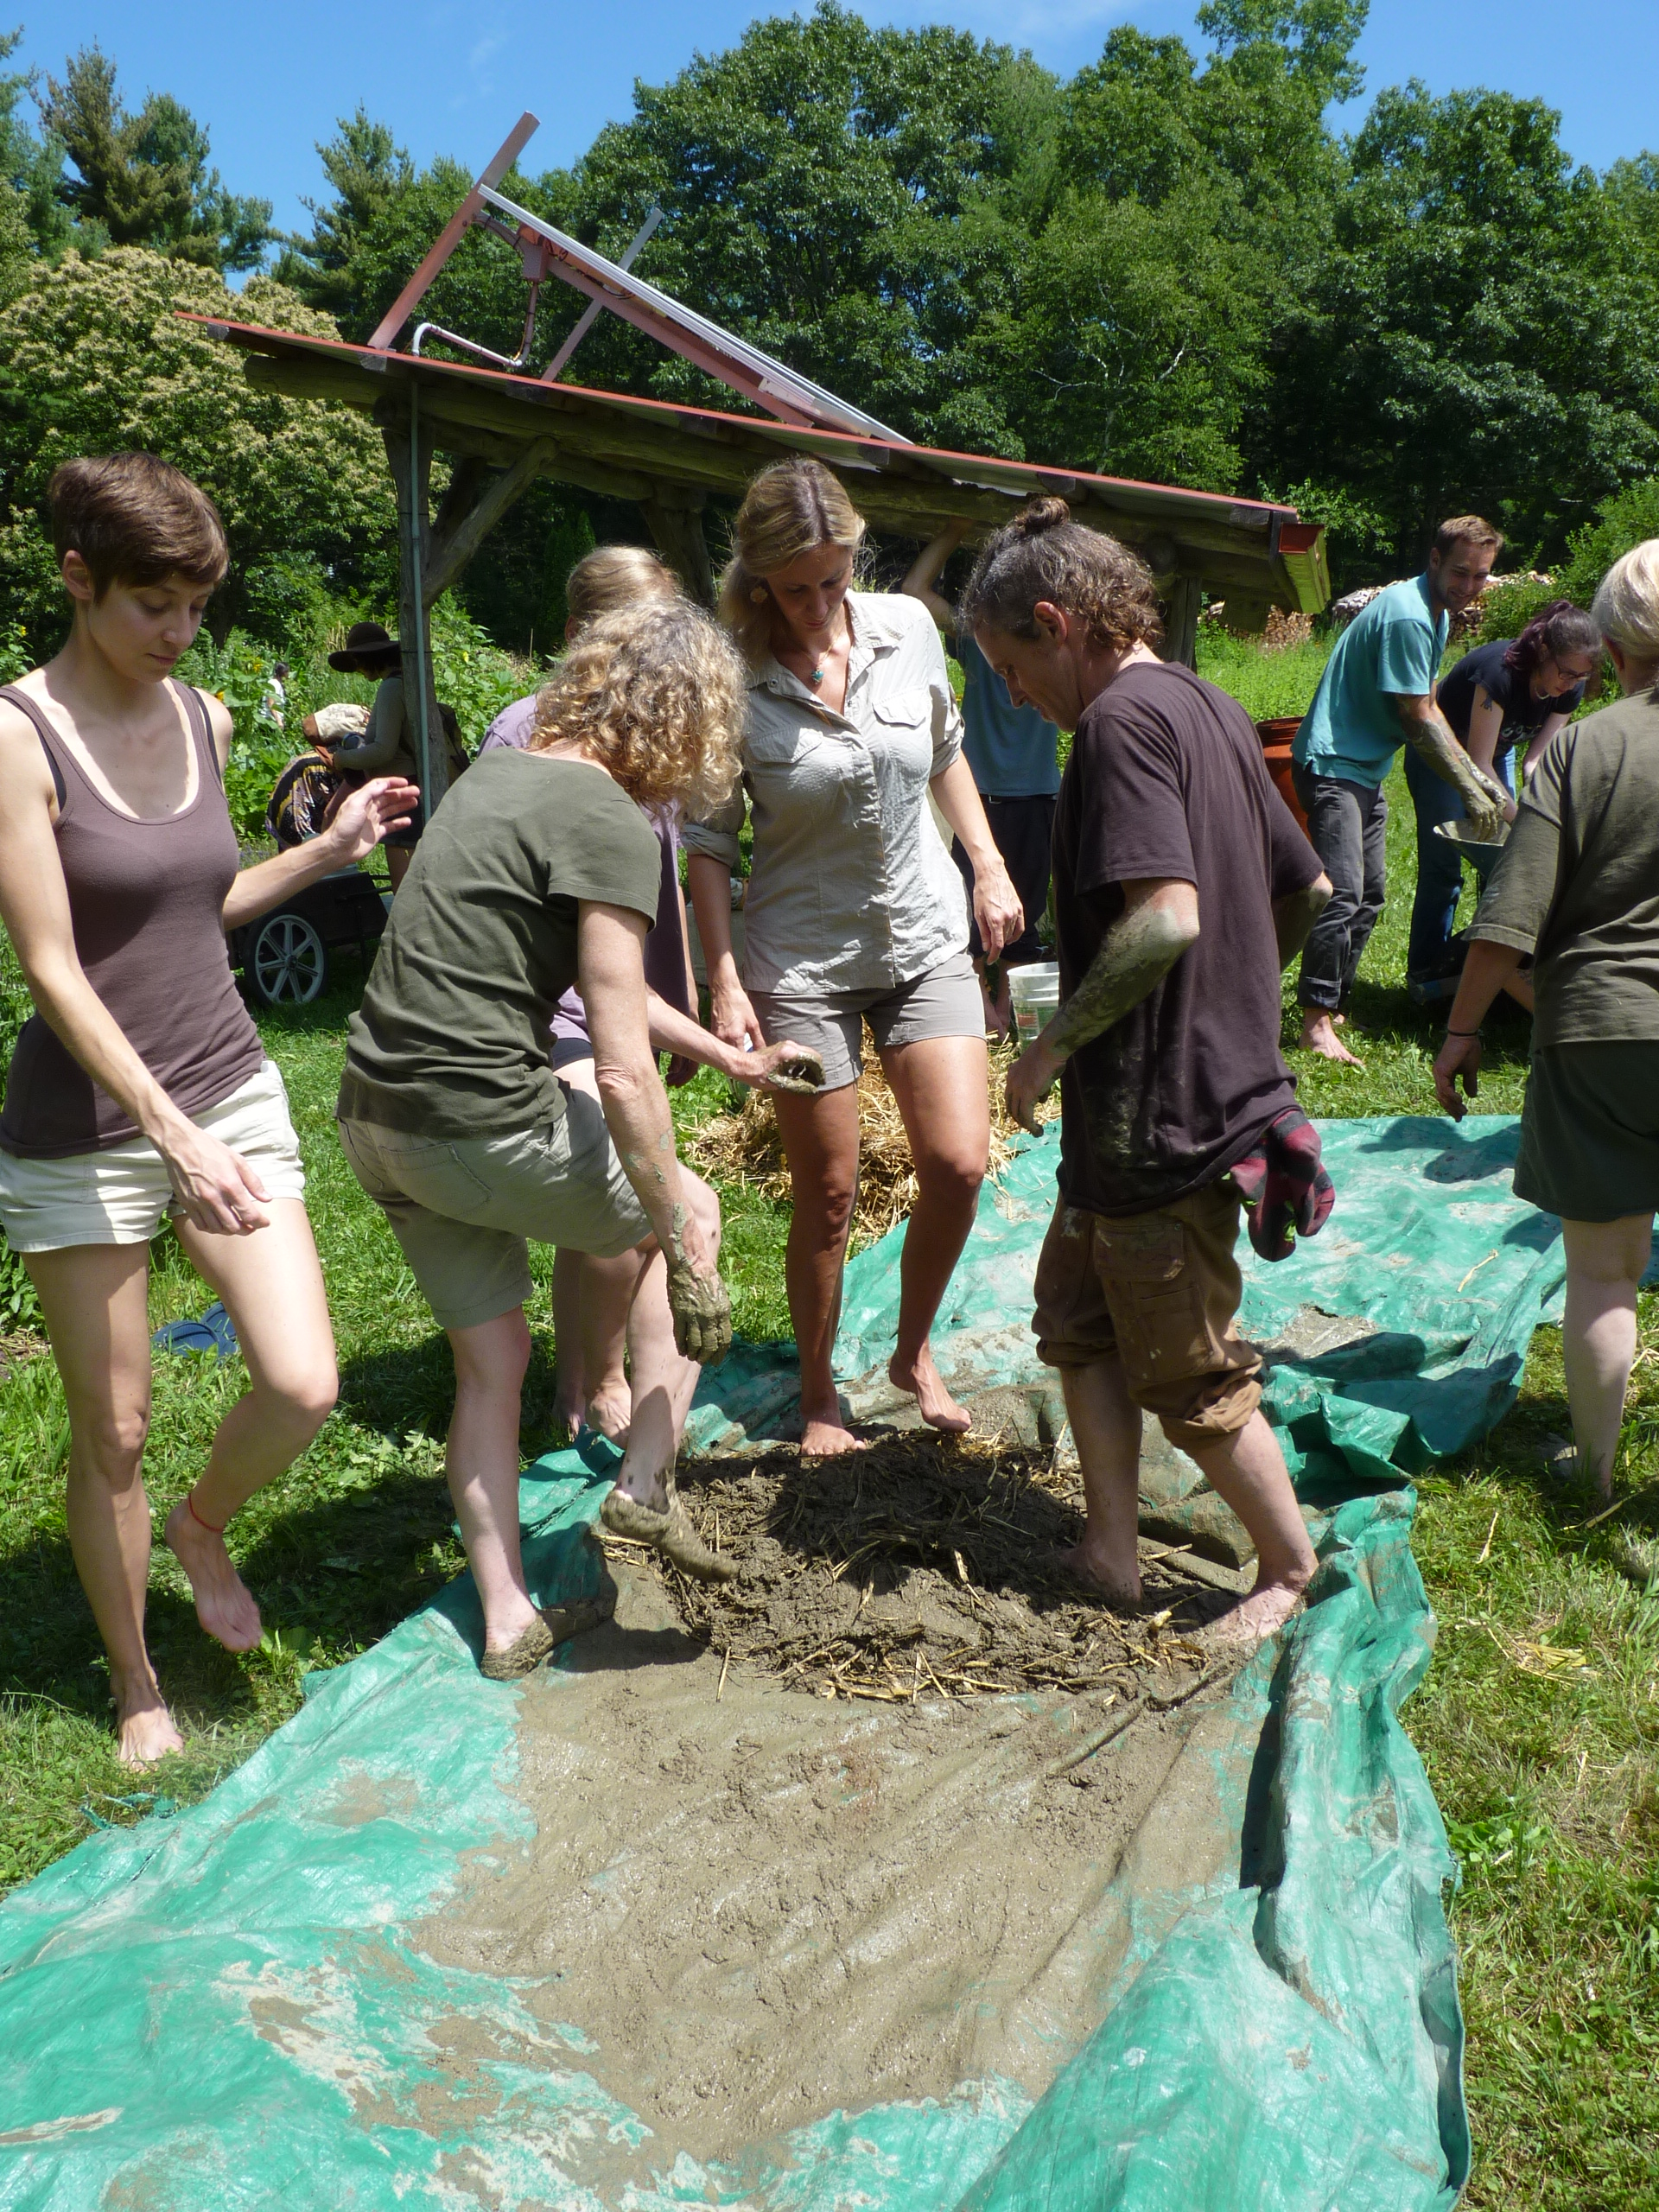
In a meadow under the summer sun, a group of dancers laugh and fling mud. Beneath their feet, clay, sand, and water become mixed together, creating a sticky earthen blend that sticks to their feet, their legs, and, after some play, faces and fingers! This is a cob mixing party, one of the best times you can have with good friends. After the cob is mixed, it is added by others to the bench and more soil is added and the dance continues. In last week’s post we explored some reasons to consider exploring natural building as a potential way to build sustainable structures and be more attuned with the energies of earth. In this week’s post, we will get into how to test your soil and how to make some cob!
One thing I want to share about cob–you don’t have to build big things, like houses or ovens, with cob. You can also build really small things–candleholders, paperweights, primitive statuary, and so on. You can do an earth plaster on a wall in your home, or build a small cob bench overlooking the woods. I think the underlying practice with cob is simply to work with the earth in this very earth-honoring and embodied practice. This post explores how to test your soil and make cob, which you can then use to shape your world!
Preliminaries for Cob: Testing Your Soil and Quality of Cob
Soil Horizons and Your Subsoil
 Making cob requires you to understand a bit about soil horizons and how soil lays on the earth. If you dig a hole in the earth straight down, you’ll see that soil show up in layers (horizons). The first layer, the O layer, is an organic layer–where dead and rotting organic matter can be found. This is the layer that is created when leaves fall and rot, creating dark, rich, humus. This is what we want to grow plants in, NOT what we want for natural building.
The second layer, the A Horizon, is the surface layer. It is usually less dark, but still contains nutrients and organic matter. It usually appears lighter in color. Again, this is for plants, not for cob.
The third layer, the B Horizon, represents the sub-soil. It is here where we find clay, sand, and silt; our basic building blocks for cob construction. You’ll notice another break in your soil as you go down–in my region, the soil gets quite orange, representing the high iron content that we have here.
The fourth layer is the C Horizon, or sub-stratum, where you get quite rocky before hitting the final layer: the R layer, bedrock. We don’t really want that for cob either. Depending on where you live, the bedrock may be very close to the surface or dozens of feet down, so you may never see it. Here in Pennsylvania, however, you can get a good look at the C horizon less than a foot down!
The amount of O and A Horizons you have is based on your own soil ecology as well as the long-term land use and land history. Parts of the world were stripped to bedrock by glaciers. Other parts have a 15 foot A Horizon due to long-term patterns of beneficial animal herd grazing. The same is true of the B, C, and R layers–the depth of these layers is based on a lot of land history factors spanning back tens or hundreds of thousands of years.
The good news is that in many parts of the world, clay and sand are fairly abundant and easy to get to with only a shovel! You can learn more about soil horizons in your area by looking at recently dug up areas–a fallen tree that has taken the roots with it as it fell offers one such opportunity; new construction into a hillside offers another. Or, you can simply get out a shovel and start digging–the secrets of the soil horizons will be revealed to you with a bit of sweat equity.
The Soil Jar Test
To find out how much sand, clay, and silt you are working with in your subsoil, you can perform a simple soil jar test. Dig down into the subsoil and get yourself a good cupful of subsoil. Break it up well if it is compacted as much as you can (this might mean letting it dry out for a few days in the sun and then breaking it up that way). Place this in a quart mason jar and fill with water to the top, leaving about an inch or so to shake it. If you have animal helpers, this is a good time to enlist their help. Shake it very well.
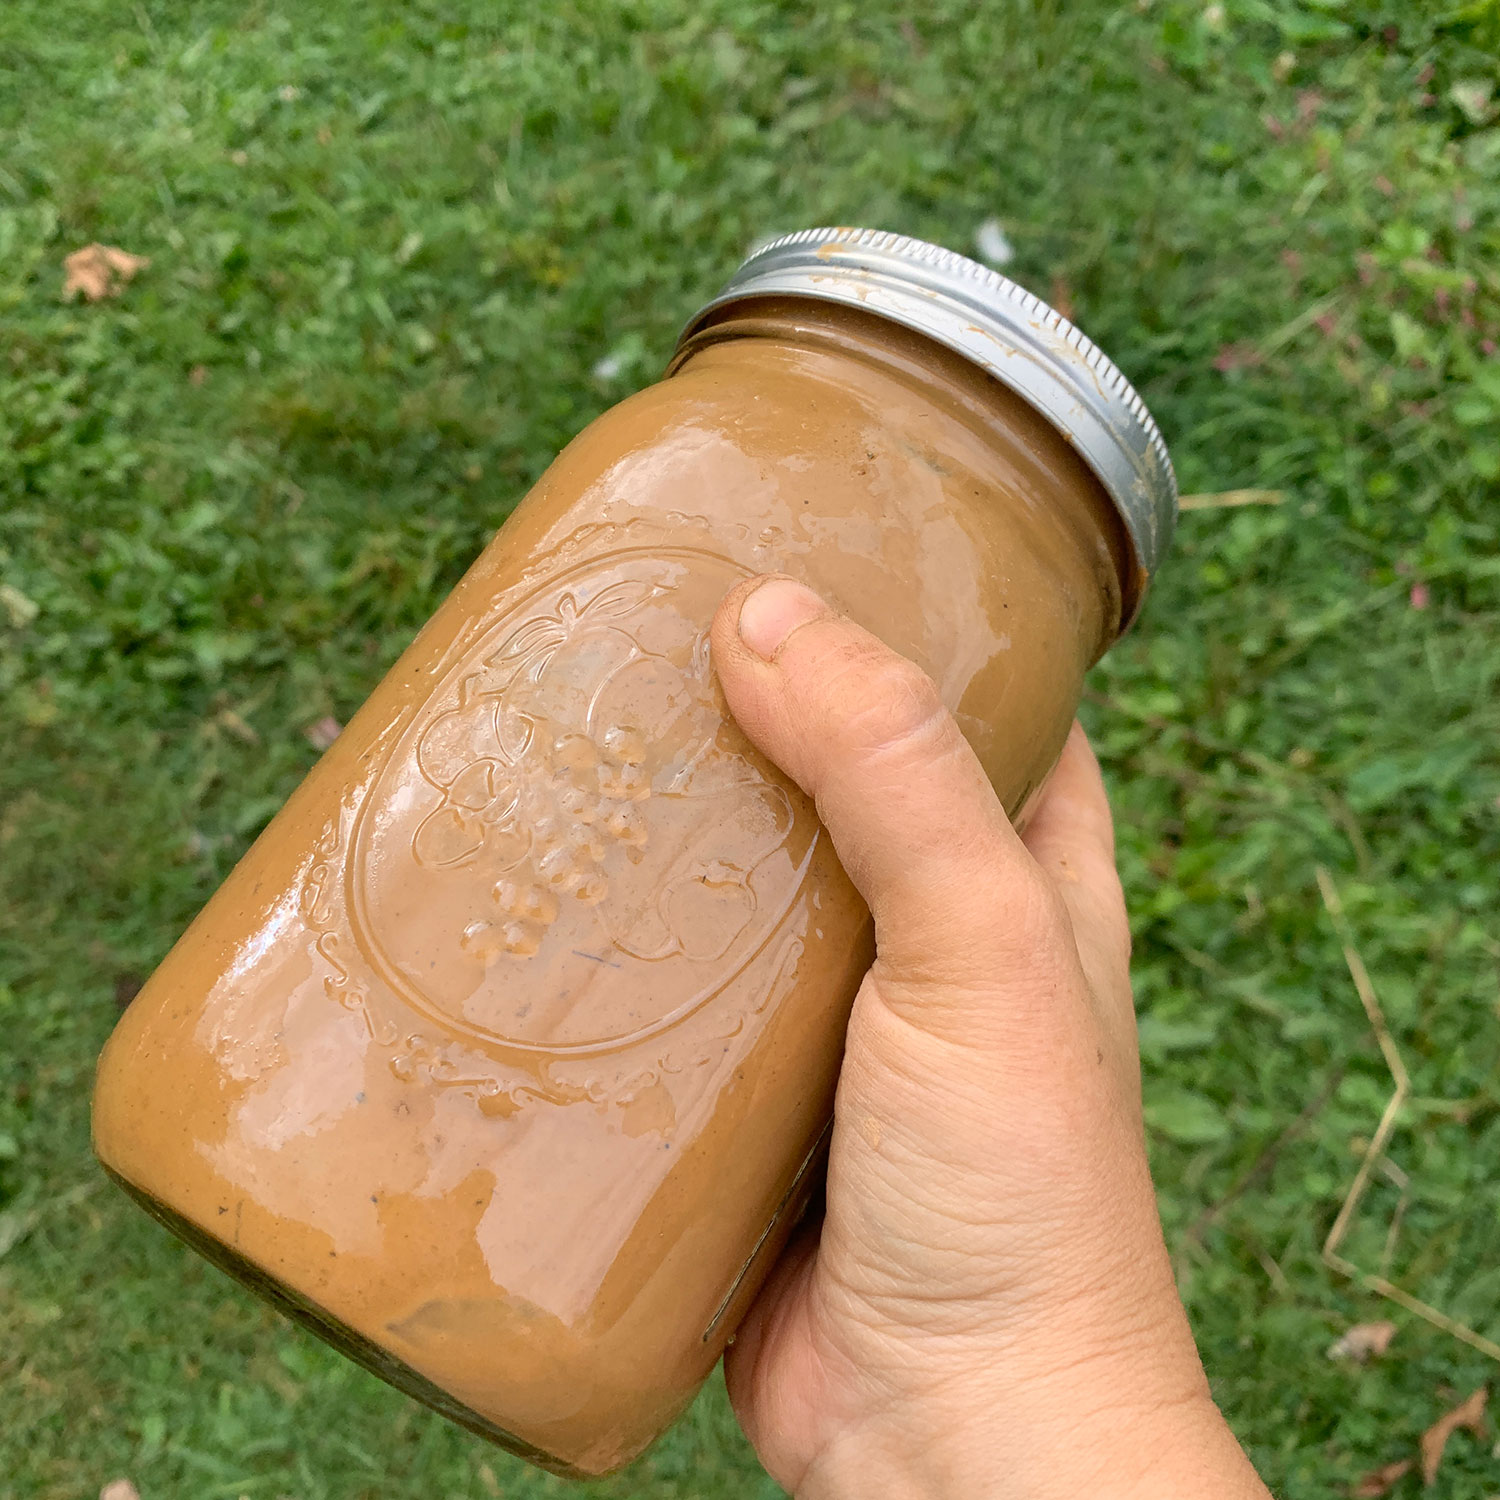
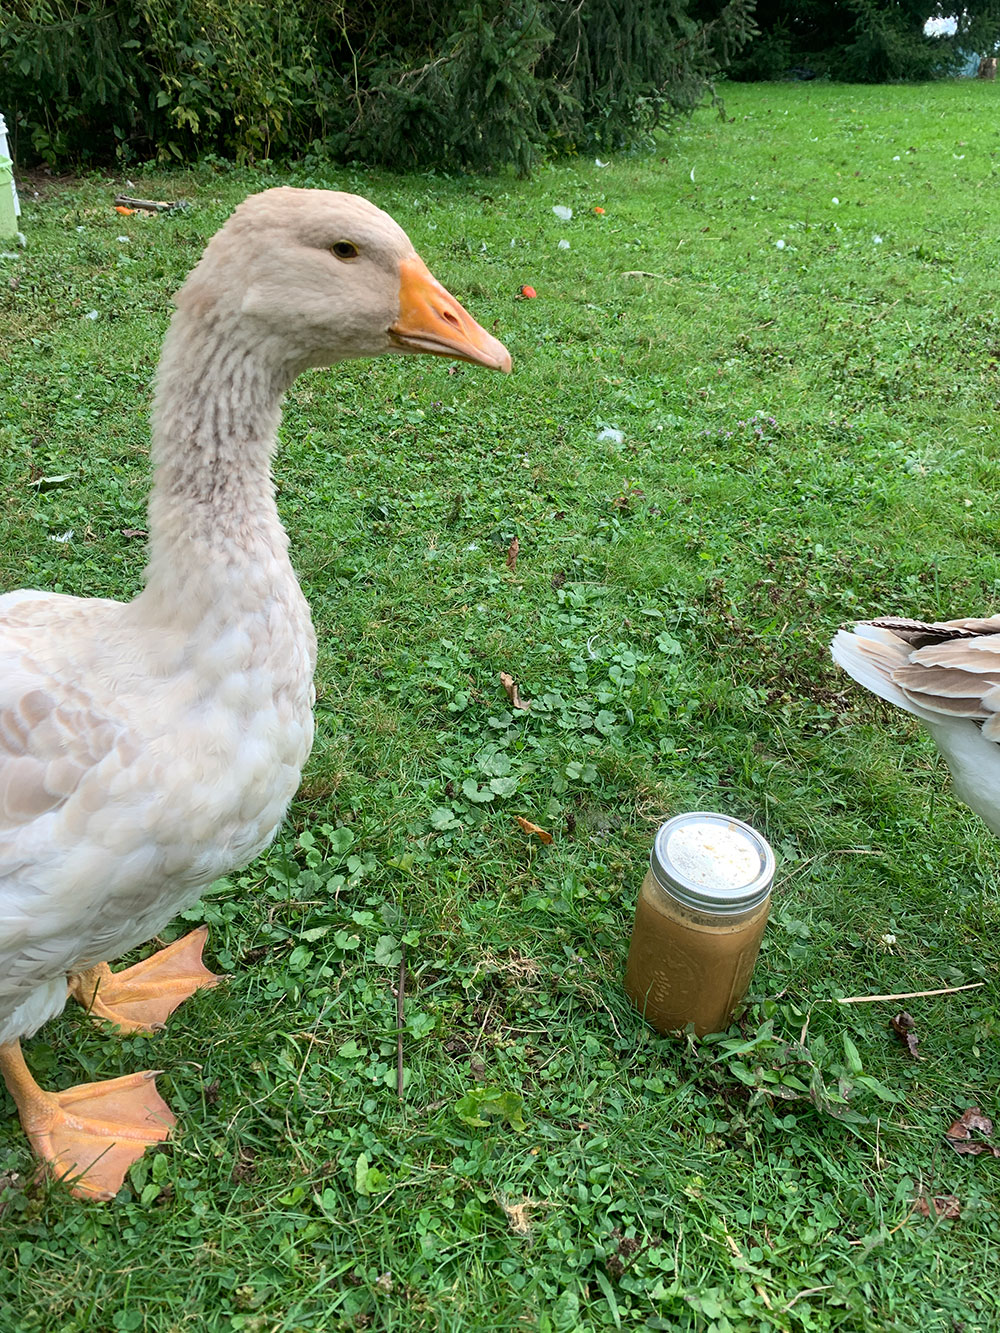
Now, let your jar sit somewhere undisturbed or 24 hours.
- The sand (a large grain particle) will immediately sink to the bottom, within a few minutes. Mark this with tape or a marker if you can, or mentally note where it is.
- A layer of silt (a medium particle) will settle on top of the sand in about 30 min. You should .again mentally note where that ends.
- Over the next 24 hours or so, the clay (a vey fine-grained particle) will settle out of the water.
- You will also see any organic matter floating at the top of the jar.
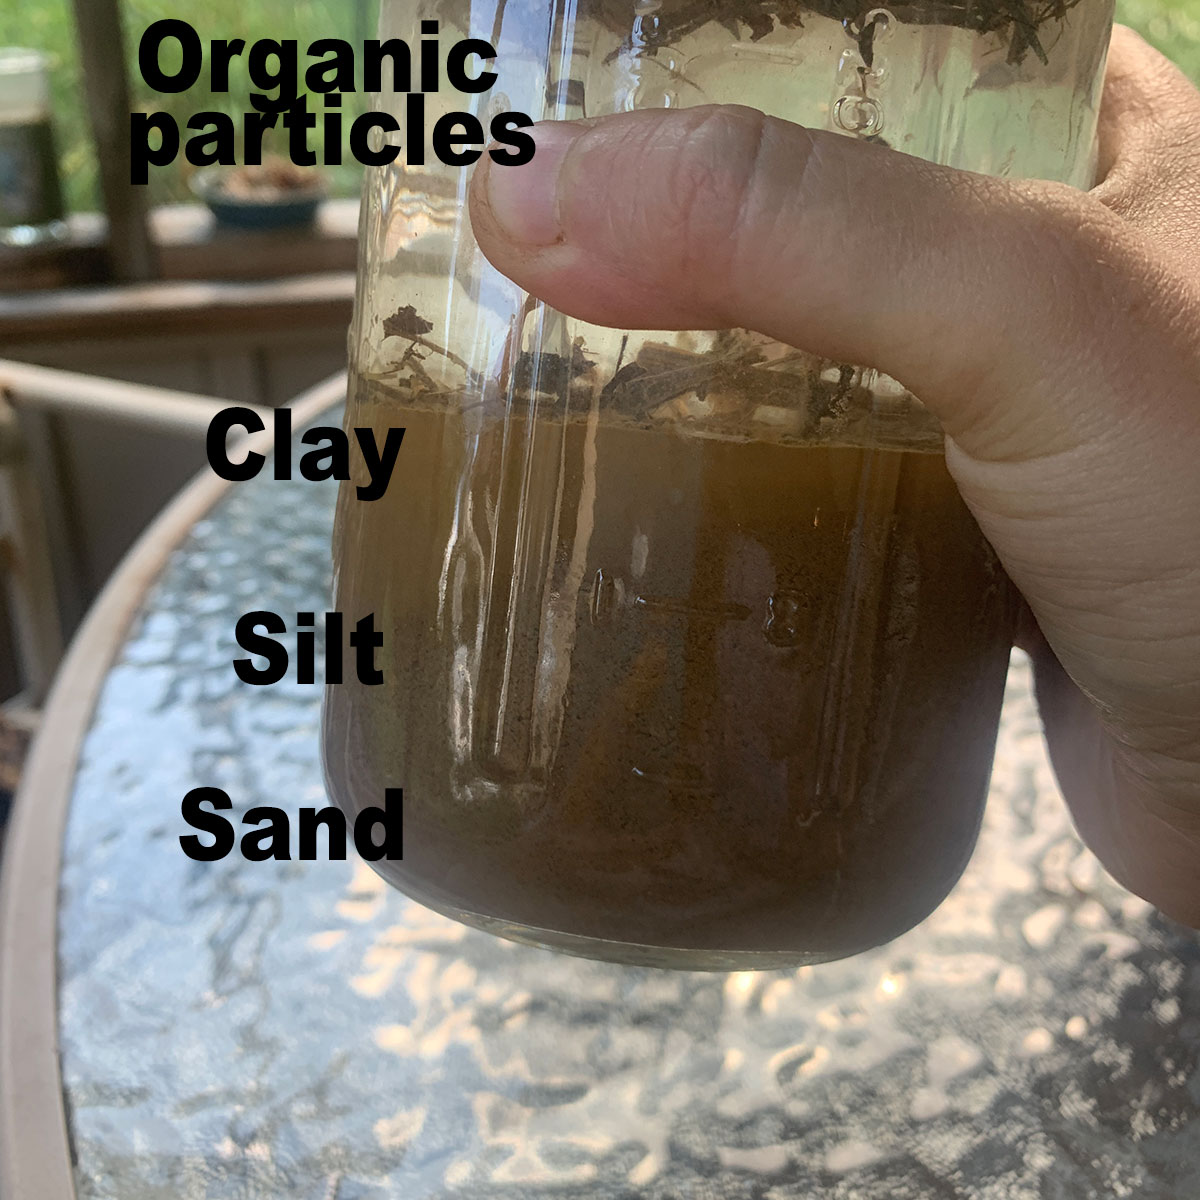
You can look at these ratios as a way to determine if you will need to source some off-site materials to make an effective cob blend (2 parts sand, 1 part silt/clay). As you can see from above, I am blessed in that I have an excellent ration of sand to clay/silt, and the cob from my land is almost perfect without any additions.
Any organic matter will settle on top (or float) but if you are using subsoil and you dug below the A horizon, you shouldn’t have much of that. (As an aside, you can use this same test for garden soil on the surface and it will tell you how much organic matter is in your soil, which is a very good thing!)
Clay Ribbon Test
Another good thing to do to test your clay in your subsoil is to do a ribbon test. This gives you a simple test that lets you know how pure your clay is and how it will hold up over time. A good example of how to do this is here. You mix up your cob as usual and work to create one of those clay snakes (like you may have done as a kid). When you have it mixed, you see how well it can be worked (bending) without breaking. The higher the clay content, the more bendy it is.
Soft and Sharp Sand
Not all sand is created equal and it is very good to know what kind of sand you have in your subsoil. Some sand has very soft edges; you can think of beach sand here. The waves and water over a long period of time have softened the sand to the point where it is smooth. It is possible that the sand in your subsoil is like this–it is very soft because at one time, it was on a beach somewhere! Sharper sand contributes to a stronger cob. If you are doing major load-bearing building projects, you might consider adding some “builders sand” (which is a sharp, coarse sand) to your mix.
How to Make Cob!
Without further delay, let’s mix up some cob!
To make your own cob, you will need the following tools:
- A shovel to dig out subsoil, wheelbarrow
- Subsoil
- Straw (chopped up), aged manure, or other grassy things (this adds strength)
- A mixing tarp (any tarp will do, at least 6′ across so you can move the cob around on it
- A water source (hose, bucket, etc.)
- Some happy feet for cob dancing (you know you want to!)
- A large wooden screen sizes (use 1/2 or 1/4″ screen; see “tools” below)
- A rock or small board to help sift subsoil
Tools
Probably the only tool you will need to make is your screen sifter. For general cob applications, you will want a 1/2″ screen for coarse/building cob. For finer cob applications (finish plasters, earthen candleholders or statuary, etc) you will want a 1/4″ screen. I made my screen by making a simple wooden frame out of scrap 2×4″ board. Then, I used a good amount of staples to staple my hardware cloth (1/2″) to the frame. The process took about 30 minutes, which mostly involved cutting and stapling the hardware cloth.
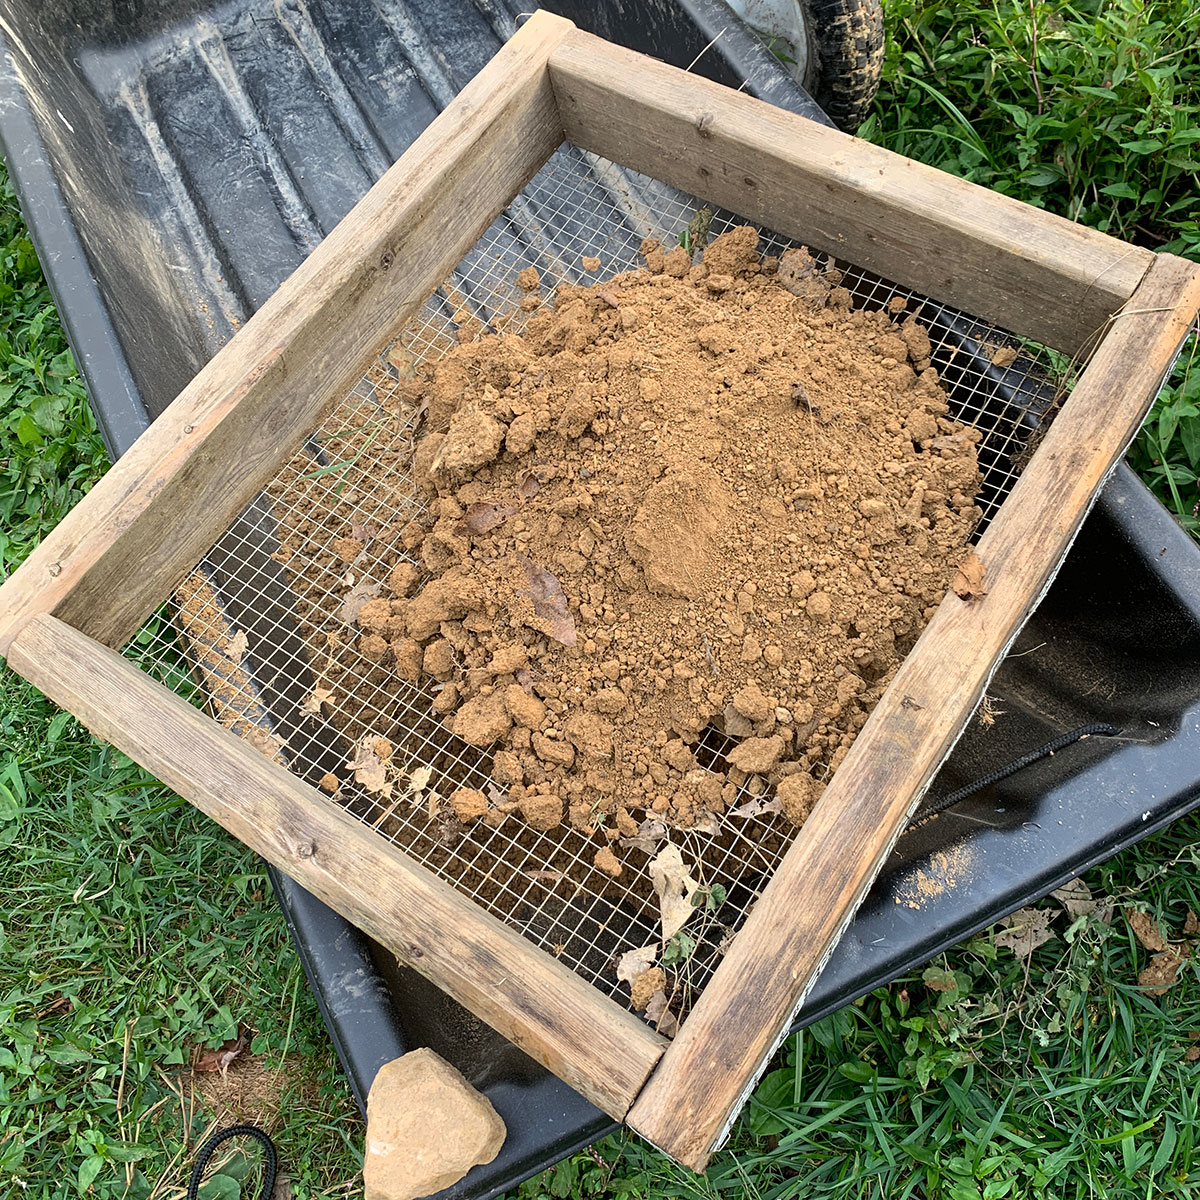
It is necessary that you screen your cob in most locations–you don’t want those happy dancing feet to step on sharp rocks, sticks, or other stuff. If you are taking your cob down to the 1/4″ level and have really rocky and uneven subsoil, I suggest starting to screen it at 1/2″ and then rescreen it down to 1/4″.
Making Cob
Dig your soil. The first thing to do is to dig out a good amount of subsoil. I usually mix two medium wheelbarrows full at a time. If you mix too much at once, it becomes unwieldy, particularly if you are mixing it yourself. You can see how rocky our subsoil is!
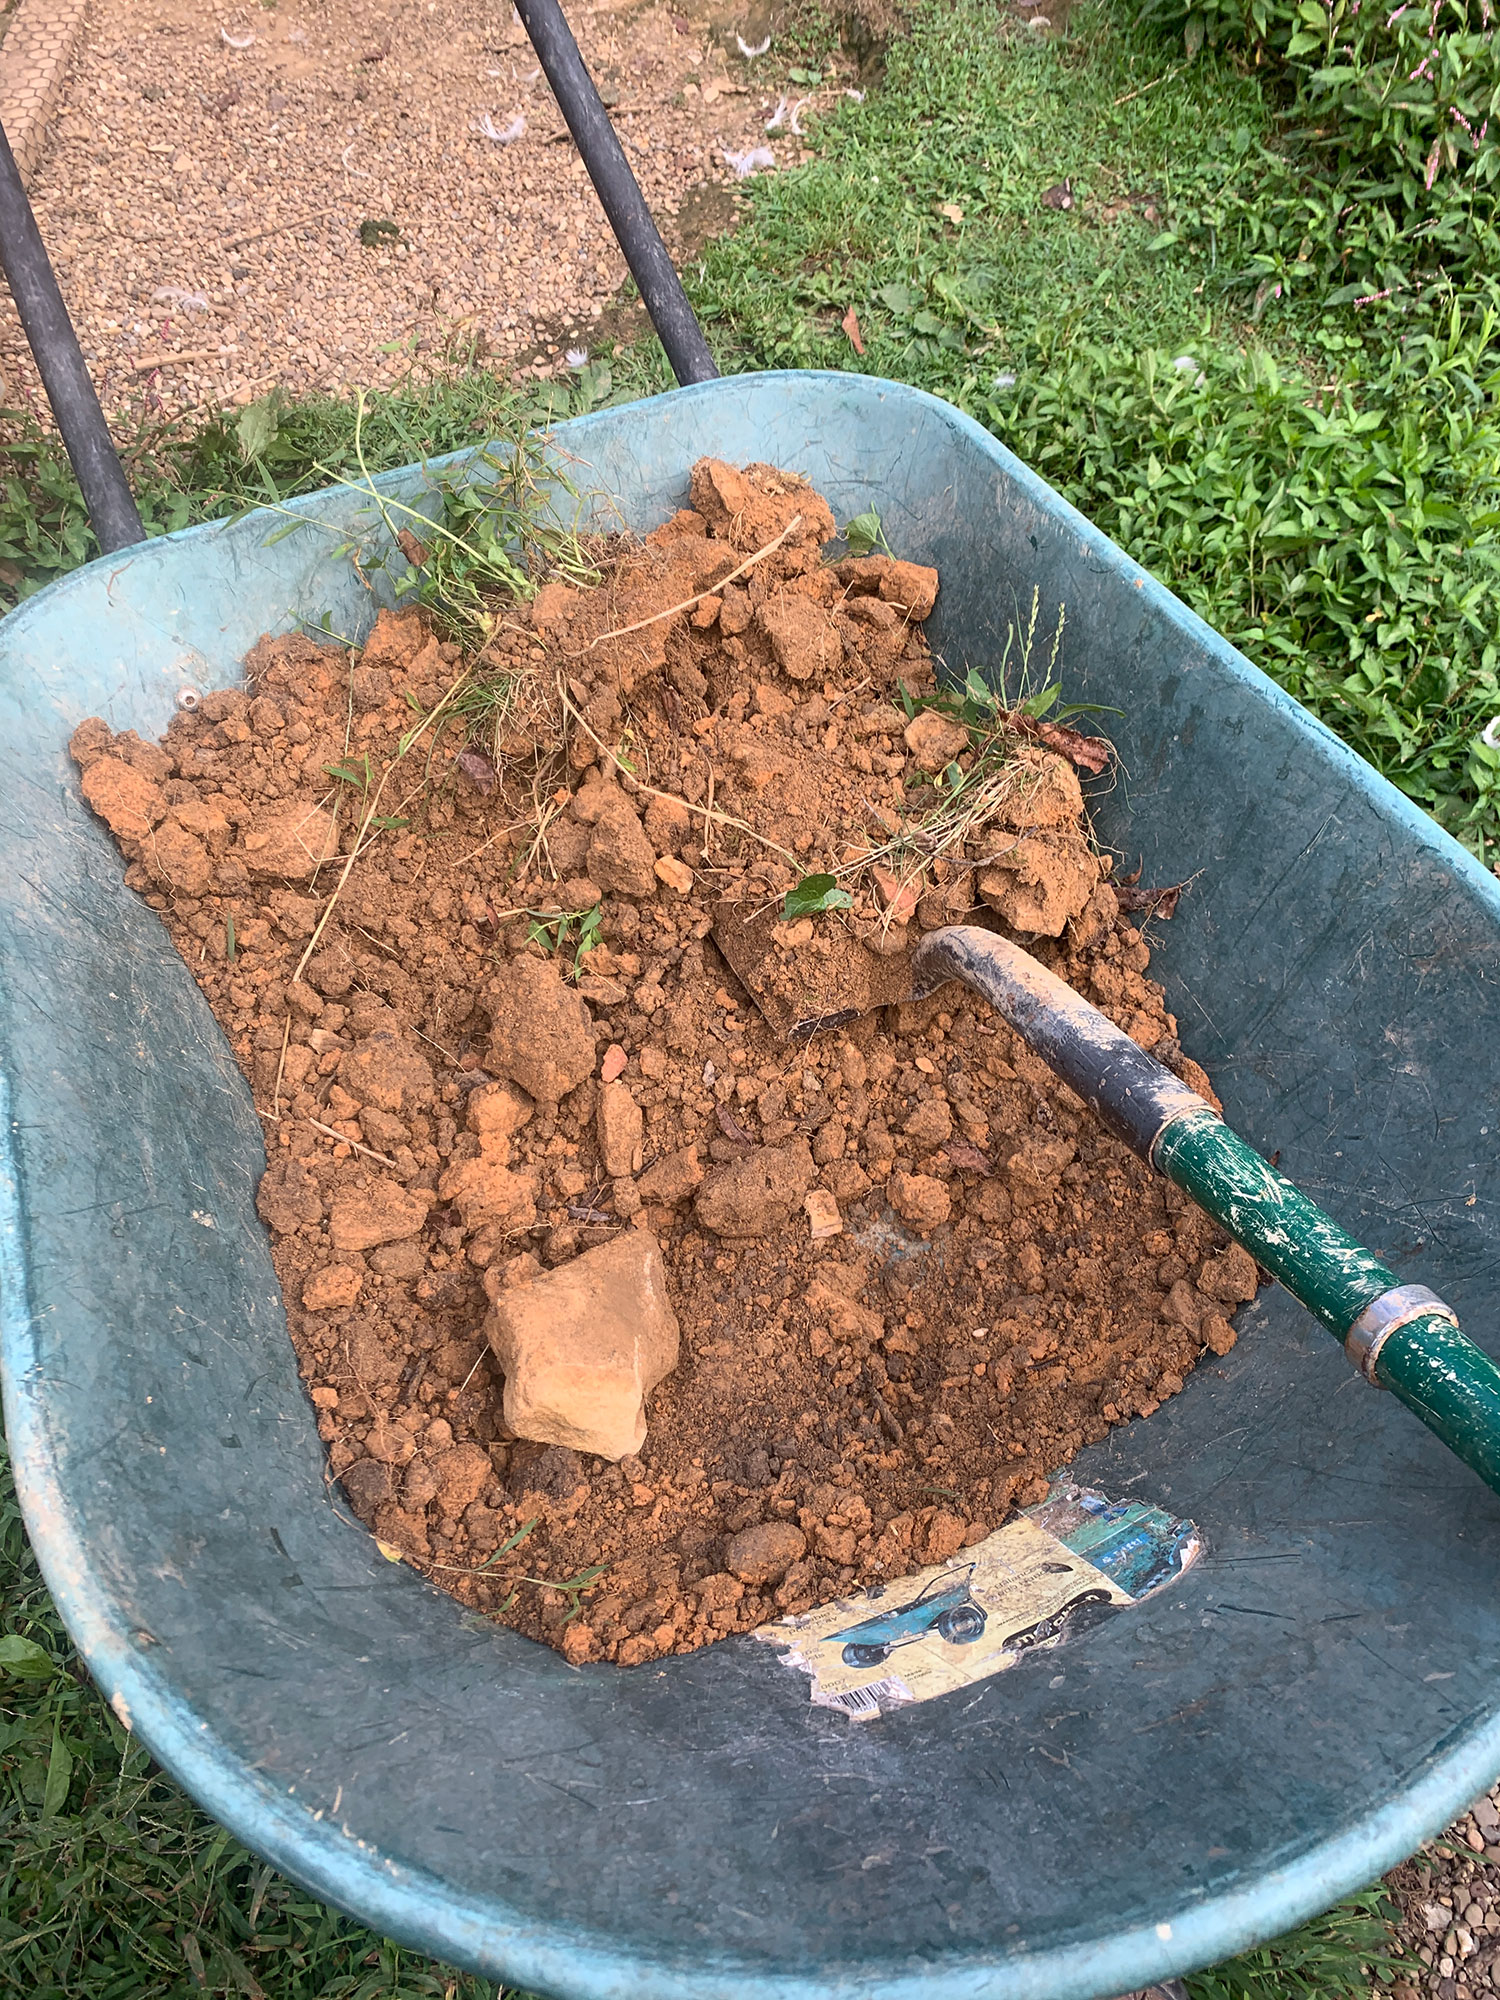
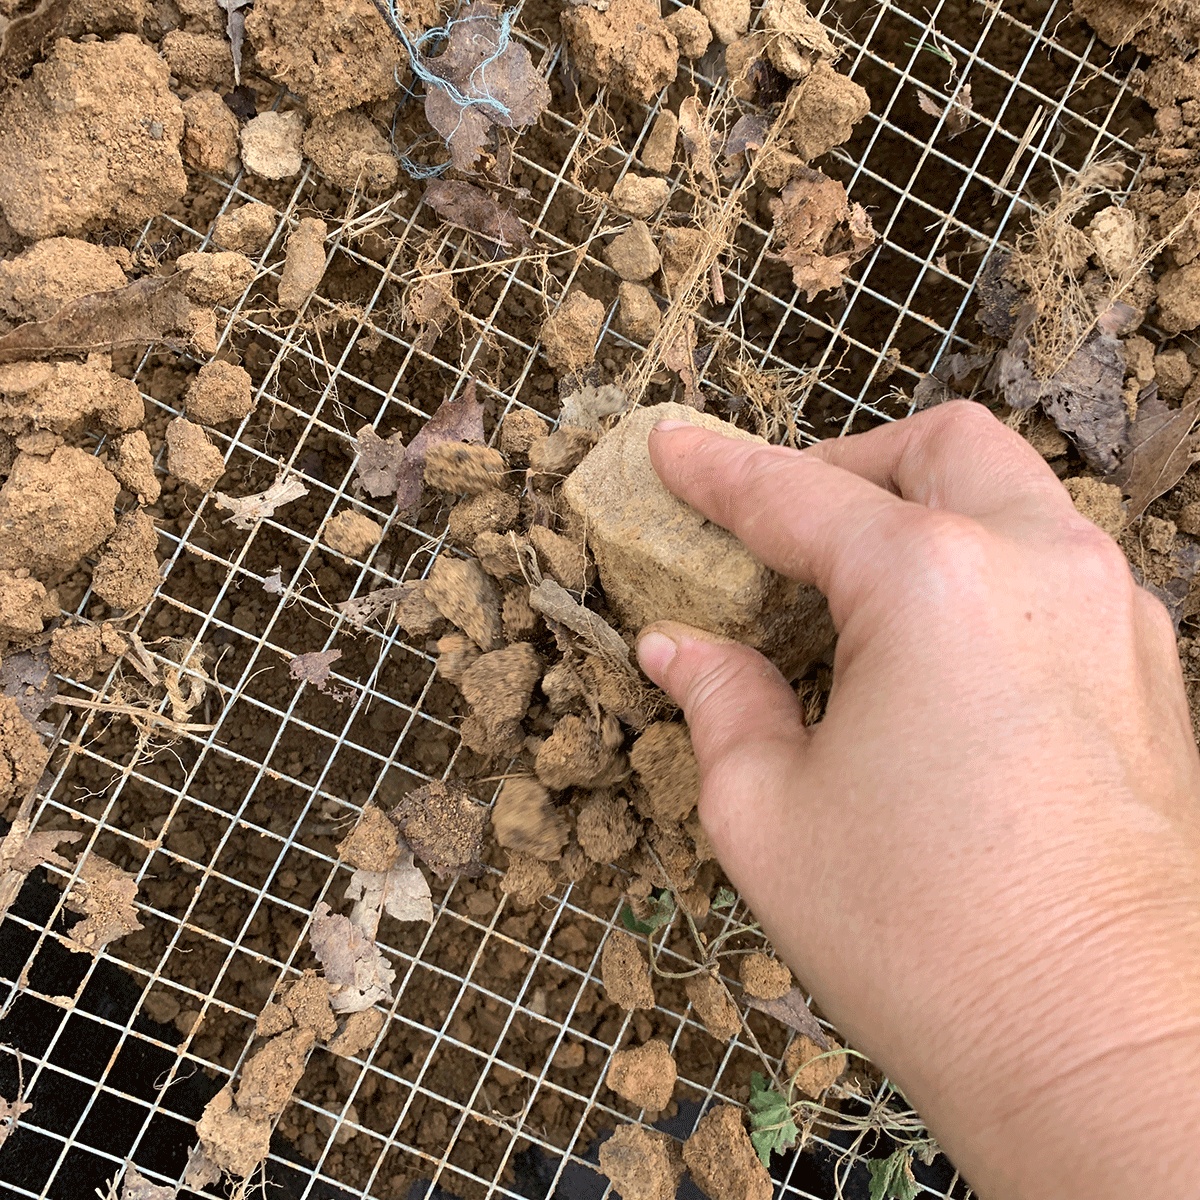
Screen your cob. Now, screen your cob. To do this, break up the hard chunks as much as you can with a shovel. Wet soil will not screen. Really dry soil (as in, you haven’t had rain for quite a while) may get hard to screen as well, so there really is a sweet spot for soil moisture (experiment, you will see what I mean). Put a few shovel fulls of cob in your screen and then start moving it around. After you break up the big stuff, you can use a rock or small piece of board to really push the soil through the screen. Once you’ve screened all of the cob, place the stones and other debris in a bucket, and continue with more subsoil.
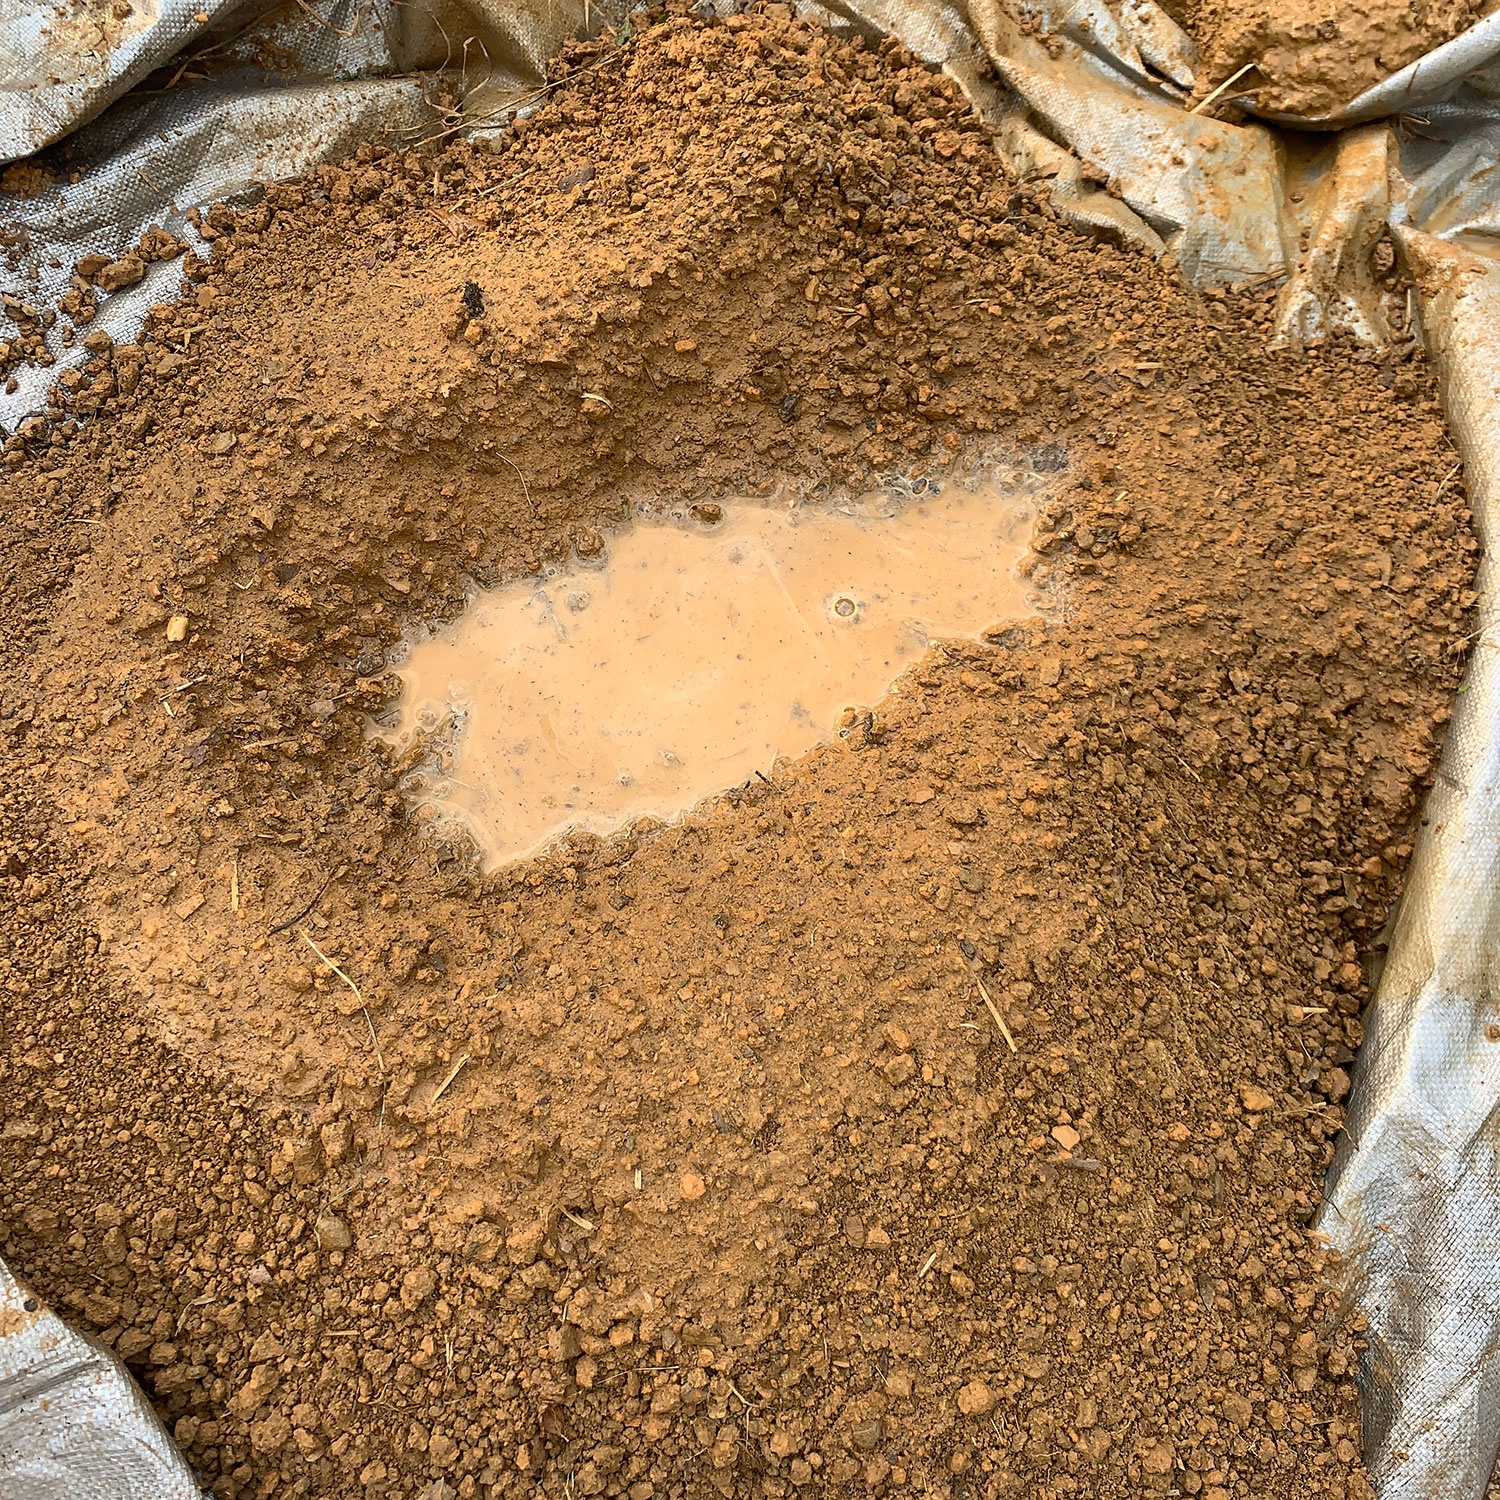
Make your cob. Once your subsoil is all screened, you can dump it into the mixing tarp. Make a well in the center of the subsoil, and just like you’d do making a dough, place water in the well in the center. Don’t overdo it, just fill up that well.
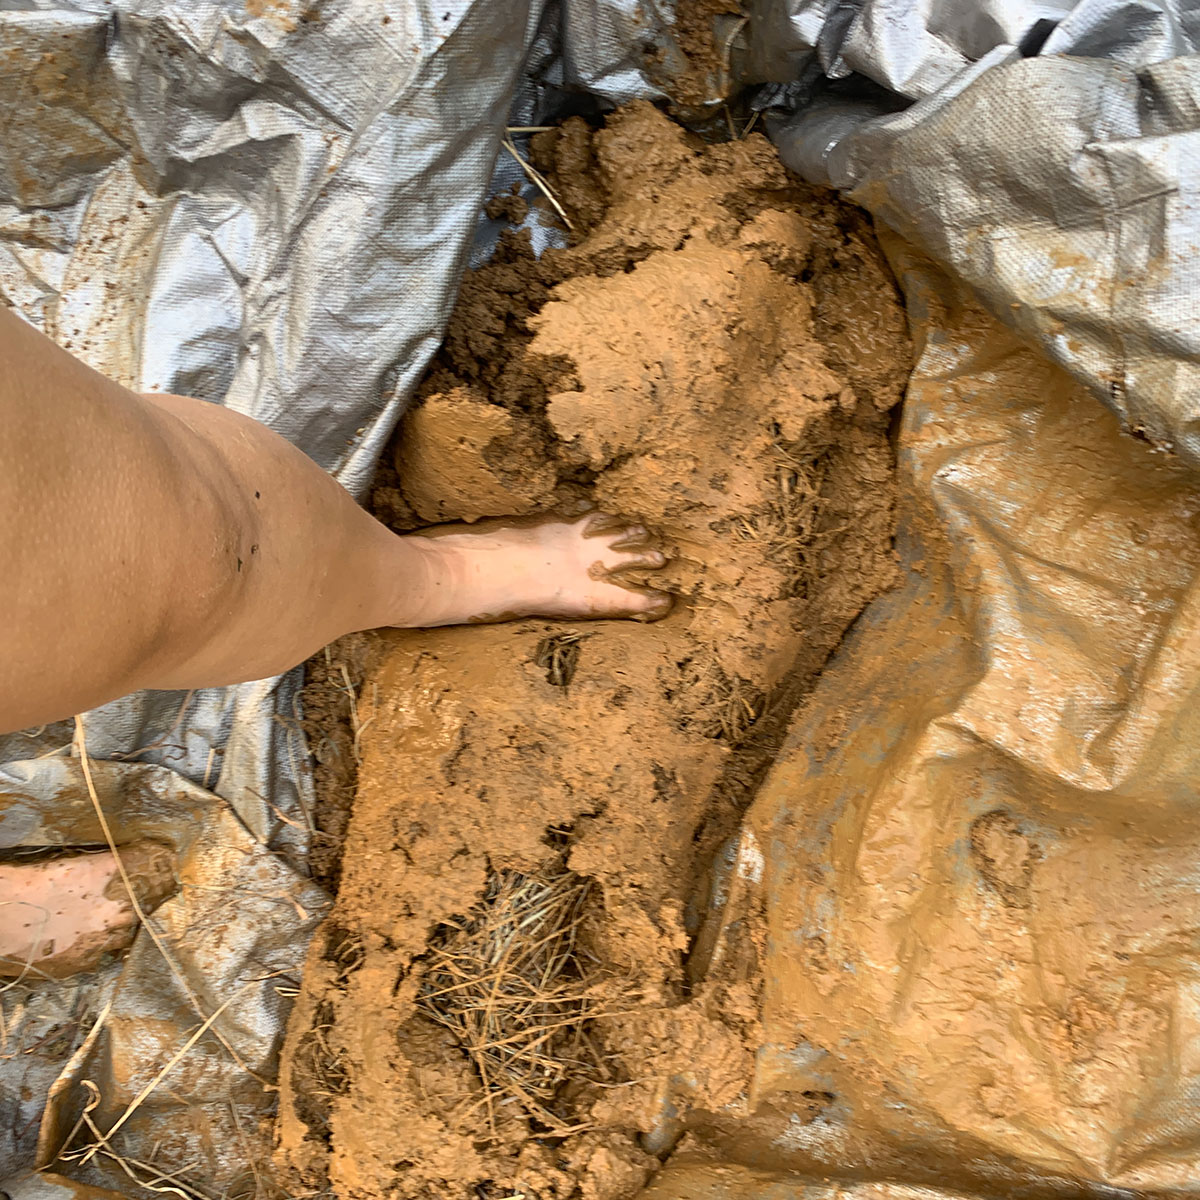
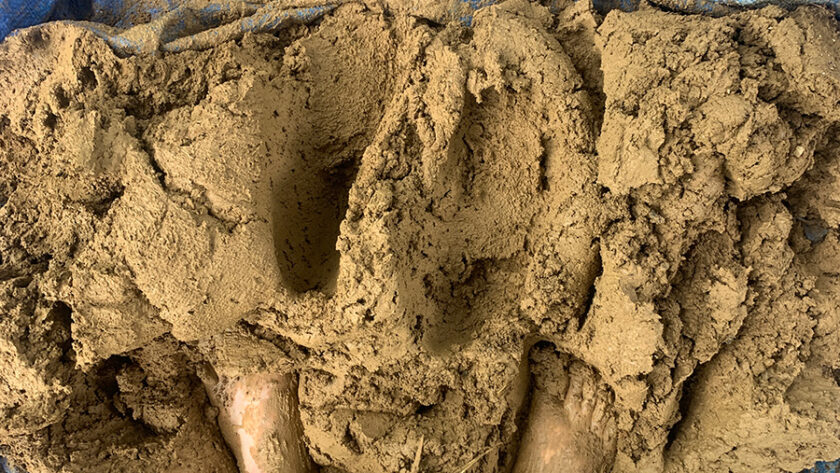
Now, start mixing the cob together with your feet. As you mix, grab an edge of the tarp and pull part of the soil over on itself. Add more water. Mix with your feet again, and continue the process–flipping over the cob, adding water, etc, until all the cob is firm yet pliable. How wet you want your cob depends on the application. If you are using cob as a mortar for a stone wall or brick rocket stove, you will want it much wetter. If you want to make bricks and build with it (like an earth oven), you will want it more firm.
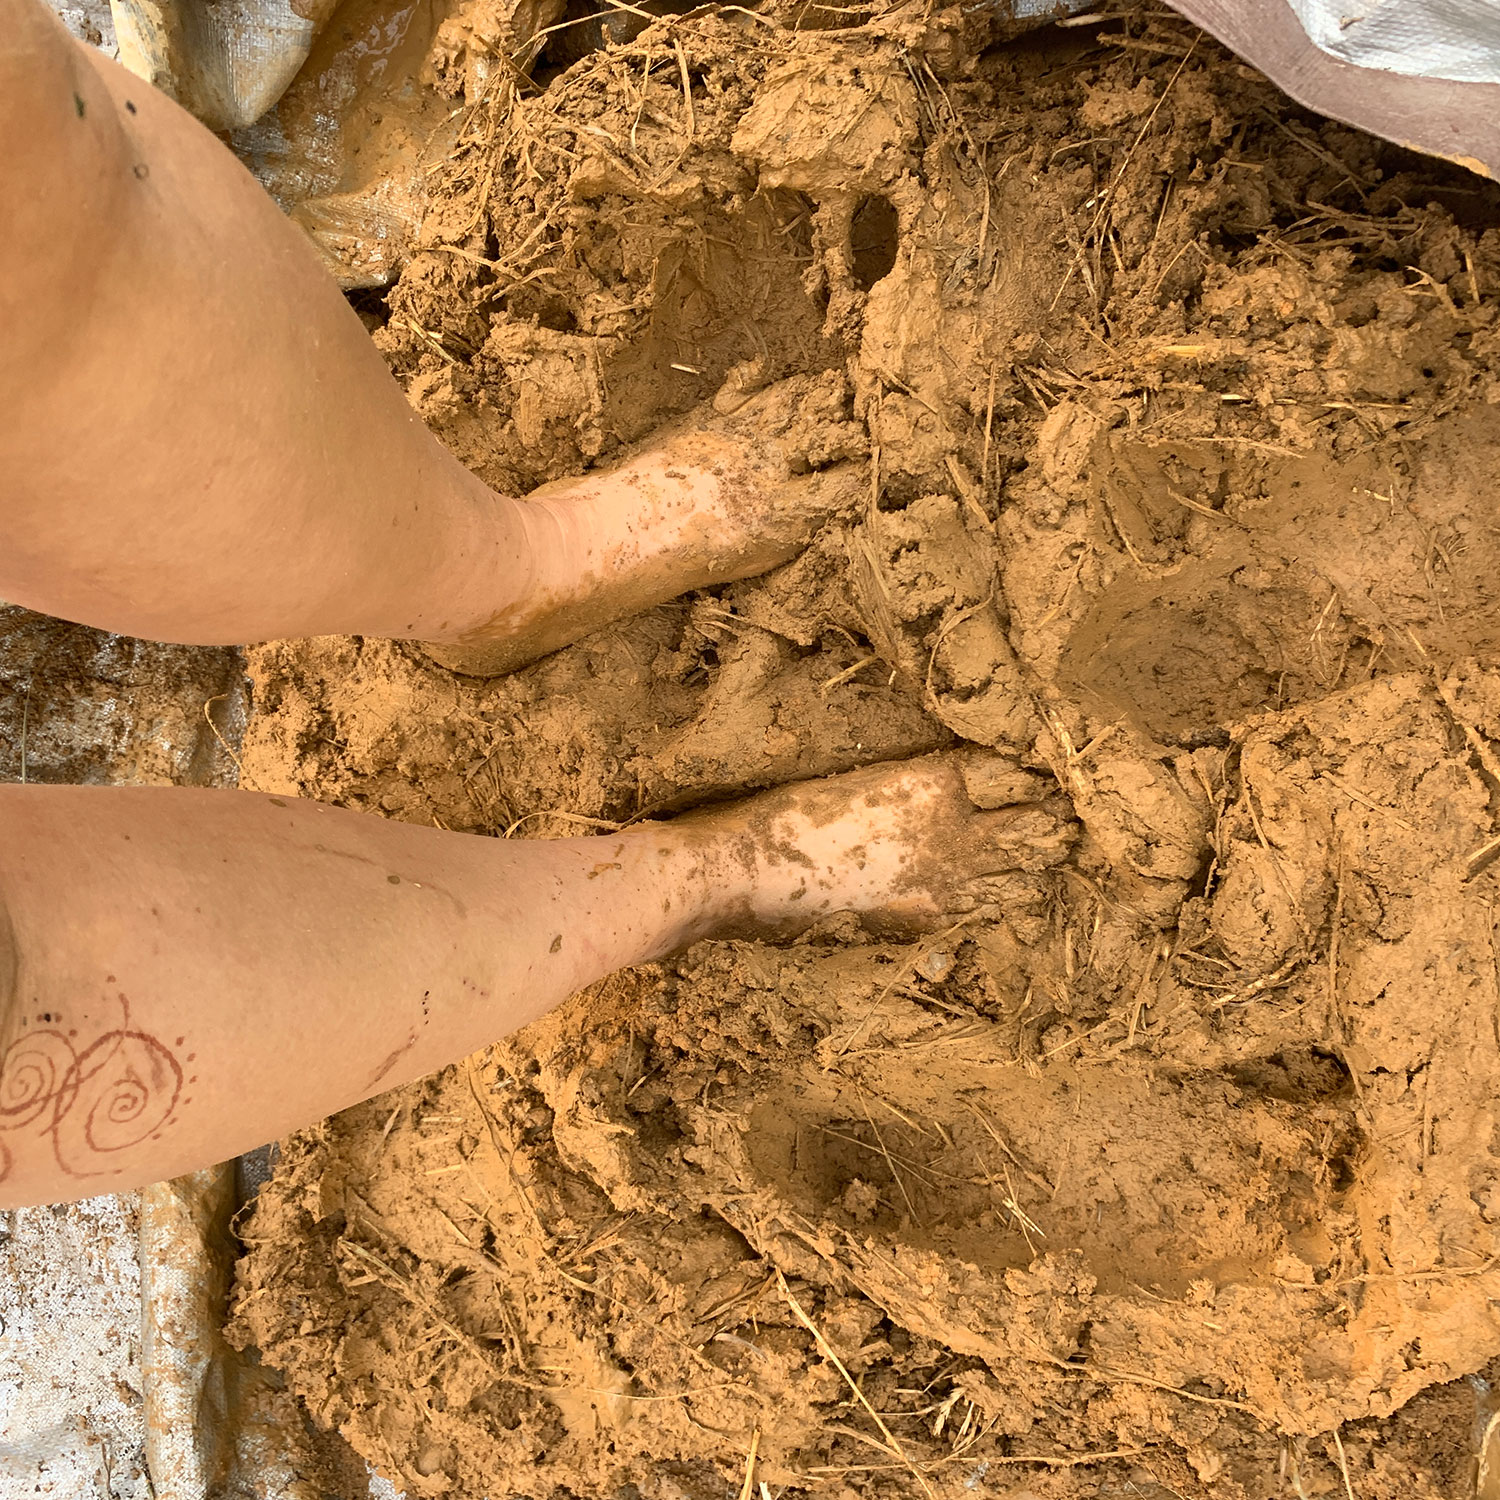
Optional: Add straw. At this stage, if you want your cob to have extra strength, you can mix in some straw or other grassy matter. This addition is excellent for building cob ovens, walls, and so on. The straw will suck up some of the moisture in your mix, so you may have to add a bit more water till you get a perfect consistency! For fine applications, a lot of cobbers actually use dried out horse or cow manure–the cellulose stays in the plant matter as it moves through the animal, giving a really nice soft strengthener.
In my photo here, I am using this cob as a mortar for my greenhouse back wall, so I have added straw to help strengthen it.
Create anything with your cob! Now, you have a wonderful building material that you can do anything with! If you don’t have anything to build yet, consider not adding the straw and instead, making some primitive statuary, cob candleholders, paperweights, and so on. I love the way that some cob statuary and candleholders look on an altar!
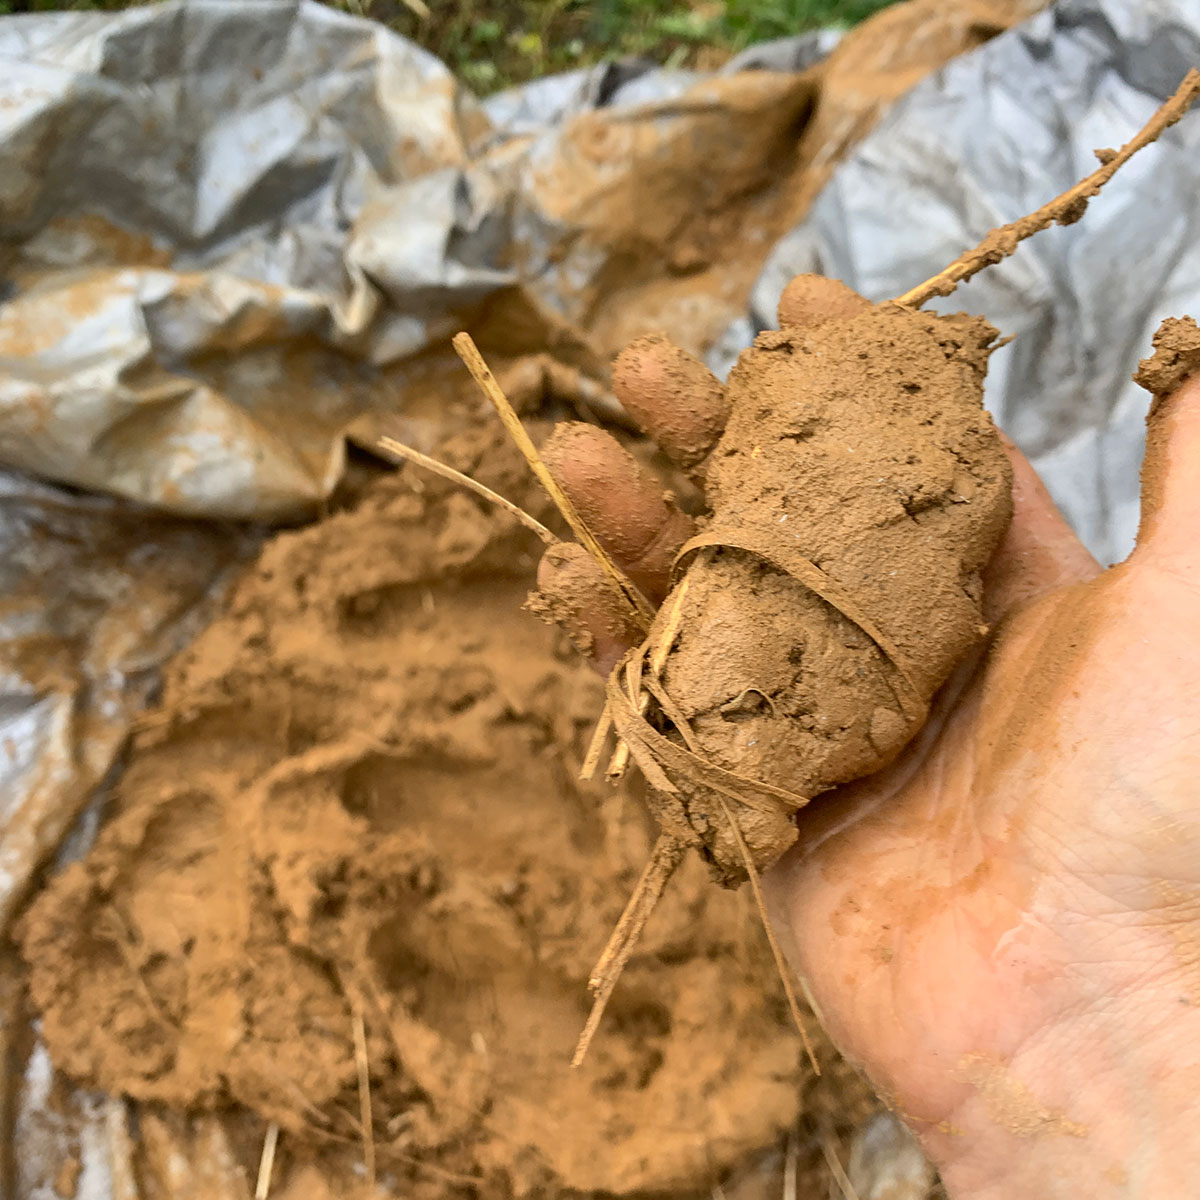
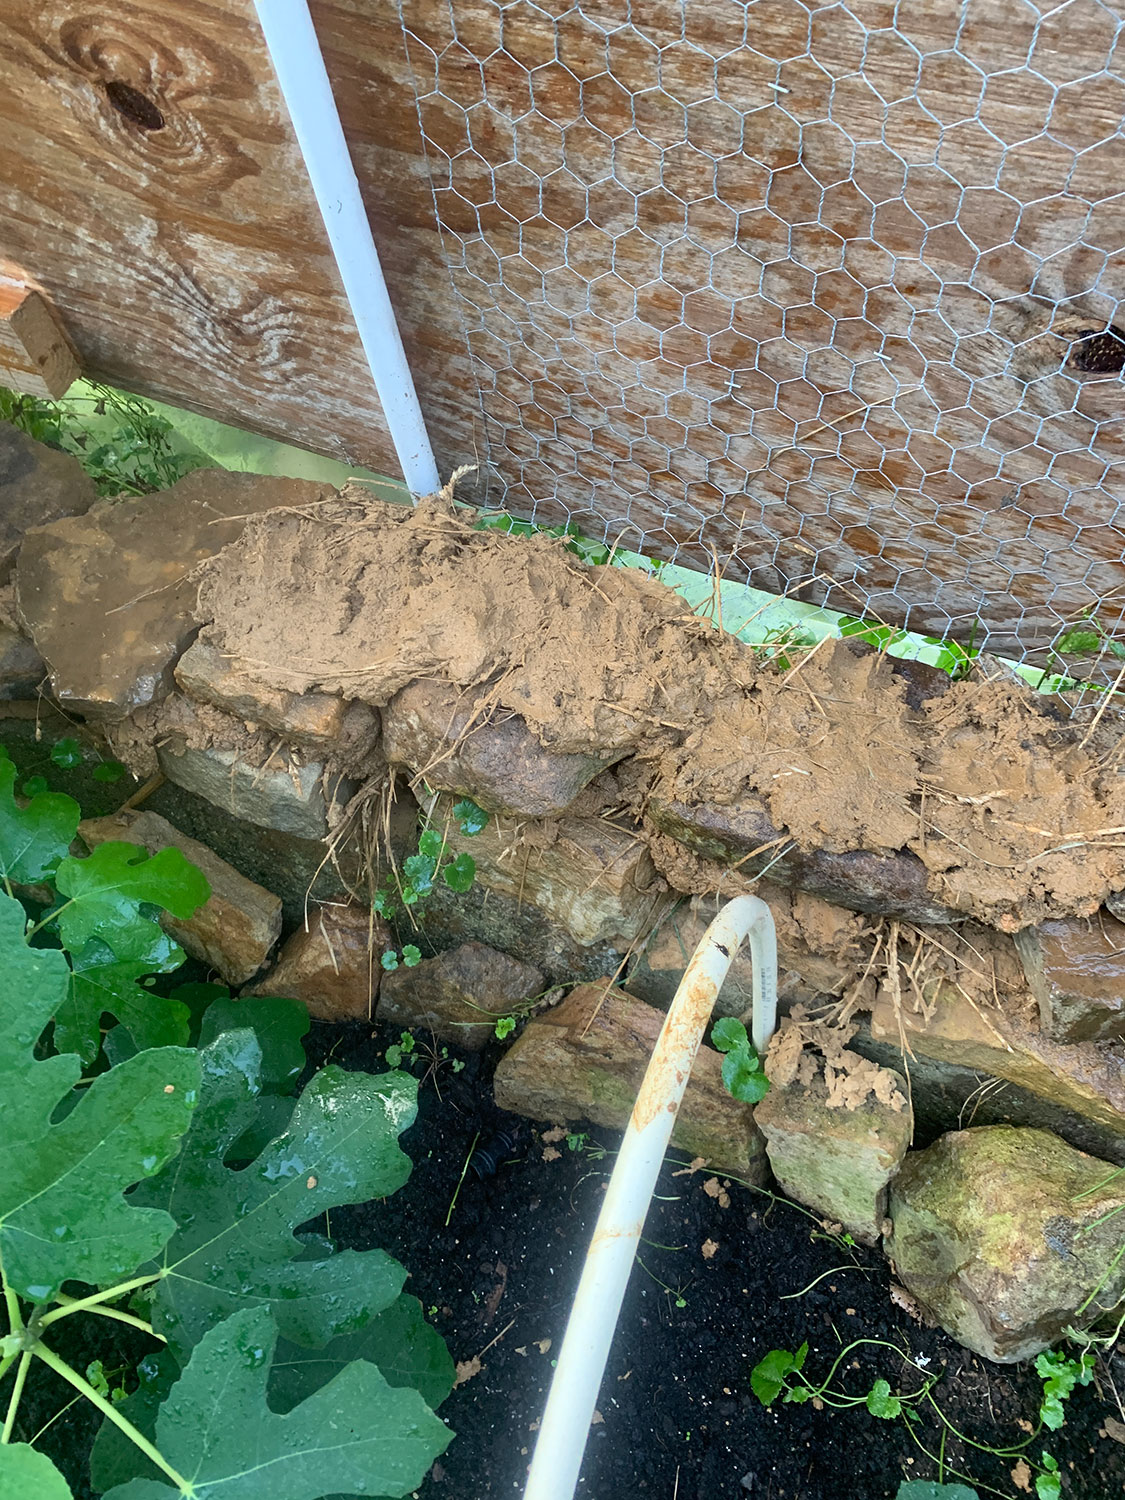
The photos in this blog post show two different locations–at my permaculture design certificate program, where the soil was more brown/gray and then here in PA, where we have beautiful yellow-orange iron-rich soil. One of the other delightful things about cob is that it reflects the land where it comes from–we can truly see the colors of the land through this practice.
I hope this post was inspirational to you and you consider experimenting with this amazing building source!


Reblogged this on Blue Dragon Journal.
Reblogged this on Paths I Walk.
Reblogged this on Good Witches Homestead.
Reblogged this on dreamweaver333.
Reblogged this on ravenhawks' magazine.