When I walk along the landscape here, I am greeted with the deep oranges and yellow oxides of our soils laden with heavy amounts of clay and iron. These colors are reflected each time I dig into the subsoil, and as I drive through the countryside where mountains were cut through for roads. In other places, I might be greeted with reds, blues, or greens, all reflected in the geology of the land. Each region carries its own colors, and you can find the palate of the land in every stream bed. Even an hour drive in any direction puts one in a new geological region–and this changes the colors of the stones and the soil. You might think about these colors like a language–each landscape has its own language that you can learn to read and speak. Each landscape has its own unique set of colors, found in every stream bed. Today, we can think about expressing that language in visual form.

I
n today’s post, I’ll talk about how to forage for local pigments and learn how to grind them and prepare them as paint. That’s right, you can make your own paint from locally foraged rocks! What is amazing about this process is that each landscape is unique: your own land’s palate will depend on the local geology. As you forage for pigments and then turn them into your own paint, you know exactly what goes into the paint, where it came from, and you know that any paint water or other materials can return to the land. You might discover things only you, in your unique ecosystem, can discover!
Getting into Pigment Making
Everything is derived from nature, but in the 21st century, consumerism practices and “distributed by” labels often mask manufacturing processes which almost never tell us how something was made, where the raw goods came from, who produced it and under what conditions, or, what it even contains. Art supplies are notoriously bad; labels tell us almost nothing about the pigments, and art supply companies are very tight-lipped about how they produce their paints. You don’t know what chemicals are in your paint unless they are *really* bad and carry a CL warning or other kind of warning label. These kinds of warning labels mean they are toxic to you and should be used with care: but no labels tell you about the toxicity of your products for the planet. This means, in my art studio and in studios all over the world, people often have no idea what they are using to produce art or what the environmental cost of those materials may be. And for something like paint, paint water and paint byproducts often get dumped down the drain, making their way into local water systems. When I use commercial paint, I literally have no idea what I’m putting down my drain–and by way of my septic drain field–out into the land and local waterways. Since our septic field sits about 40 feet above a local (clean) stream, this is of serious concern to me.

Given these realities, as a serious practitioner of the bardic arts, I am always looking for better ways to practice the visual art that does not require me to consume, pollute, or create demand on fragile ecosystems. Before, I had played around with various natural arts, including making my own berry inks and dyes. The berry inks and dyes are not usually lightfast, though, and can’t be taken with me in my watercolor palate. But most of the time, my artistic medium of choice is watercolor, so I wanted to learn more. After my favorite watercolor paint supplier no longer offered watercolors in the US late last year, I started researching alternatives. One of the things I came across were tiny watercolor companies that sourced natural ingredients and charged quite high prices for their paint. I was intrigued and figured that if they could do it, so could I. I wanted paints that were more sustainable and less questionable in terms of ingredients. So this post will share some of my successes and ideas for how you can do this yourself!
Sourcing Natural Pigments
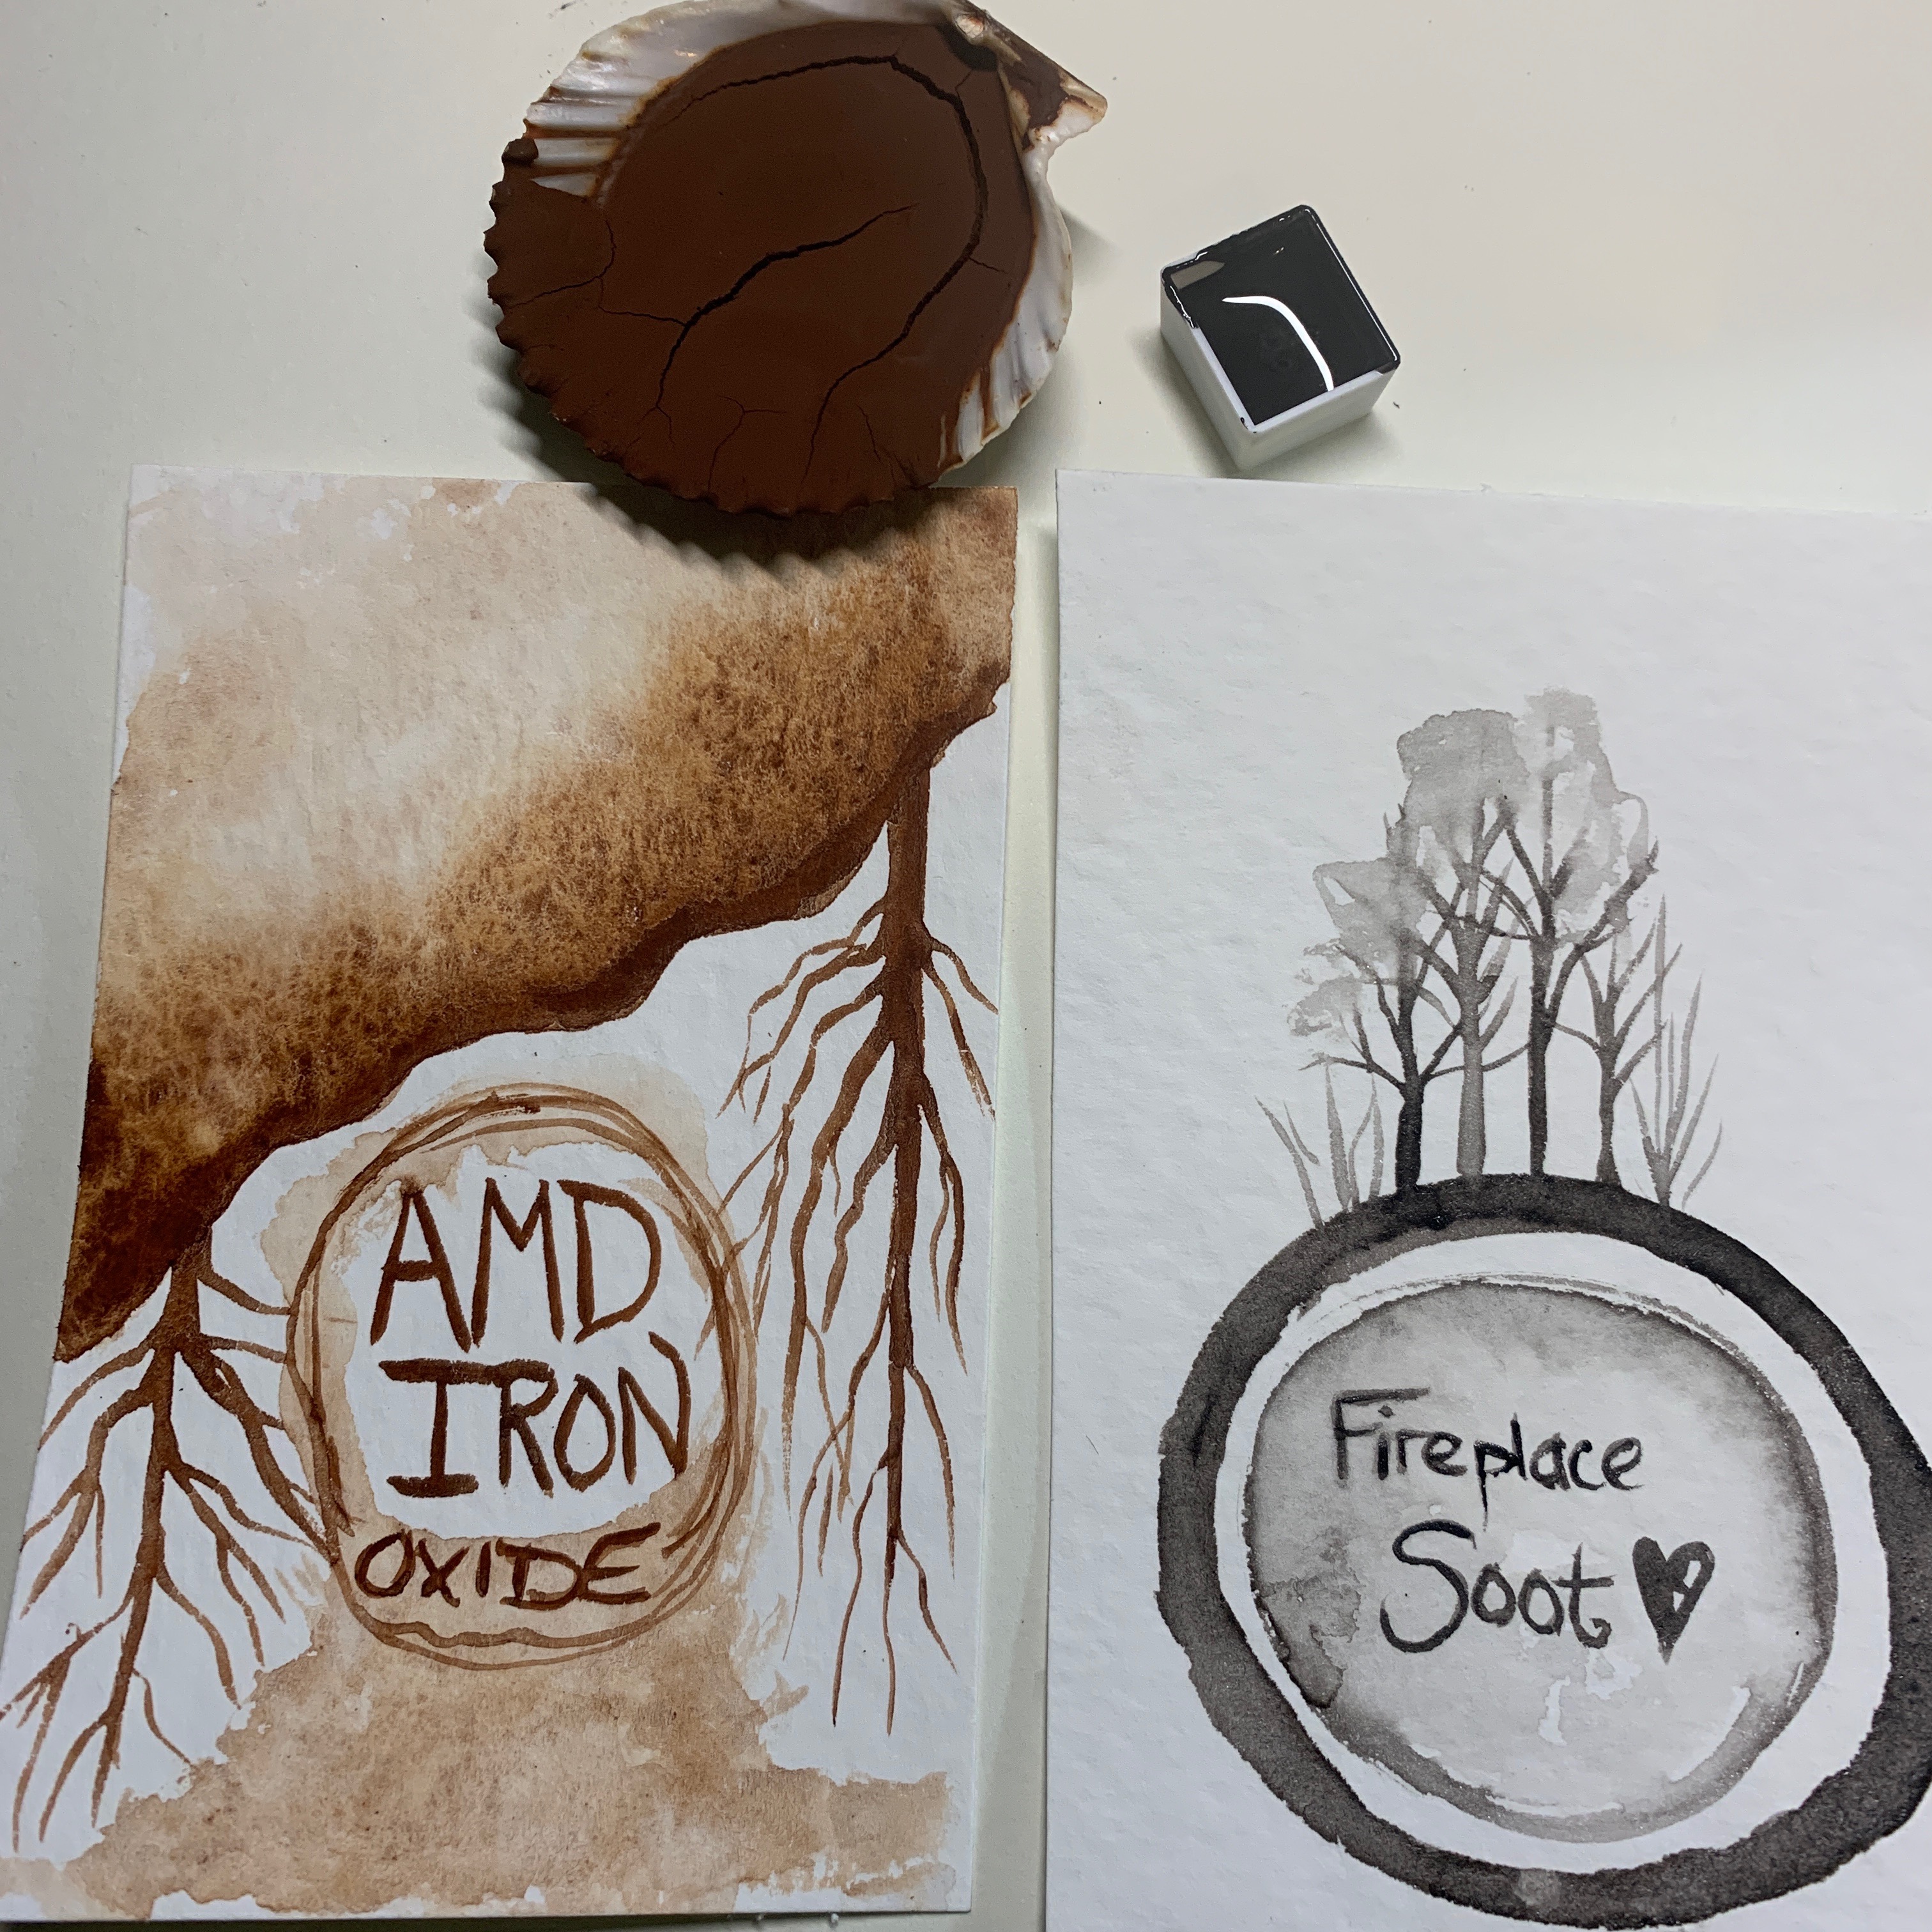
Natural pigments literally everywhere, and if you travel, you can find a wide variety of colors. Most of these are colors of the earth; colors of soil and of sand and of stone. Deep greens and oranges and the colors of sunrise and mountains. Deep reds and browns, blacks, and grays. You can also get into other kinds of pigments (lapis lazuli has long produced blue pigment; malachite has long been used for green), but for our purposes here, I’m assuming that you are working to source things locally and are going to find stones in your ecosystem.
You can find pigments in a lot of places, but some places are particularly good. Pigments can often be found in exposed edges of streams, rivers and lakes; the water will expose clay banks and stones, making it easy to find pigments. Around here, fabulous places to look are what we call boney dumps; these are old piles of rocks and other mine waste that have lots of different rocks on the surface. You can find some pretty neat colors in these places (finally, a sustainable use for a boney dump!). The boney dumps are particularly useful for pigments becuase they would set the mines on fire and somehow use fire to process certain ore; so you also get stones changed by fire (and fire can certainly change pigment colors). You might not have these (and be thankful you don’t), but looking for other sites where earth and stone have been dug up or exposed is good (the exposed bank that was cut in for new construction, for example). Anywhere that a lot of rocks are exposed is potentially a good site to pick up some pigment stones.
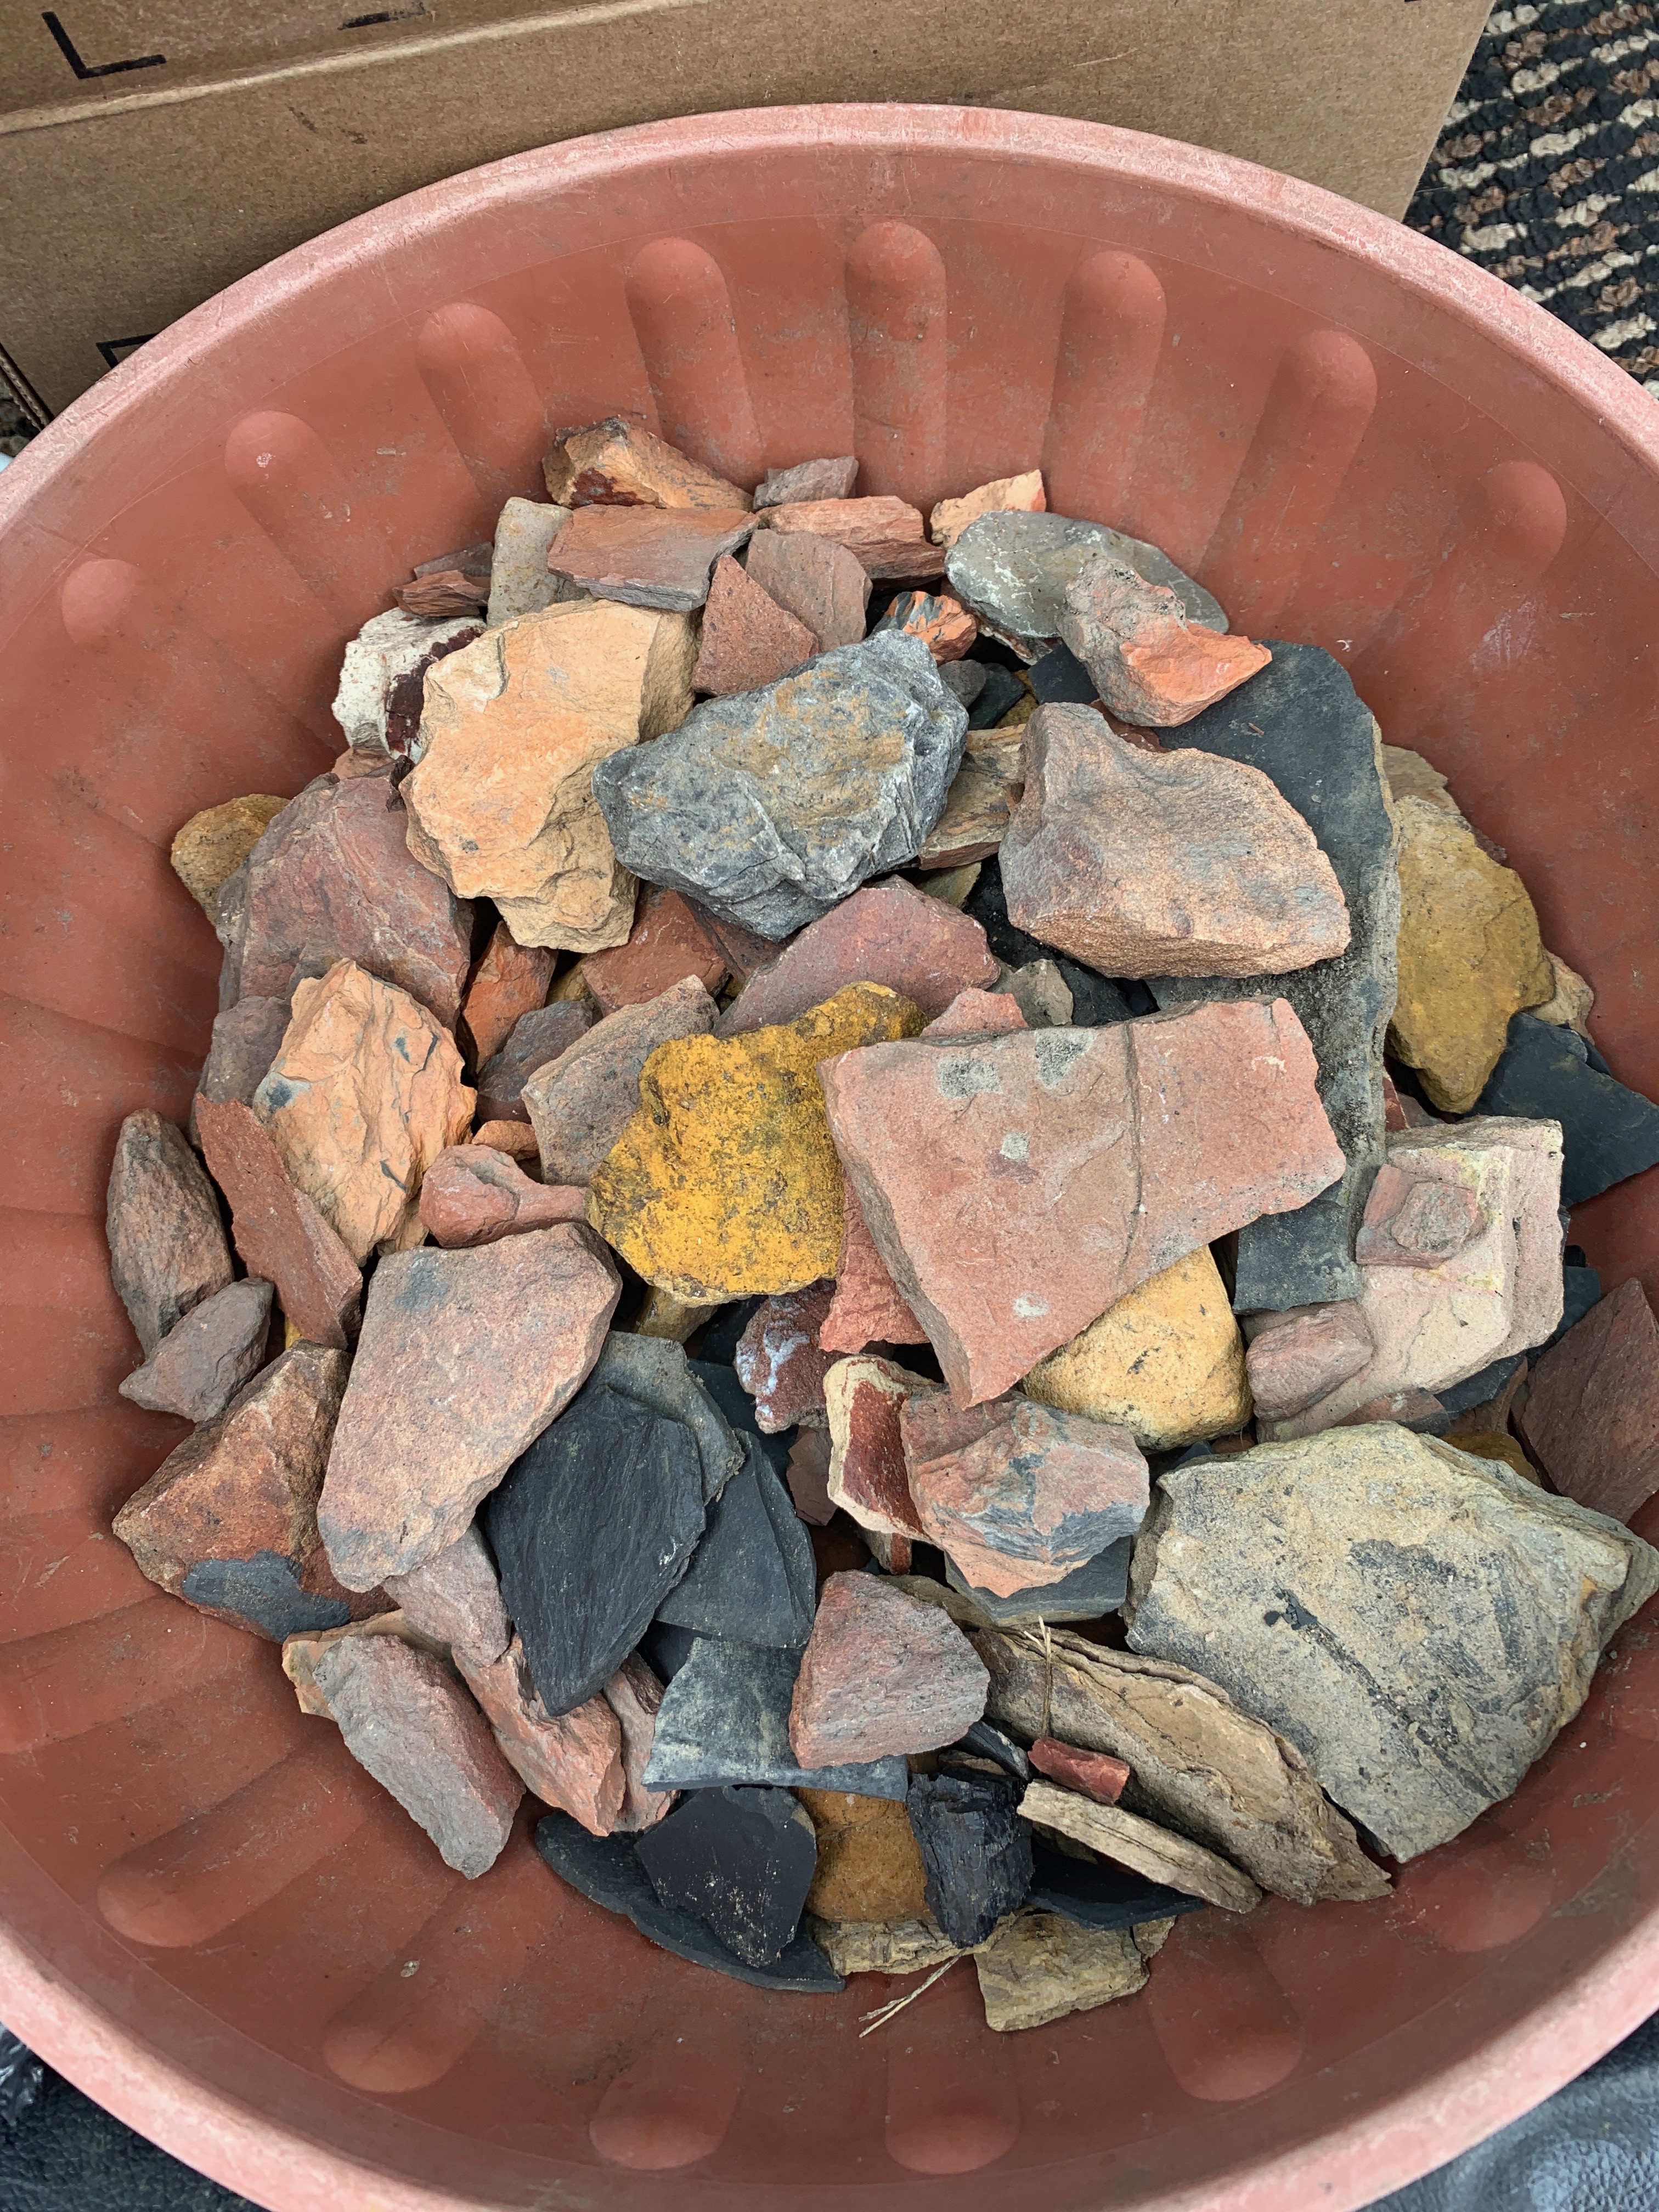
Because you want pigments that are easy to process, especially when you are starting out, good pigment stones are fairly soft. You can sometimes tell a good pigment stone by rubbing it against a harder rock. If it produces something that looks like paint or clay on the other rock’s surface, it is likely a very good choice. You can see immediately what your pigment may look like. You want the consistency of the pigment to get quite fine. Grainy rocks like sandstone can also be processed, but the processing is a lot more work and some you can’t get down that finely by hand. Harder stones may be worth processing, especially if they have unique colors. Clays can make good pigments, but not always; you can dig them out, then let them dry, and then grind them up, removing any large or hard rocks. You have to really see which pigments work and which do not–some clays I’ve used have been wonderful, and others haven’t had much pigment at all and create a sloppy mess. Each geology and ecosystem has something different to offer you, and it requires a lot of experimentation.
Other pigment opportunities also exist. Both soot and charcoal make great pigments, so keep this in mind if you are having fires indoors or out. Soot produces more of a warm black, while charcoal produces more of a cool black. I harvested both from our indoor fireplaces. You can also make a “bone black” from burned bones, turned into charcoal.
A few years ago, I visited a mineral spring and found loads and gobs of pigment flaking off the walls from the spring –I dried this and saved it in a tin for later use. Recently, also, and what started me on this adventure, I was given a container of iron oxide from the Tanoma Acid Mine Drainage (AMD) Remediation site. This iron oxide is what makes many of our streams, creeks, and rivers too acidic; a site like Tanoma creates pools and uses a process called tromping to help precipitate out the suspended particles, clearing the water before it goes back into the stream. After the iron precipitates, it settles to the bottom of the pools; this can eventually be collected and used by local artists! And it requires very little processing.

Tools for Paint Making
You will need to gather some basic supplies for making your own paints from foraged materials. While you can make a primitive paint literally by crushing the pigment between two rocks and adding some water or oil, the following supplies will help you create a more refined pigment that would be suitable for paintings. Tools for creating paints:
- A mortar and pestle, dedicated to this use. You don’t want to use a mortal and pestle that you use for grinding herbs or food; get a separate one for this. Or you can use something else; two hard rocks from the land can also work great.
- A glass muller or other grinding agent Again, this is not necessary, but most fine pigments need a final ground, and this works well. if you don’t have a muller, other glass tools may work like the edge of a small round jar. The key is you want a wide, flat surface on the bottom of whatever you use as it grabs the pigment and binder and mixes it well. This is the most pricey of the materials ($50-$90).
- A palate knife, cake decorating knife, or old credit card. You need something to be able to scoop up the pigment.
- A slab of glass or granite. You need something to spread your pigment out and mix the paints carefully. Right now, I’m using a smaller granite slab that I’ve had in my studio for various purposes, but I want to use a piece of glass instead and will get one when I can find something recycled.
- A very fine mesh sifter for sifting out larger particles. This is really useful if you are grinding your own stones. get the finest mesh you can find. I found a strainer with 0.2mm holes, and this produces a usable paint but for certain stones, may still be gritty. A strainer with 0.1 mm (called a 100 strainer) is even better. Look for these with sides from a scientific supply. It is possible to refine your pigment and separate out particles without a strainer through a water suspension method, but the strainer really helps.
- Containers for your paint and pigments (shells or containers for paints; jars for extra pigments).
- Googles, gloves, and a breathing mask. Paint pigments are not good for your lungs, and you need to take serious precautions!
Materials for Paint Making and How Paint Works
In order to know how to turn pigment into paint, it’s helpful to know how paint works. Paint consists of the pigment (color), a binder, and usually things to extend the life of the paint or improve viscosity and flow. A binder is what “binds” the pigment to the surface; if you used only water and pigment, the pigment would flake back off the page after it dried, and your paint wouldn’t last. In other words, a binder helps keep the paint on the page. Gum Arabic or Linseed or walnut oil, and egg yolk are common binders. A lot of modern paints use chemical binders, so we want to stay away from that stuff.
Paint Supplies: Watercolors
Watercolors are made with a combination of gum arabic and honey; glycerine can be added as well to prevent cracking. Gum Arabic is the most common binder; that which helps the pigment stay on the page. Since its water-soluble, Gum Arabic is a great choice for watercolors. Honey helps improve the viscosity and flow of your pigment, and glycerine helps prevent the pigment from drying out or cracking. I am currently using honey and gum arabic in all of my homemade watercolors. You can purchase 1 lb bags of gum arabic in powder form, which you can just mix up and store in the freezer. This is really economical, compared to buying it already prepared from an art store.
I’m currently researching a more local ingredient than gum arabic. I’ve read some old books that say you can use wild cherry sap, ground and dried, which makes sense as it is also water-soluble. Pine resins would not be an appropriate choice for this as they are not water soluable (but they have other uses). I’ll report back on the cherry sap once I’ve experimented with it, which will be over the summer once I am able to harvest and dry some.
Paint Supplies: Oils
For oil paints you’ll need linseed oil and melted beeswax along with your prepared dry pigment. Walnut oil may be a more local choice for you, and it will work almost as well as linseed oil.
Paint Supplies: Egg Tempera
For this you’ll need an egg yolk, water, alcohol, and your dry pigment.
I want to note that you can also make your own acrylics, but acrylics are plastics, polymers, and those go right back into the ecosystem when you are done. The materials above are more naturally sourced and based and represent more traditional sources.
Preparing Your Pigments
To prepare your pigments, you will need to get them ground finely while not breathing in any dust. Connect with the energies of the earth during this process and embrace the time it takes to do this. I use the following approach:
1. Break up rocks into smaller pieces. First you need to break up your rocks into pieces that can be finely ground down with a mortar and pestle. I usually use a hammer for this and a plastic bag. Break the rocks up as fine as you can using this method. In my case, I am using a thicker bag that is non-recyclable (this is a bag that chicken and guinea fowl treats come in). This process gives this bag a bit more life! Put the rocks in the bag and start the breaking down process. You should do this outside and if it isn’t windy, consider a breathing mask. If the stones are particularly strong, you might want several layers of bag (or a thicker feed bag, old tarp, etc.
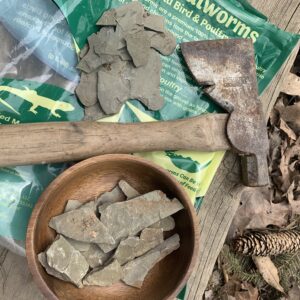
2. Grind the pieces down in a mortar and pestle as finely as you can. After you get the pieces much smaller with the hammer, you can start to get them finely ground. I have a granite mortar and pestle of a fairly large size for this purpose. I grind down the pieces, working in very small batches. You can see this reflected in the photo below–I work with smaller and smaller batches as I work the stones down into a fine pigment. Again, use a breathing mask and do this outside if you can. Here I am grinding down the local slate stones a friend and I found on a hike. You might notice that the color has changed from the stone to the pigment–that often happens! Everything is a surprise.

3. Sift. Sifting is probably the most critical part of the paint–if you don’t have a fine enough strainer, your particles will be too big and your paint will be gritty. The goal is to get the finest particles possible–below I am using a .02 mm x .02 mm sifter. I will take whatever won’t go through the strainer back into the mortar and pestle for a while. You can sift multiple times to get a fine grind.
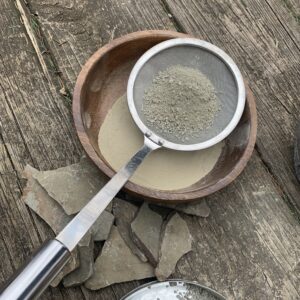
In this case, whatever isn’t sifted is put back in the mortar and pestle for more grinding. You can also store the extras in a jar for the next time you want to make paint. I’ve been talking to other natural paint makers, and the grinding and sifting is really an art form in and of itself–some are easy to do, and some are quite difficult–depending on the stone. It all takes patience and can be a very meditative practice.
Another option if you can’t get your particles fine enough is to do the long route using water. If you grind up a lot of pigment, you can put it in a glass jar with a lid (I use a 1/4 pint or 1/2 pint jar for this). Shake the pigment up well, and then quickly pour off everything but the very heavy particles that sink to the bottom. The lighter particles are suspended in the liquid; they will likely precipitate out to the bottom. (If they don’t, some paintmakers use a bit of alum to help them drop out). Otherwise, if you have a small amount of water, put it in a greenhouse, dehydrator, or other sunny location and it will dehydrate. What you are left with is a *very* fine pigment, fine enough to be a high artist quality grade paint. The heavy particles can be dried as well and further ground up.
Making Your Paint
For watercolor: Place your pigment in the center of your glass plate. Add about 1 part Gum Arabic for every 2 parts pigment, and then about 1/8 part honey. Some paintmakers are also adding a drop or two of clove essential oil for preservation, but I don’t have any so I’m not using it at present. You can pretty much eyeball this. If the pigment is too dry, add more gum arabic. If its too wet, keep working it and the air will dry it out in a few minutes.

Next, move to a muller or other tool that you can use to spread out and grind the pigment further. If you don’t have a muller, try something that can help grind the glass–like a flat glass-bottomed jar. The muller is completely flat, and you can easily rub it over the surface to mix the pigment. After you spread it out, use a palate knife to scrape up the pigment and use the muller again (see second photo, below).

This first photo doesn’t have a fine enough ground, which is why you can still see some of the particles inside. If your pigment looks like this, it needs a finer grind and will be very gritty when complete. You might need a finer sifter or to separate it with water.
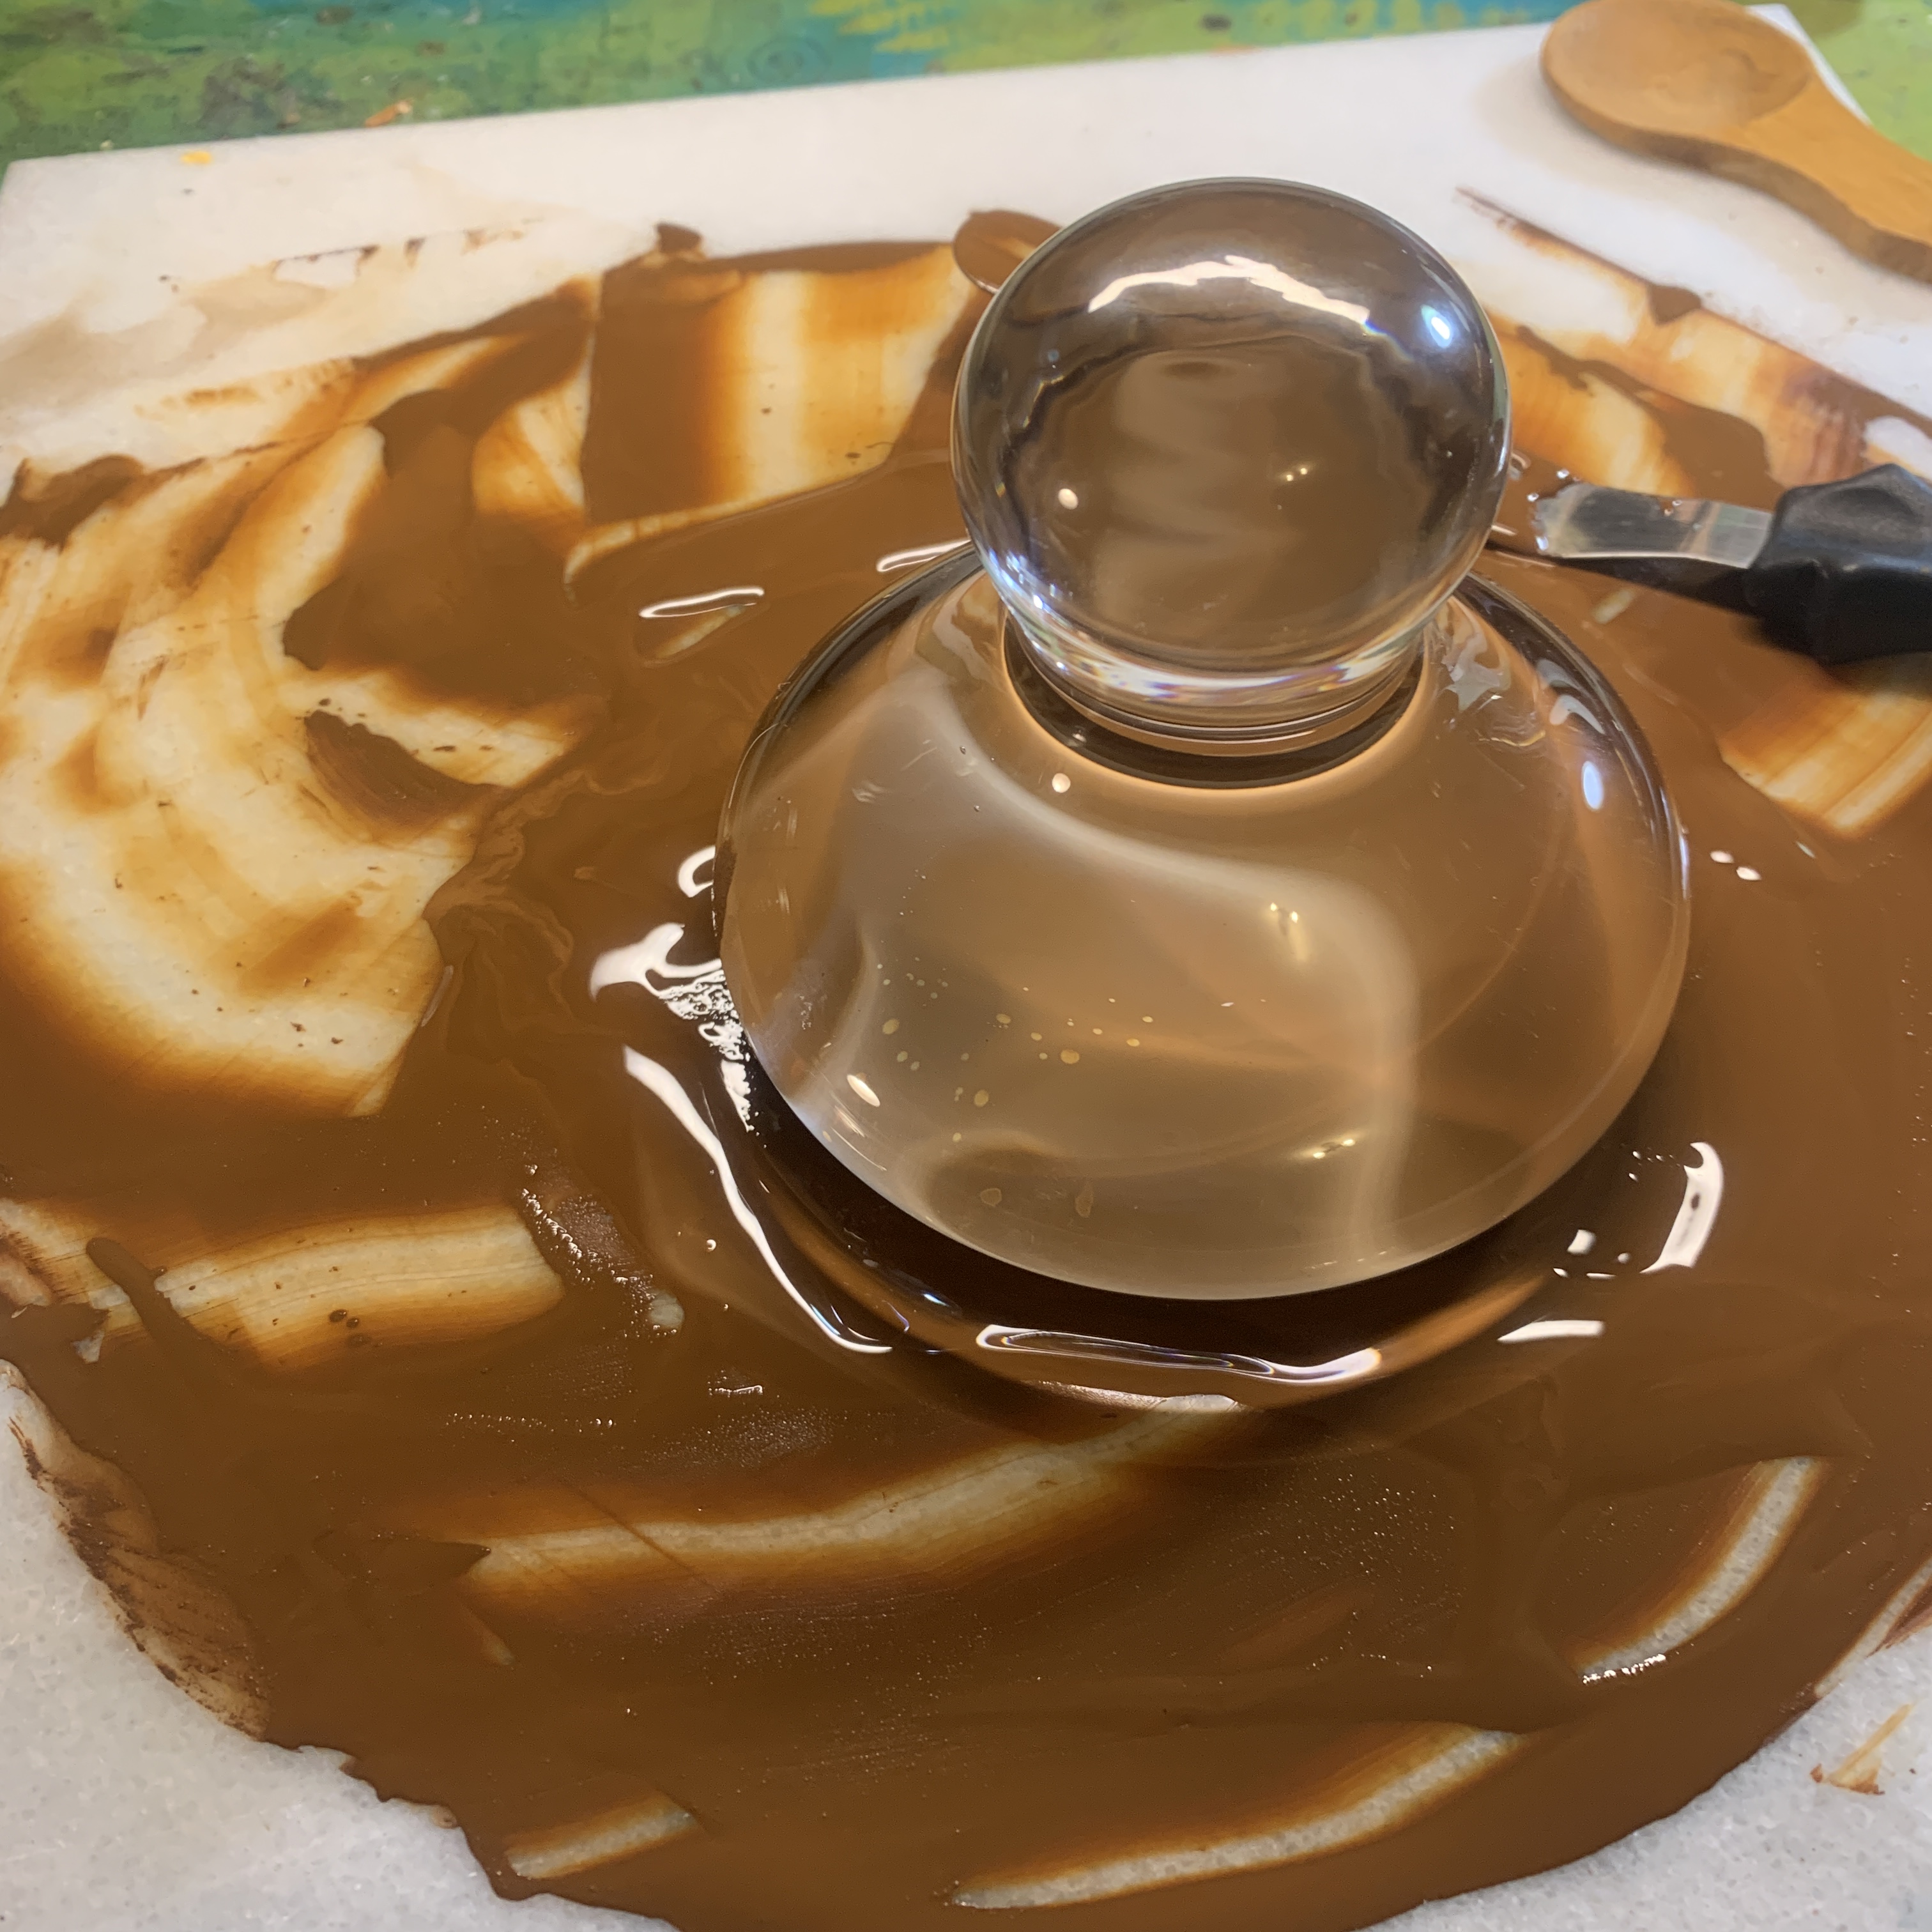
The difference between these the above photo and this one is striking–and so are the results. The second pigment here (iron oxide) has a very, very fine ground!
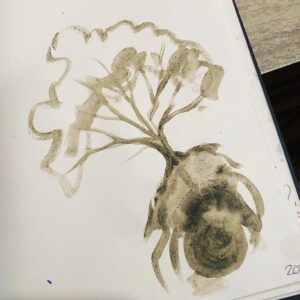
You may have to mull it for quite a while to get all of the pigment and binder together. Usually 5-10 min. Once you see it as completely consistent, you can scrape it all up with a paint knife and put it in small containers to dry.
I have been using sea shells that I’ve had sitting around to put my paint in, but anything that has a lid (like an old Altoids can or lip balm can) would work just fine. I also had some empty plastic half pans I picked up at a yard sale, and I have also been using them. If you want a full container of pigment, you usually have to make paint several times and add layers to the pans (as the pigment dries, it shrinks and cracks).
When you want to use your paint, rewet it and use it like any other watercolor.

For Egg Tempera, you will want a small jar. Start by removing the egg yolk from the white. Egg yolks have a sack that holds the inner yolk; break the yolk and remove the sack. This is accomplished by either puncturing the yolk and letting it drip in, or simply fishing out the sack after you’ve gotten the yolk punctured. Add a small amount of water (1 tbsp) and put a lid on the jar, shaking your paint until everything is mixed. Now, place your pigment in the center of your glass plate or other non-porous surface. Add small amounts of alcohol to your pigment, and grind it or use your knife or muller (see photos above). Finally, add enough yolk water to you get to the consistency you want and grind it some more.
Egg tempera is best used within a week; without preservatives it will go bad fairly quickly. I will keep mine in the fridge between uses. I don’t make these very often, but they are nice for certain applications (like traditional folk painting).
For Oil Paint, The process for making oil paints is the same as above, only instead of gum arabic and honey, you are adding linseed oil and a small amount of melted beeswax. If exposed to the air, oils will eventually dry out within a week or two (just like commercial oil paints). A lot of people will purchase metal tubes so you can keep your paint in a metal tube, just like commercial producers do ,when making oil paints – as it would be hard to mix up a whole palate anytime you wanted it!
Using Your Paint
Once you have your paint made, you can use it on anything! I like the watercolors best for this process because they don’t require special storage–you just dry them out into cakes, and then they can be used and rewet as needed. If you get a fine grind, you can make watercolors and other paints even *better* than what you can find in the store: rich, inviting, and completely made by you!


I hope this has been inspirational and informative. Now that spring is here, I am excited to see what pigments my landscape offers and do some western PA specific paints with this local and eco-friendly palate of colors!


Reblogged this on Blue Dragon Journal.
Reblogged this on Paths I Walk.
Reblogged this on ravenhawks' magazine.
Reblogged this on Good Witches Homestead.
I hope you were extremely careful when crushing and mixing your iron oxide. Many rocks with a metal content can be hazardous especially when crushed or if wet. If you’d like to read more about iron oxide there are many sites that explain that, like this one from NJ, https://nj.gov/health/eoh/rtkweb/documents/fs/1036.pdf
Yep, I’m using gloves, breathing mask, etc. There are a lot of hand paintmakers out there with good tips as well. Thanks for your concern!
Thank you for all of your work. Ojala y gracias a mi dioses .
You are most welcome!
I am just starting my journey to earth pigments and have some questions. Where can you find a glads muller? Do you learn by your own process or mistakes? Or do you have other resources and people to learn from?
I primarily taught myself, with a little help from a few folks on Instagram. There aren’t many modern resources on it–but historical ones can be found. Its really a matter of learning from your mistakes though, I think!
My partner purchased the glass muller for me for my birthday–I understand that he shipped it somewhere from Europe!
*glass muller
Would you mind recommending some people to follow on youtube or instagram?
This was super informative and helpful. Looking forward to trying it out! Thank you!
Great, glad you enjoyed it!
I so enjoy your site! I am just getting into foraging and making watercolors here down south… You cannot imagine how surprosed I was reading this article and you mentioning Tanoma! That’s my childhood stomping ground! We really have a wonderous supply of given items to create with, and to show others our “gifts” that we were given by the Creator. Love your color cards you use to demonstrate each pigment. Thank you for sharing your knowledge with us.
That’s awesome! Yeah, Tanoma is what got me started on this–a friend who helps with the watershed organization gave me pigment to try and then I started foraging for more pigments… :). So crazy you grew up there! I just passed it driving today!
How was the willd cherry sap as a replacement to gum arabic?
So far, not great. I’ve done a few tests, but I’m thinking that it has to be processed in some different way (I’ve tried both dryng it out and trying it fresh, but it doesn’t seem to create a consistent gel like gum arabic)….So, the process continues!
Dana, naturalpigmets.com is a wonderful resourse of articles on historic paint processes and sells mullers and other hard to find paint varnish waxes items with instructions on making paint etc
Check it out.
Hi Diane,
Thanks for the suggestion! I’ve actually gotten a lot of stuff for my process there over the years :). Thanks for sharing–it is good to have here in the post.
This article is a joy to read and is also very informative. I have been foraging my pigments for maybe a year. Most of the articles I found were about plants. Thank you dearly for sharing your knowlege and experience with us, it is very precious. <3
Hello Maude,
So glad you found the article helpful! There’s a wonderful emerging community surrounding wild pigments on Instagram and related places–it is so exciting to be exploring these local colors on the landscape. Blessings to you in this new practice :).