Often, when you are interested in unusual and wild foods, a season for a delectable treat may only last for a few short days or weeks. A fun early spring food that is usually popping up around or before Beltane in temperate parts of North America is the hosta. Yes, you heard me–that large leafy green plant that most only considers a deer resistant ornamental. This plant is a favorite of typical landscapers; it seems to show up in nearly every suburban and urban yard. Because I like finding ways to turn typical lawns into more healthy ecosystems that create habitat, food, and joy and that “stacks functions” in permaculture terms, learning to do something with these “typical” lawn plants is a great idea. And so, hostas are a wonderful food this time of year to harvest when they are still in “shoot” form. They are quite good–have a taste that is slightly bitter, and somewhat like lettuce. Hostas have been enjoyed around the world, particularly in Japan (they also understand and eat Burdock regularly; burdock is another great spring food!) The Japanese call hosta “Urui” and eat them raw or stir-fried, often with soy sauce (which is a great way to eat them).
In this post, I’ll walk you through how to harvest and enjoy this springtime treat!

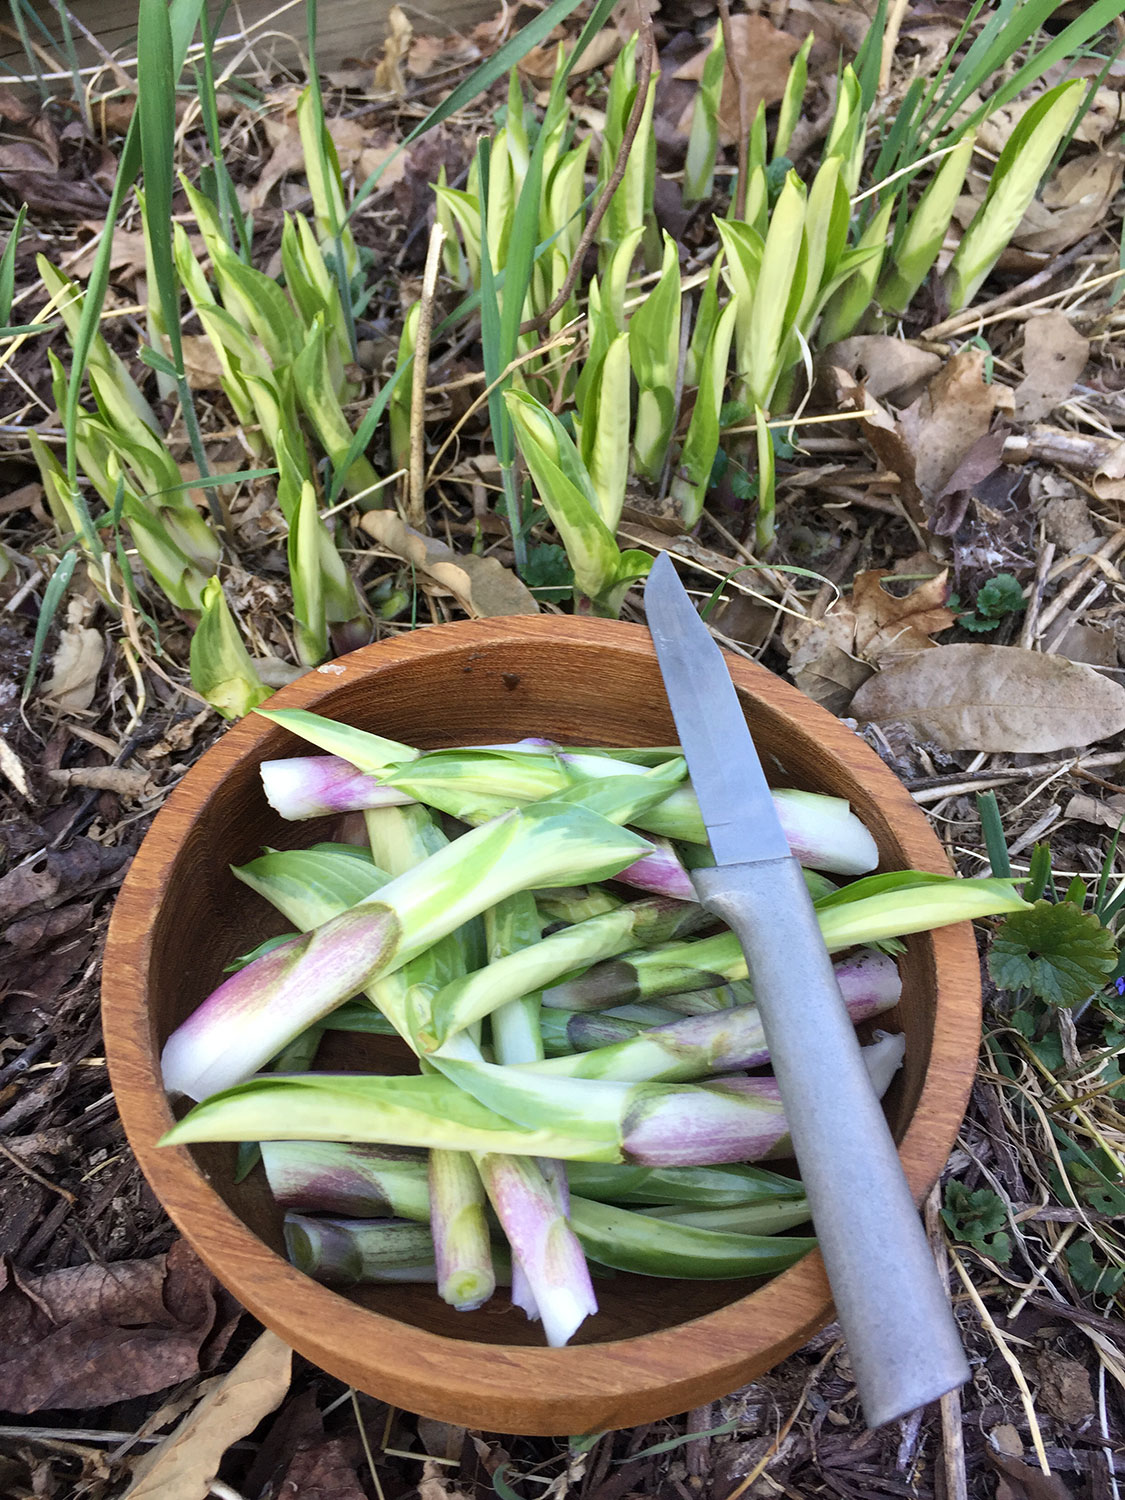
Like many vegetables, the younger the plant, the more tender the vegetable. This is true of hostas–I am harvesting them after they have been coming up about a week–you can continue to harvest patches that are larger than this (although at some point, you’d switch to boiling them rather than frying them). Even larger and older hosta leaves can be treated like spinach and boiled and used in a variety of ways. But I like these tender shoots the best. This size to a bit larger (3″ – 6″) is a really good size for tasty and tender eating.

I have about six hosta plants at the new property, so I harvested 3-4 shoots from each plant. According to other hosta connseours online, you can harvest up to half the leaves without compromising the health of the plant. But I’m happy with a meal or two and enjoying the beauty of the plant for the rest of the season.

The pinkish part of the hosta that is the outer layer of the shoot as they come up is more bitter than the rest of the plant (which has only slight bitterness), so you will want to remove the outer 1-2 layers on the bottom for the young shoots. In the case of my photo below, I’m removing the two bottom pinkish layers.

Once you have your layers removed, it is time to cook them!

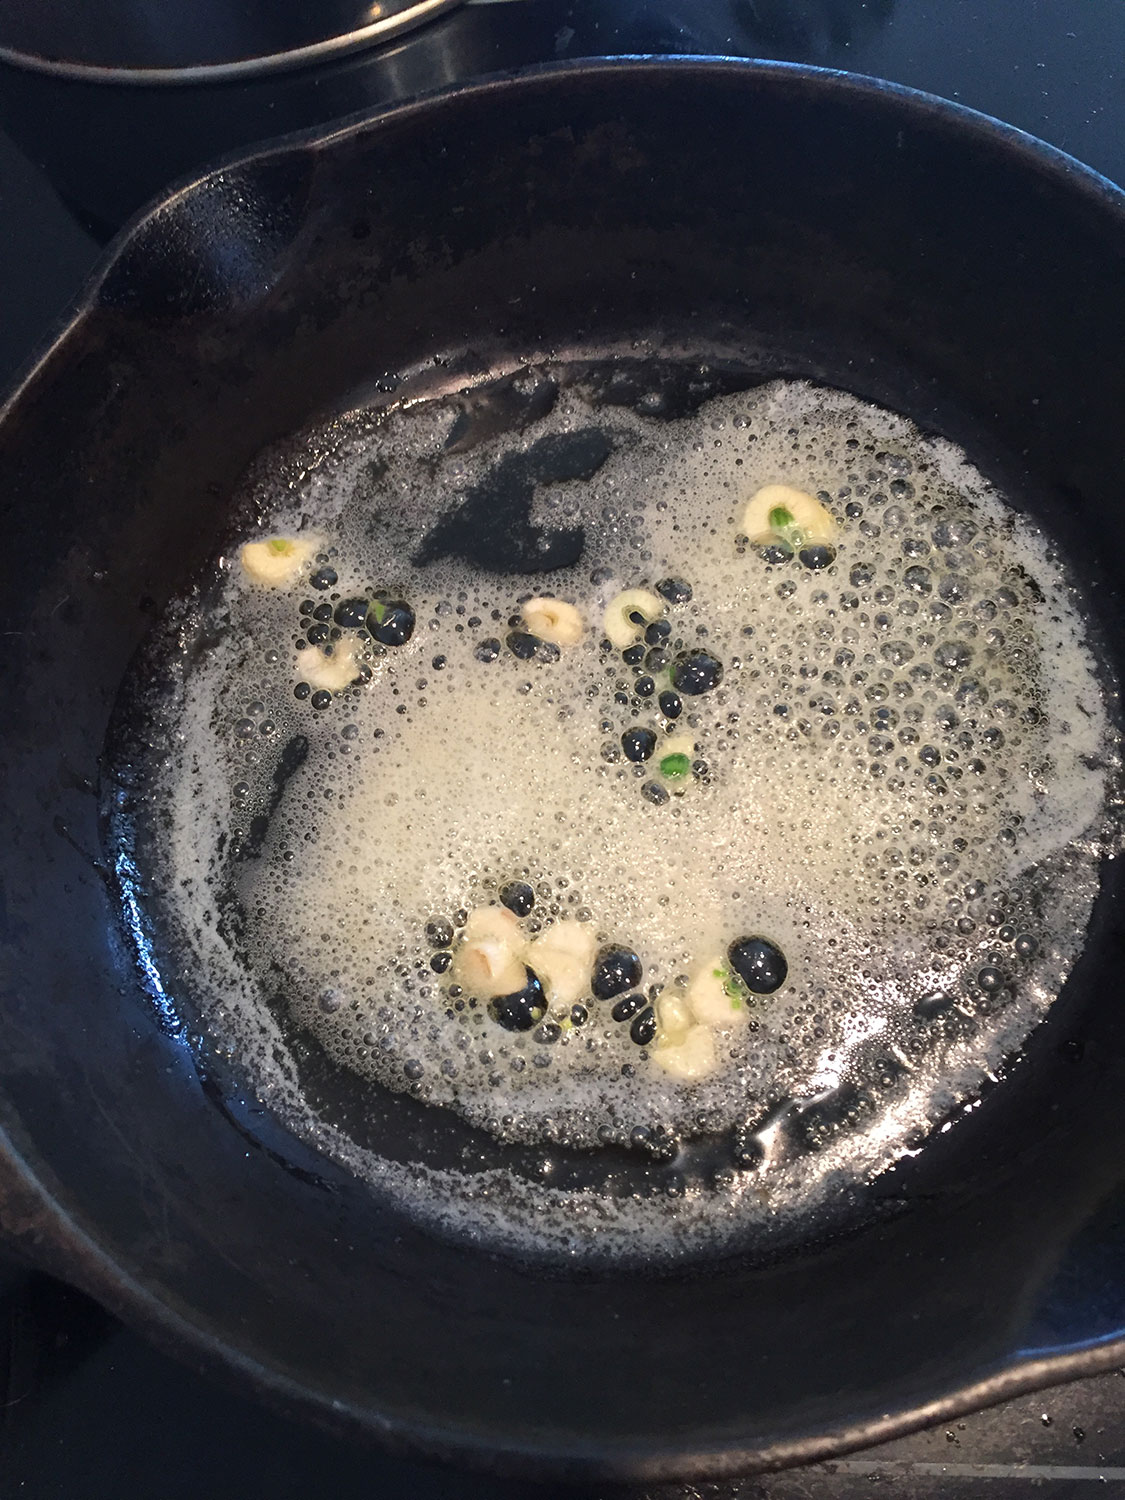
There are lots of ways to prepare some hostas. The simpleist way to prepare them is what I do for a lot of wild foods and mushrooms–fry them in butter and add a bit of salt and garlic. A cast-iron skillet works beautifully for this. A good alternative is to fry them in sesame oil and add a bit of soy sauce, sesame seeds, and a pinch of brown sugar.

Pan fry them for 3-5 minutes until they turn a darker color. Again, the younger they are, the more tender they are and the less they need to be cooked. Ones this young can easily be eaten raw, but I like them better this way.

They make an excellent side or main dish. Here’s to many springtime foragable foods!


Wow, just wow!
So, a cross between lettuce and asparagus, kind of! Interesting. Ramps are here, too! Worth the wait. Thanks for the lesson today!
I was just thinking of doing this! Thanks for the harvesting and cooking tips. Happy Beltane week!
Reblogged this on Rattiesforeverworldpresscom.