One of the practices that has been central to my work in my annual (vegetable) garden is the cover crop. In nature, we very rarely see bare soil–the ground is always green and lush most times of the year (and no, I’m not talking about the American lawn–I’m talking about wild, natural areas!) If you’ve ever seen a construction site where the soil was disturbed–it quickly sprouts up with all kinds of greenery. This is nature’s way of making sure no nutrients are lost, the compacted soil is broken up (which is what dandelions are good for) and so forth.
The cover crop works on the same basic principle–we are growing it to benefit the garden and improve the soil quality in the long run. While you can grow cover crops at many times during the year, I usually use them in the fall to keep my beds nice over winter and give my animals some nutrients. These crops, often consisting of various grains or other helpful plants, have numerous benefits:
- They suppress weeds (called a “smother crop” like winter rye)
- They hold in the nutrients so that nutrients in the soil doesn’t leech nutrients when they are tilled or turned back into the garden in the spring, the nutrients are released as the cover crops rot into the soil
- They add nutrients (different crops add different nutrients; all clovers add nitrogen, for example)
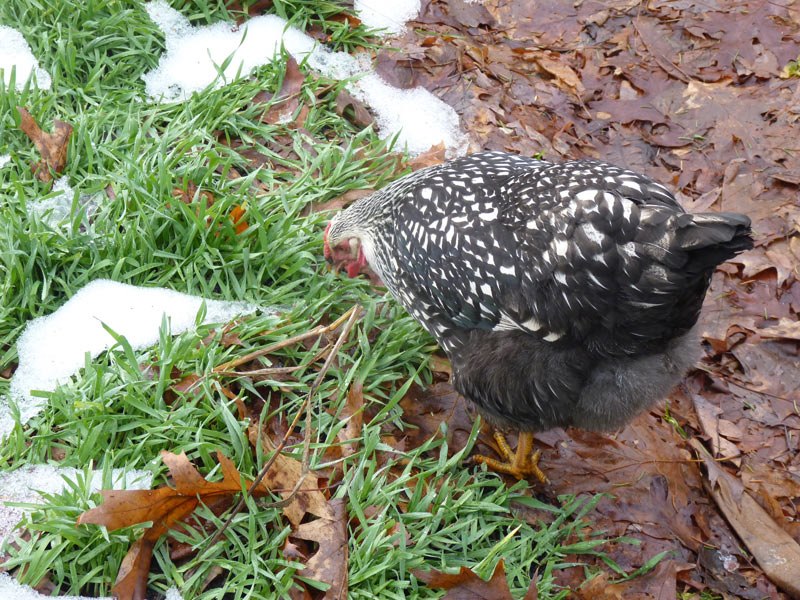
- They also add food/nutrients for livestock in the winter (called “fodder”)–both my rabbit and chickens are quite happy to have a good crop of winter rye for the four coldest months: December, January, February and March. Winter rye is the only green thing in my yard during these months, and when I let the chickens out, they make a beeline for the rye!
- They can give land a “rest” in between intensive plantings.

I planted some winter rye in a small part of my garden last winter; I was amazed to see how successful those beds were this year with increased soil fertility and less weeds. So I’m expanding my cover crop usage this year, and I’m also experimenting with growing some specifically for feed for the rabbit and chickens. We’ll see how those experiments turn out!
Fall Garden Bed Prep & Cover Crop Seeding
Fall, especially mid to late October and early November as the leaves are dropping, is the best time to prepare garden beds for the coming year. An abundance of leaves and other mulch materials combined with the possibility of adding cover crops and cooler weather makes it just so wonderful to be outside digging in the dirt. To prepare your beds for the upcoming season, you might do any number of things, like sheet mulching, adding amendments, using a garden fork to aerate the soil, and so forth. The basic process you can use is as follows:
1) Slash down your crops once they are done for the year. I cut them at their bases and leave the roots in the soil (this also helps prevent erosion, and for nitrogen-fixing crops like beans, ensures that the nitrogen remains).
2) Weed your bed, removing grass, ground ivy, and so forth. Depending on how vigilant you’ve been, this could be a big job or a small job. For me, it was a bigger job this year…lol. Luckily, I had help!
3) Add amendments (green sand, azomite, lime, etc) and compost; work this into your soil a bit (but only on the top layer; I usually just work it in a few inches as to not to disturb the soil ecology). I don’t use any synthetic or even organic fertilizers, although, following Elliot Coleman’s advice in the New Organic Gardener, I do use various rock amendments as well as composted manure (from my chickens, rabbit, or a local farm) and finished compost. I may also add mulched up leaves depending on the humus/organic matter content of the soil. A soil test can help you determine what your soil needs.
4) Aerate your bed using a garden fork, shovel or pitch fork; anything that will allow for air to flow in a bit and deal with compact soil. You can just stick the fork down into the soil and move it around a bit.
5) Once you’ve aerated and added amendments, level out your bed using your rake. The back of the rake works particularly well for this. I described leveling out soil with the back of the rake a bit more in my recent post on garlic (with photos).
6) You can take your rake then and use the tongs to make little divots all through your bed–this will help your cover crop seeds sink in a bit (this is not necessary, but is helpful so the birds don’t eat them all).
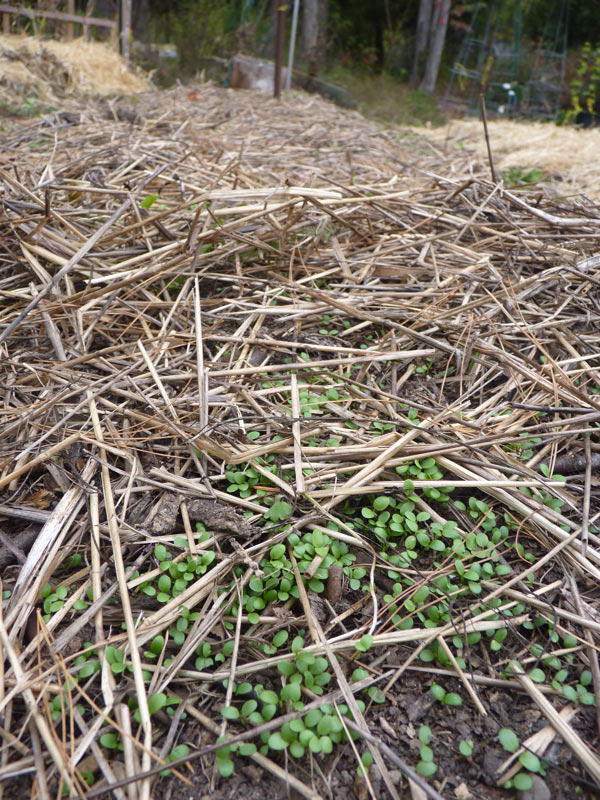
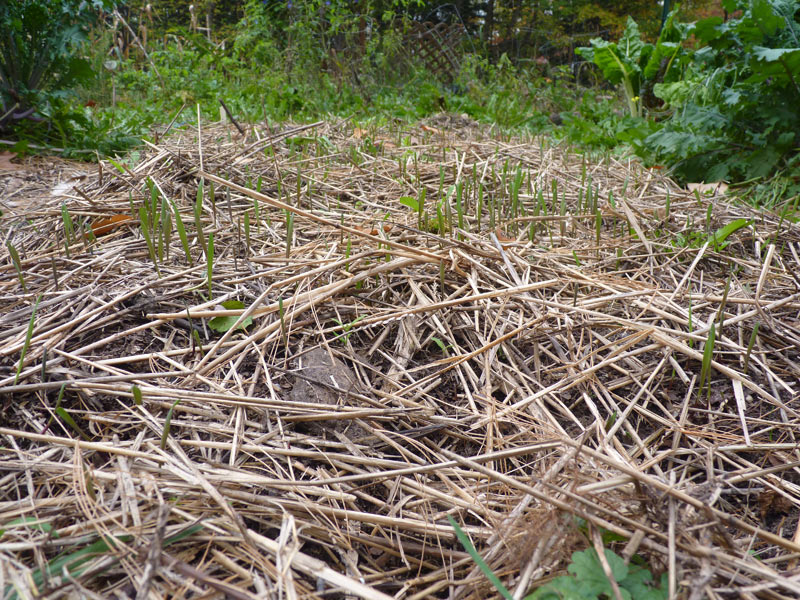
6) It is at this stage that you add your cover crop. The cover crop seeds have suggested seeding rates. Clover are several per inch, while rye is 1 seed per inch or so. I usually cover crop it, then use the back of my rake to work the seeds into the soil a bit. Then I add a thin layer of straw mulch just to deter the birds.

7) Watch the magic unfold! In a week or two, you’ll see the first sprouts of your cover crop. If you plant in early/mid October, your crops should have some time to grow before going dormant for the winter.


Chicken and Rabbit Food/Winter Fodder – Winter Rye
I allow my chickens into the garden in the winter to enjoy the cover crops (their manure ends up in the garden either way, so I don’t think any loss of nutrients that they might be eating up with the crops is a problem).

My rabbit, on the other hand, doesn’t really have the benefit of the cover crops in the garden. This year, I decided to sow some winter rye for him in his area and covered most of it up with plastic plant trays so that he couldn’t’ eat it down too quickly. My plan, then, is to give him access to small patches of the winter rye all winter by removing the plastic plant trays. Once the project is a little further along, I’ll post pictures here.


[…] that you know why cover crops are good for your urban garden, click here to learn how to put them to work for […]